Setup Google Login to Shopify Store – Shopify Google Social Login
The miniOrange Social Login Application makes logging into your Shopify Store super easy. With this application, your users can quickly use their Google account to sign in, whether it's a Shopify Plus or Non-Plus store. Once you enable Google Social Login, users will be able to utilize their preferred credentials to access your Shopify store. Users will not need to create multiple accounts and they will be able to log in using their Google Account. This ensures high security and seamless access to Shopify Store.
To learn more about miniOrange Social Login, visit this Link. Let's set up Google Social Login quickly!
Pre-requisite:
Before you begin setting up Google Social Login on Shopify Stores, make sure you have installed the miniOrange Social Login app.
Step-By-Step Guide to Enable Google Login on Shopify Store
1. Configure Custom App for Google Login
- Open the Google Developers Console, and sign up or log in with your Google Developer account.
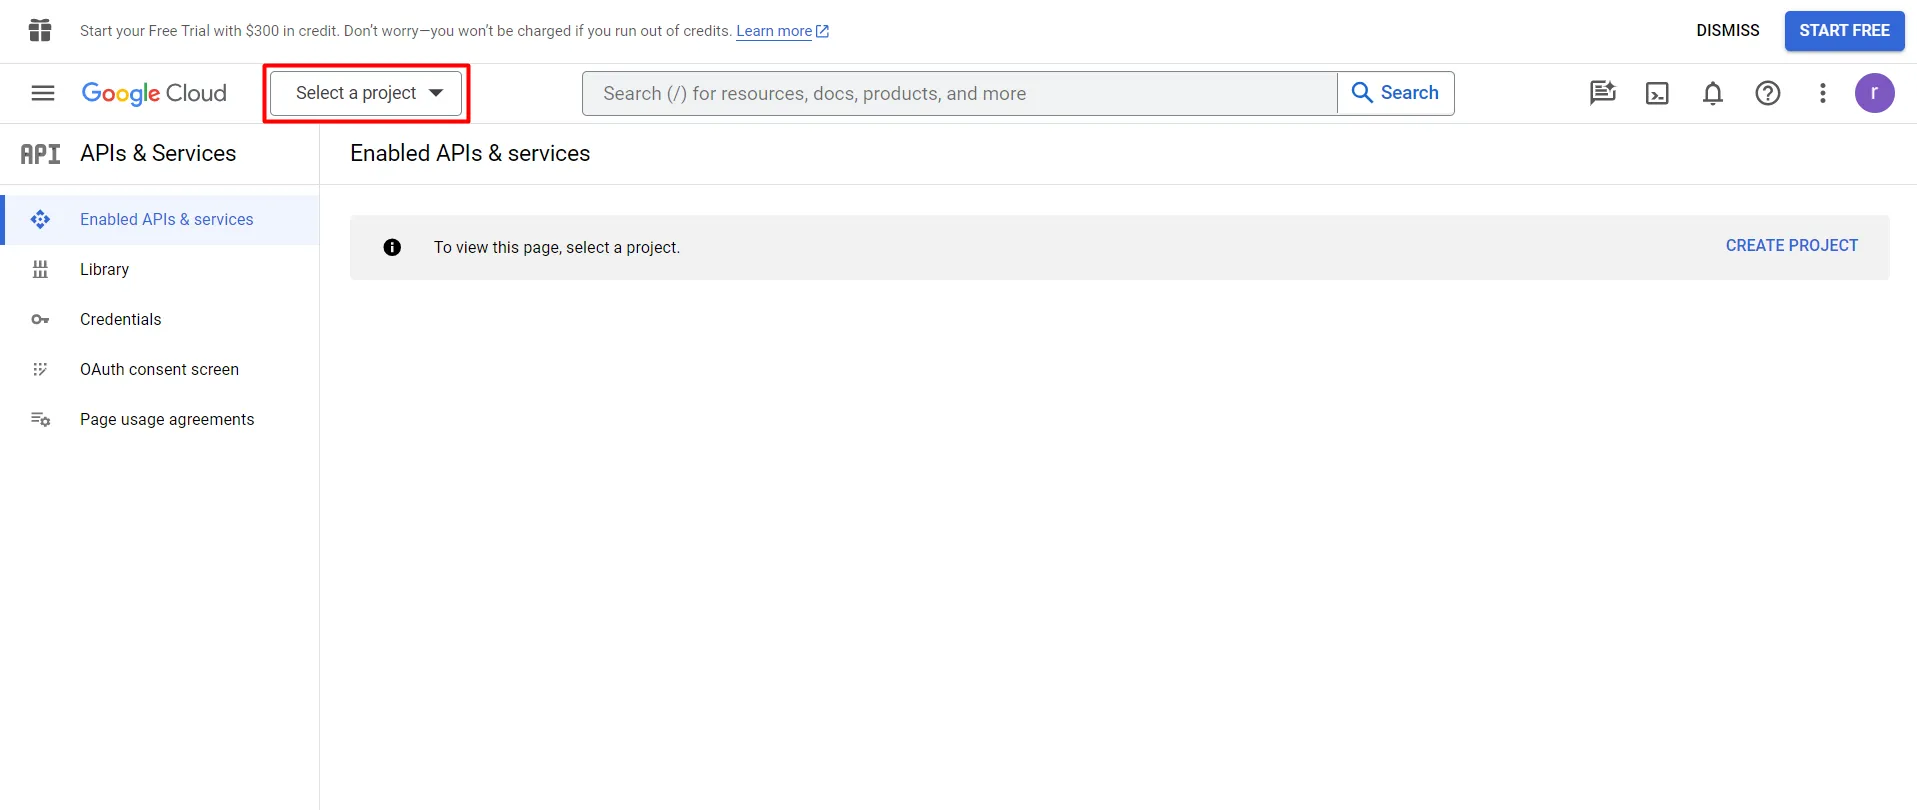
- At Google Developers Console, click on the Select a Project.
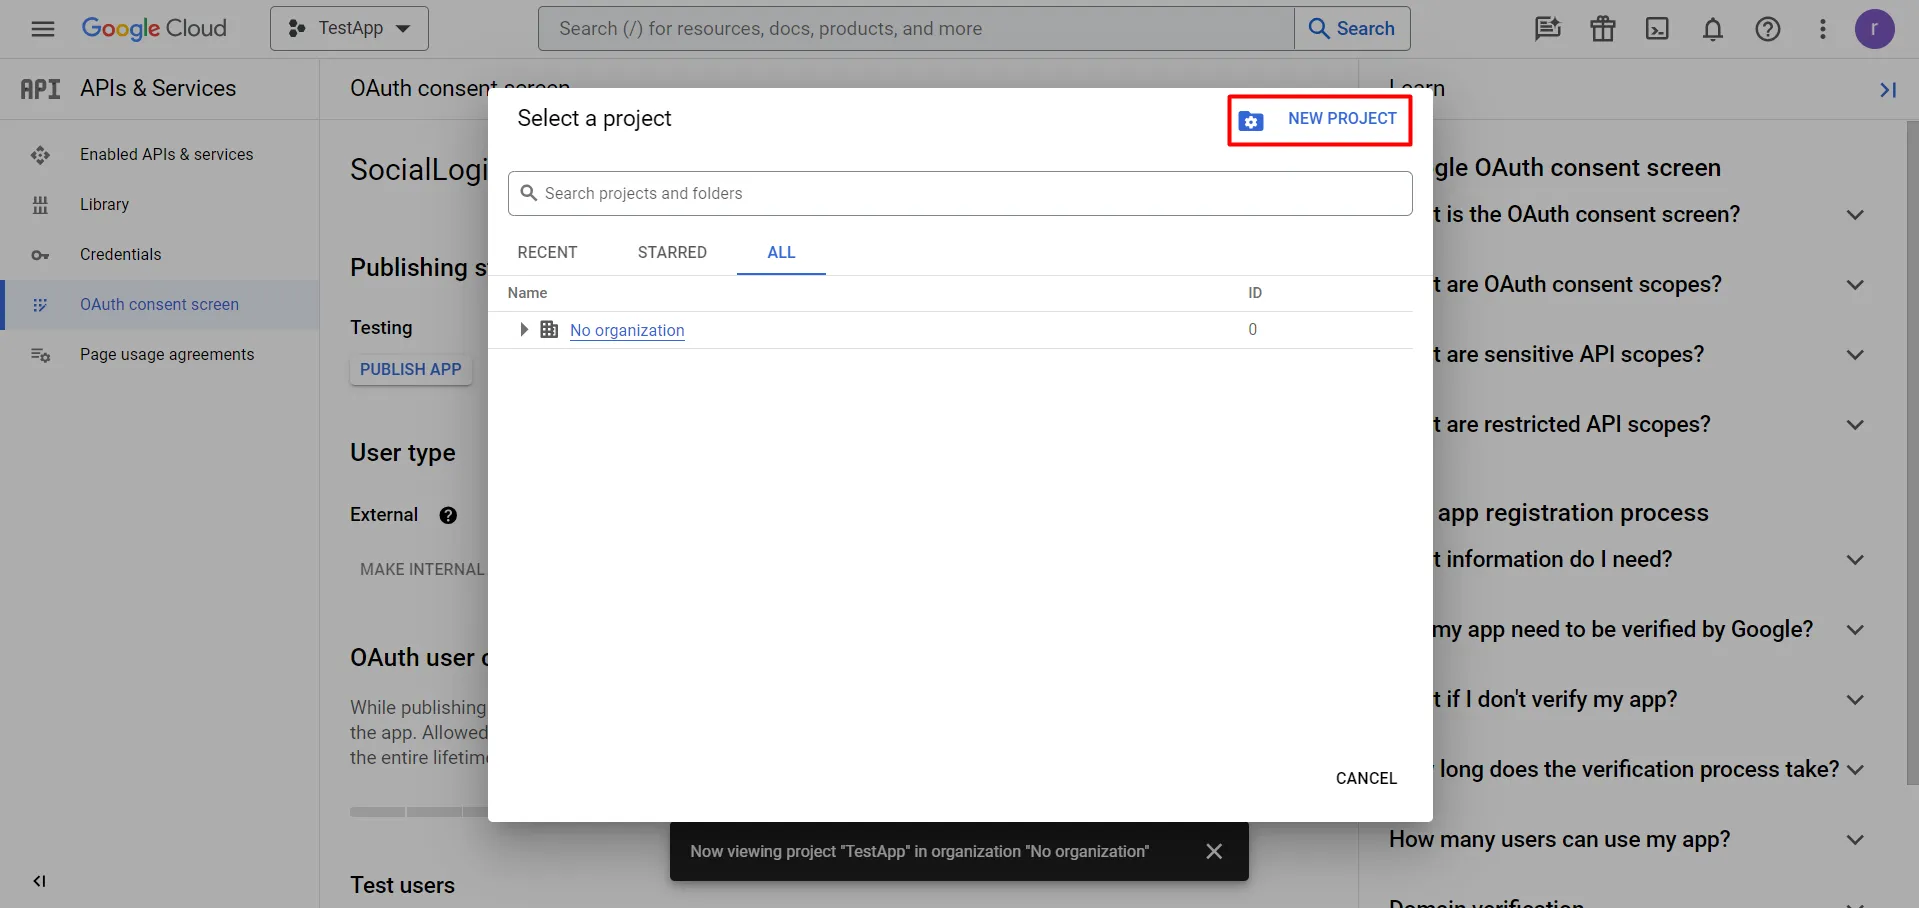
- Click on the New Project to make a new Google Apps project.
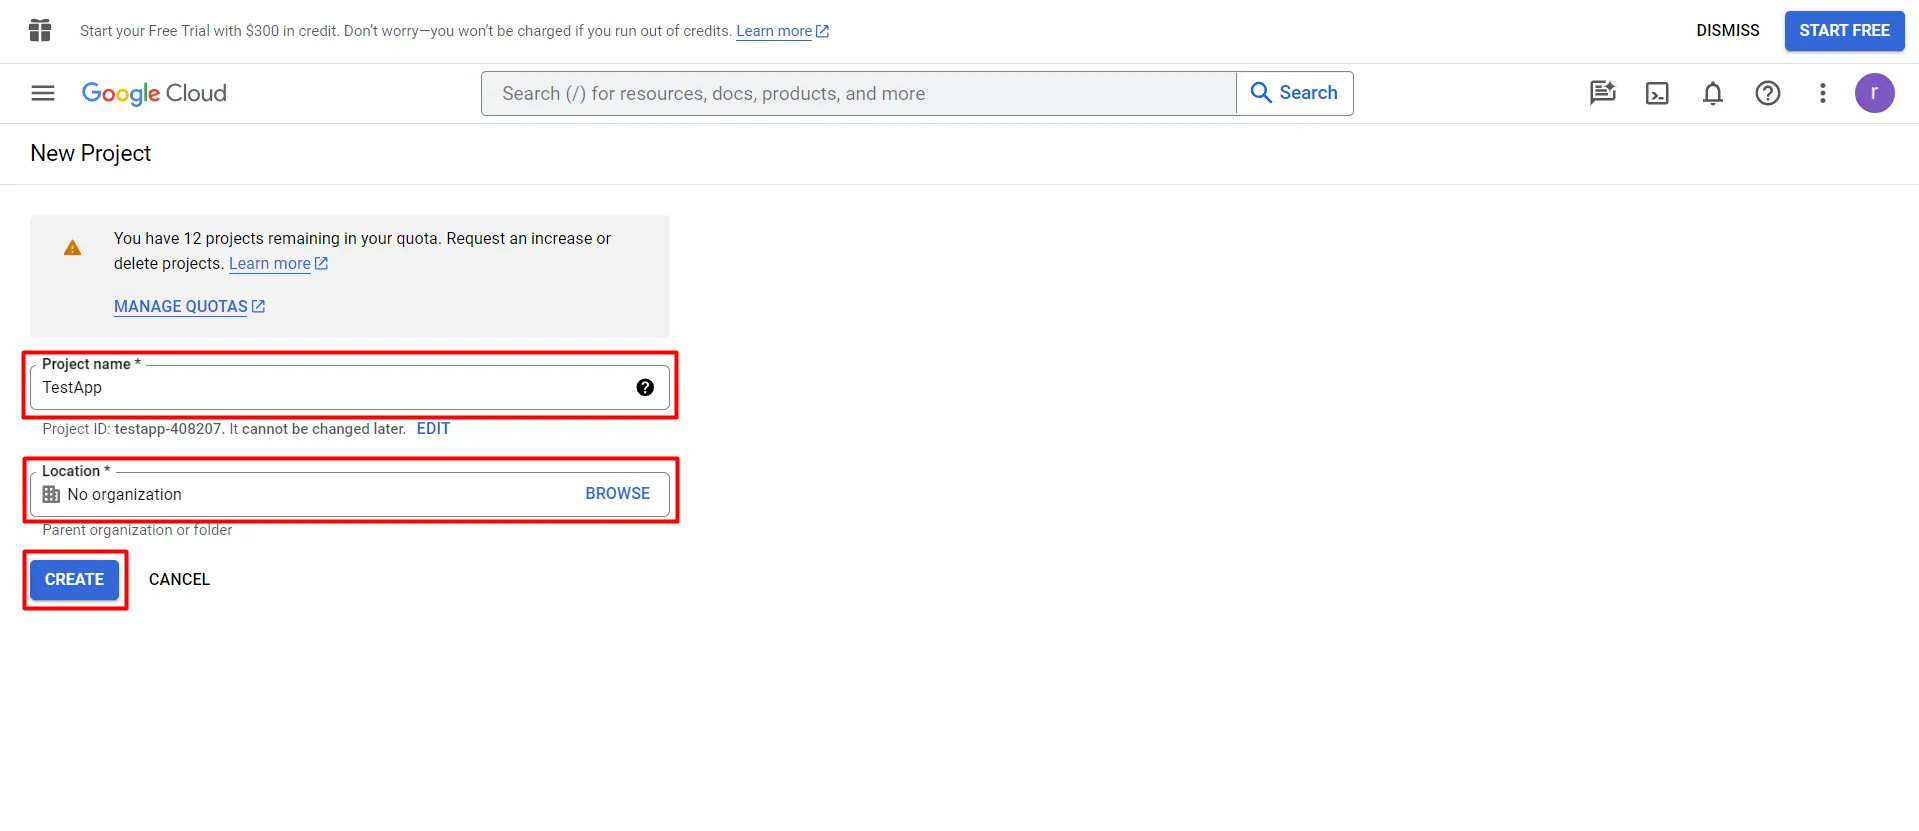
- Enter a Project Name (e.g., TestApp) and Location, then click Create.
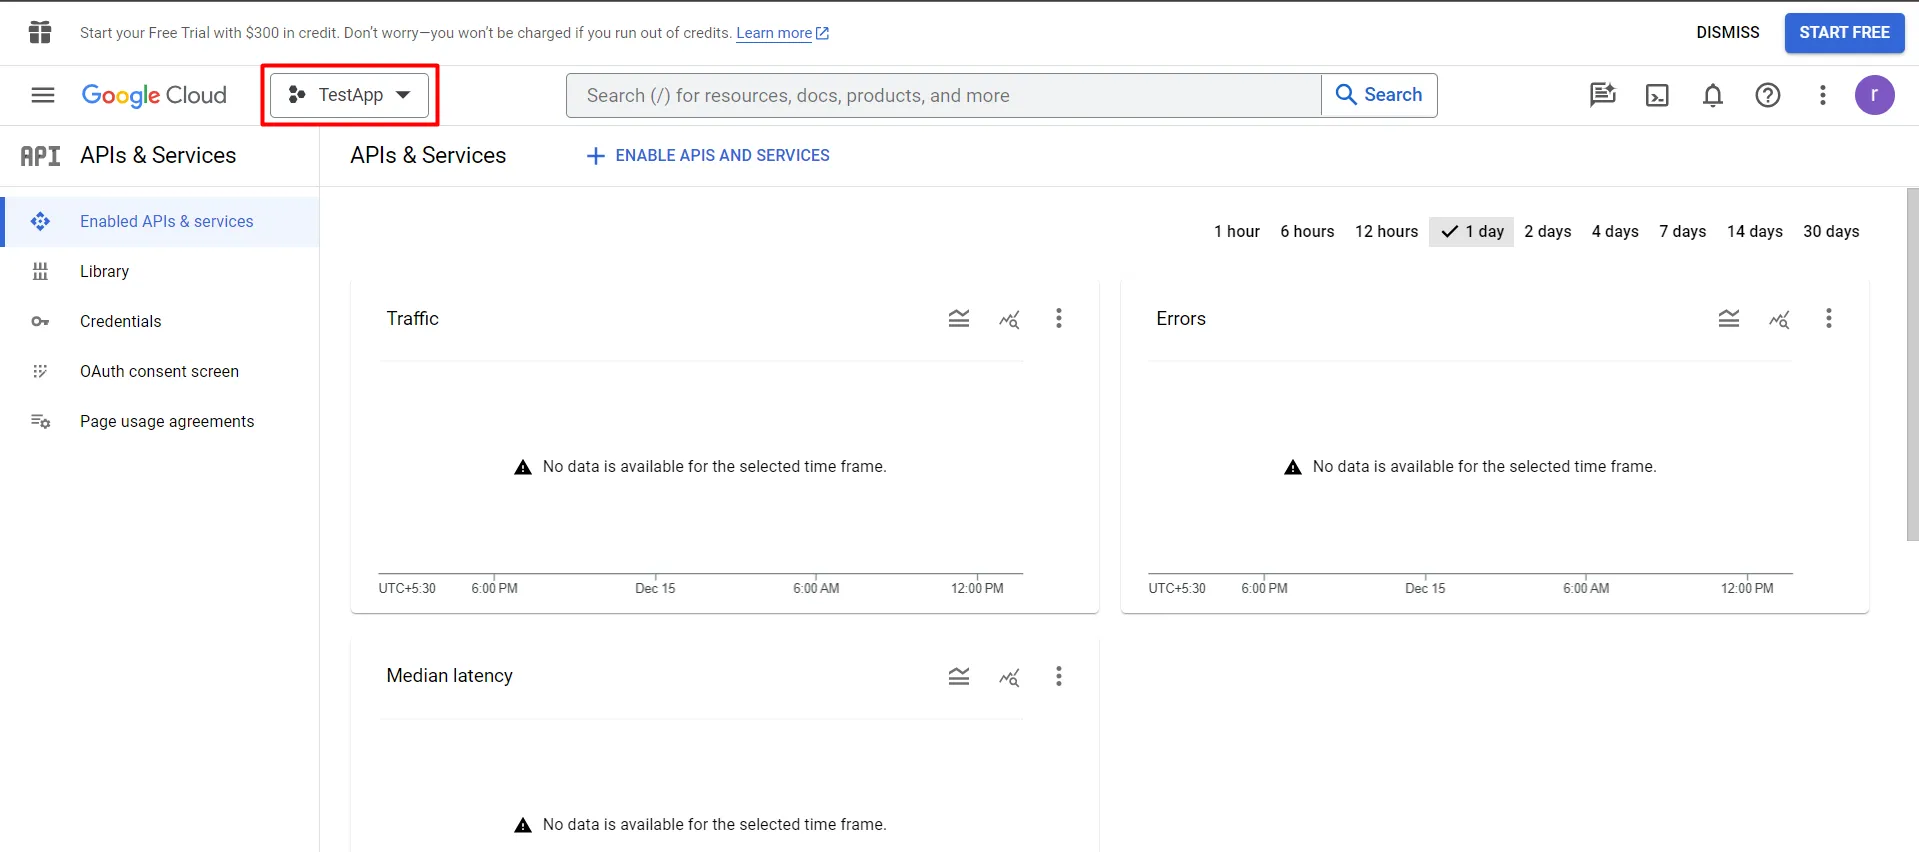
- Ensure your project is selected in the dropdown as shown in the image. If not, open the dropdown menu to view your projects. Pick the one you just created—'TestApp' in our case.
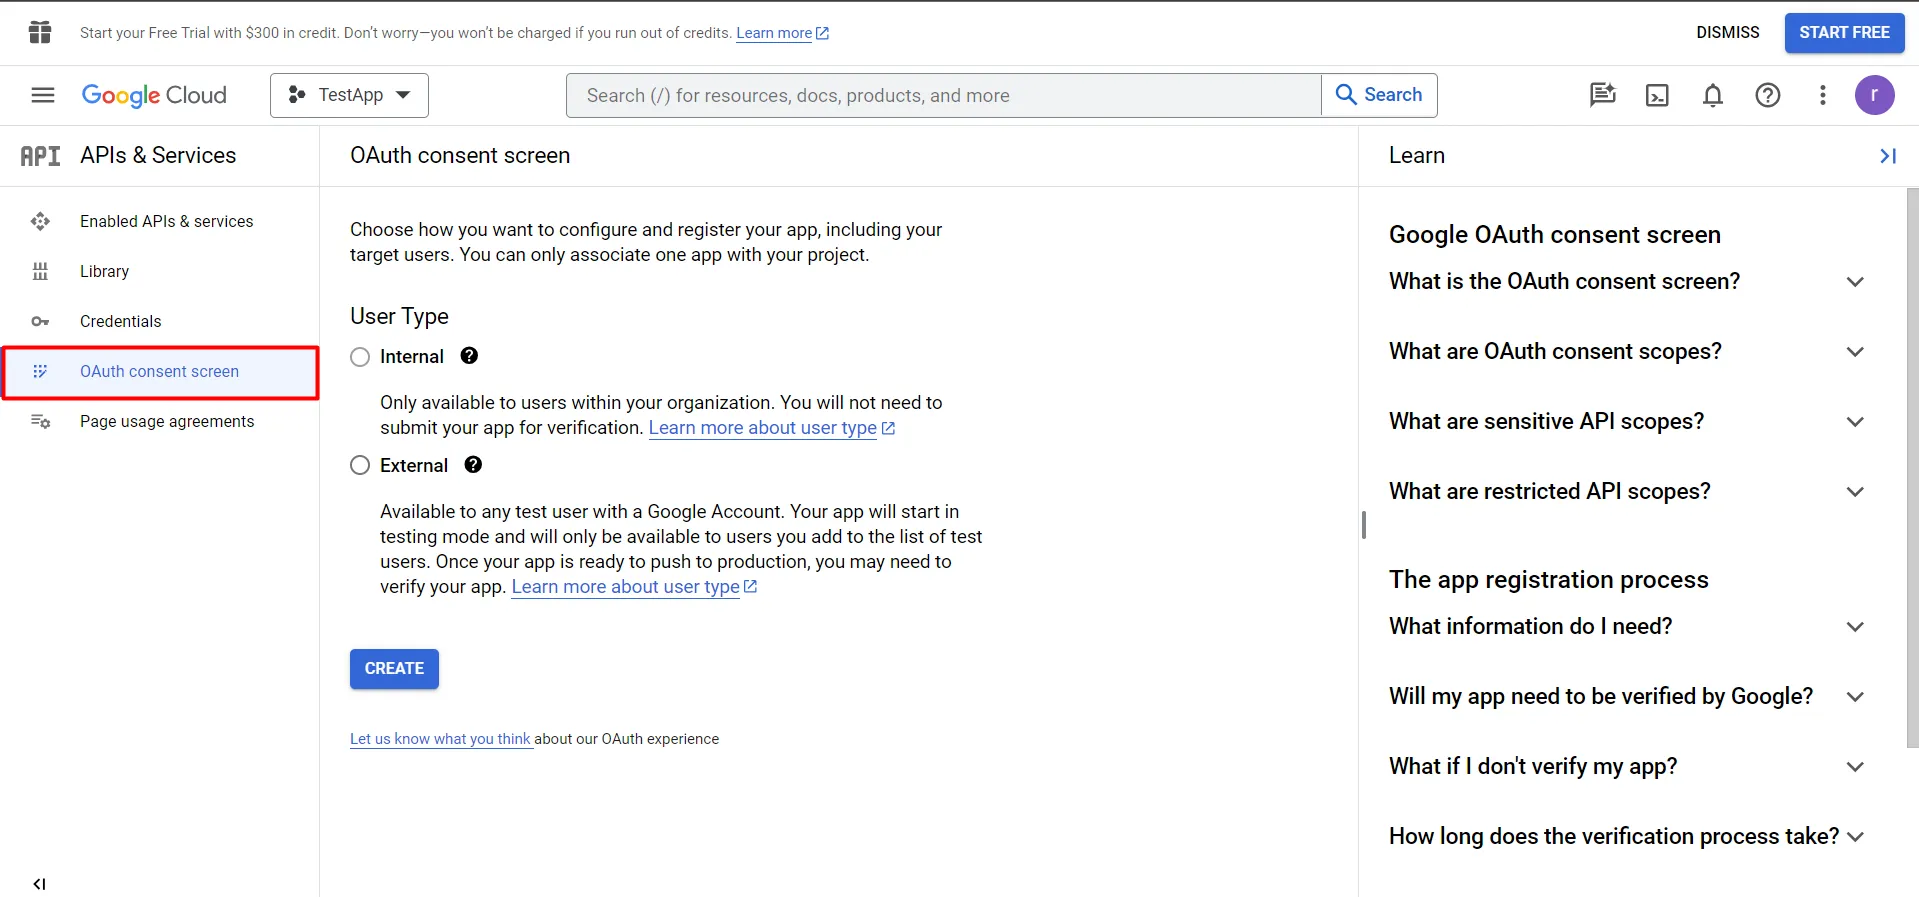
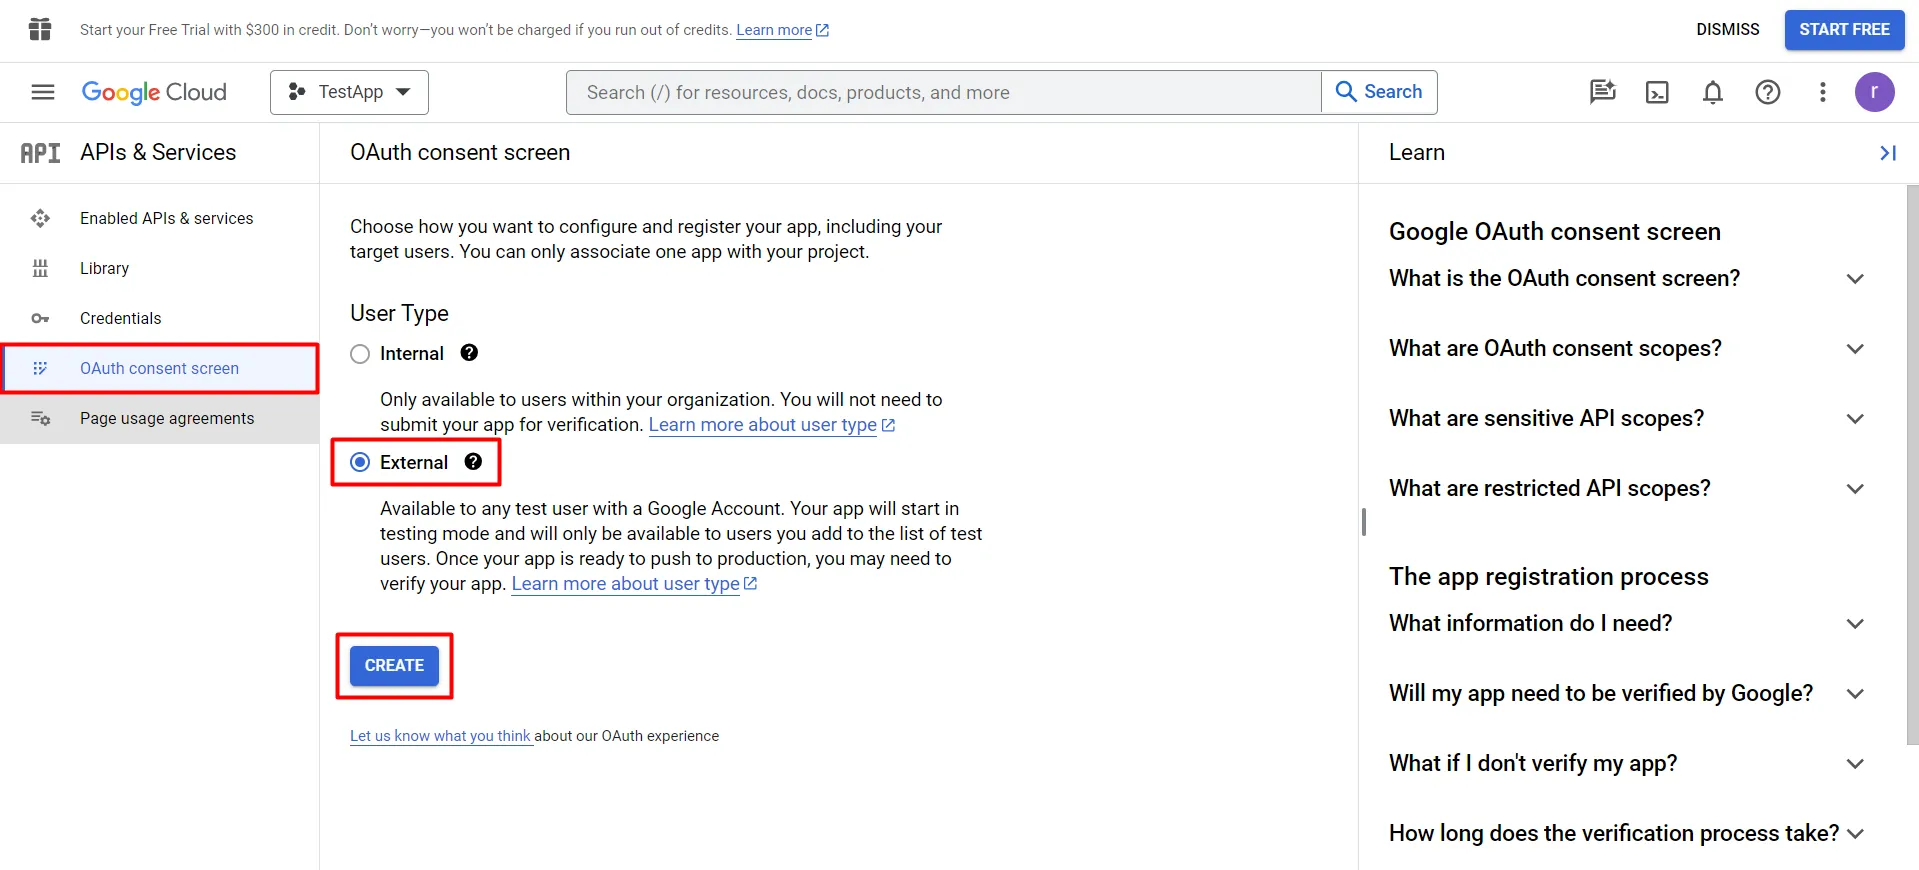
- Navigate to the OAuth Consent Screen in the sidebar.
- Ensure to select External User Type >> Create.
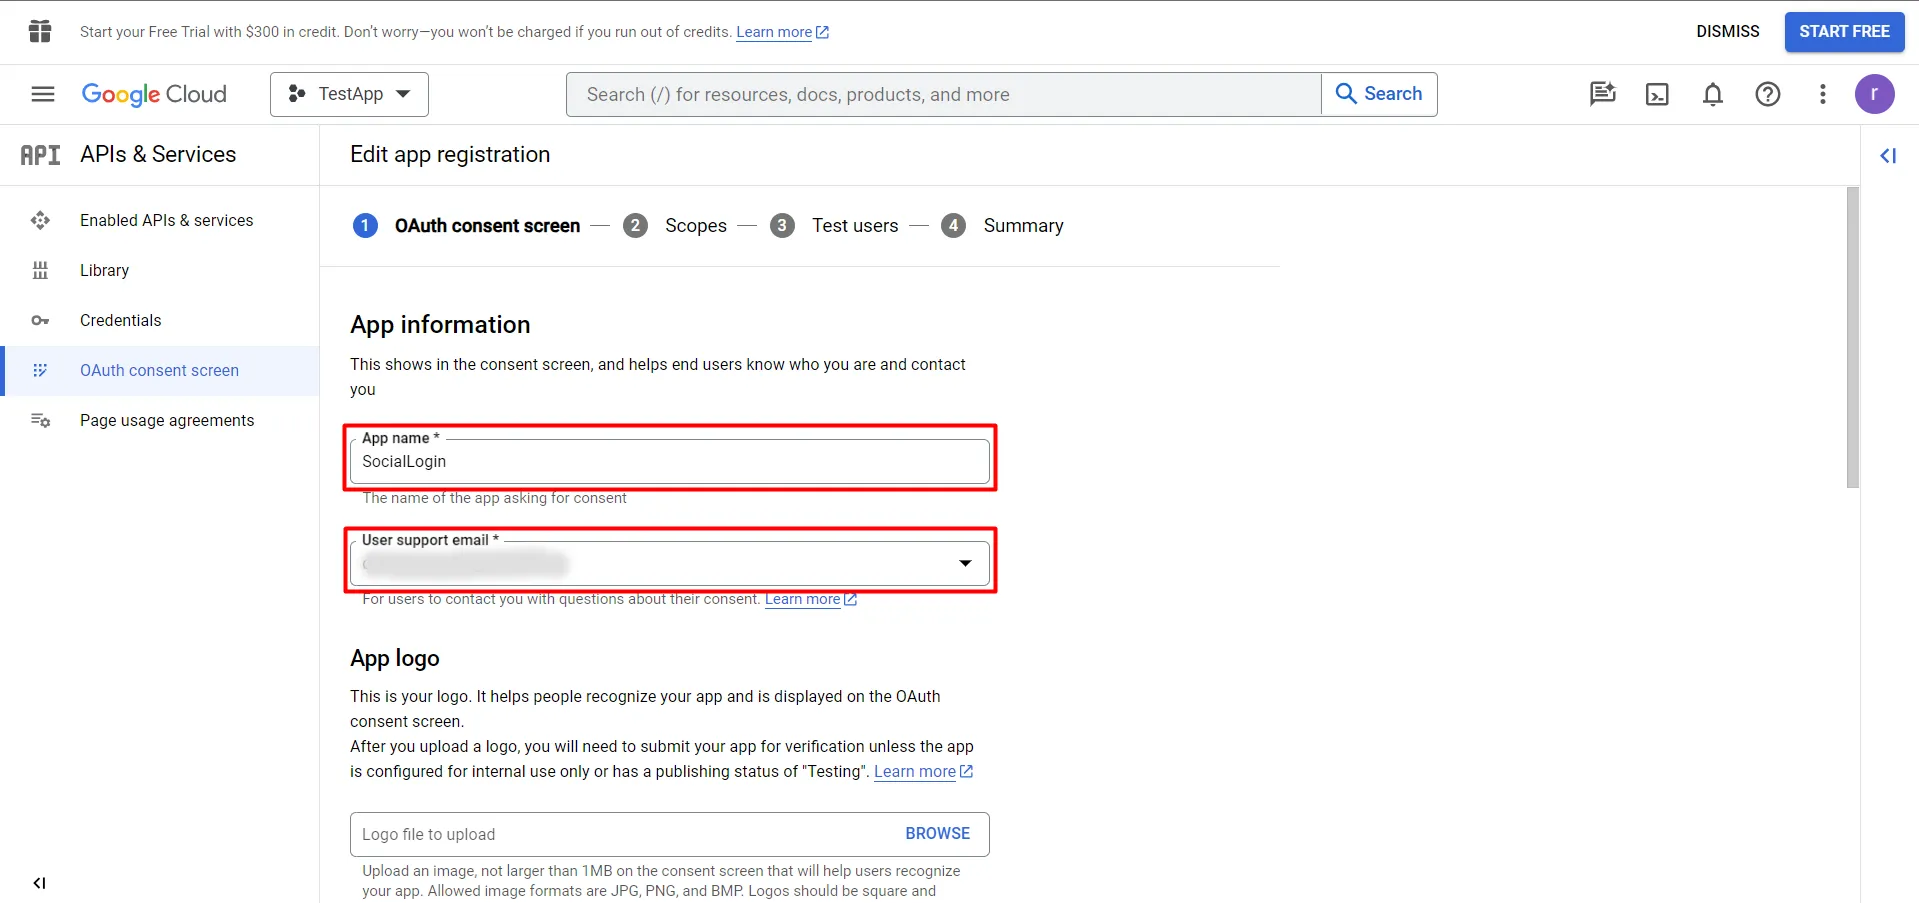
- Configure the screen by entering your application Name. It can be anything that you prefer, Let's say for example we will call it “SocialLogin“. Enter the User Support Email.
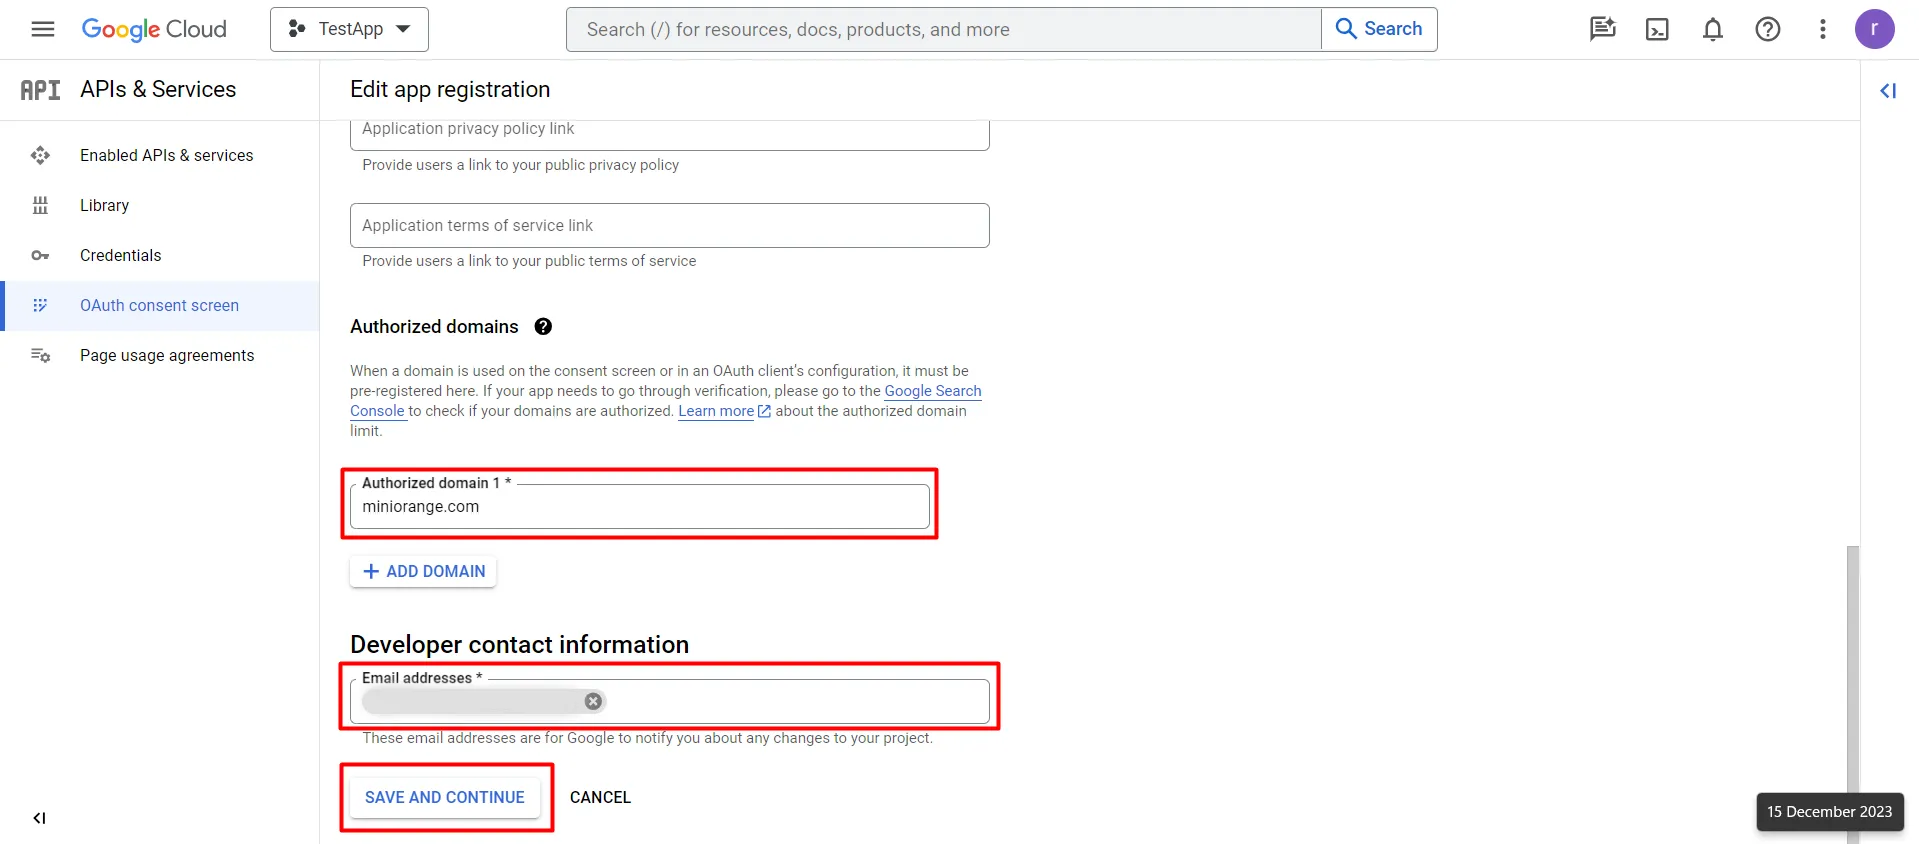
- In Authorized domains insert miniorange.com. Fill in the Developer Contact Information. Then click on Save and Continue.
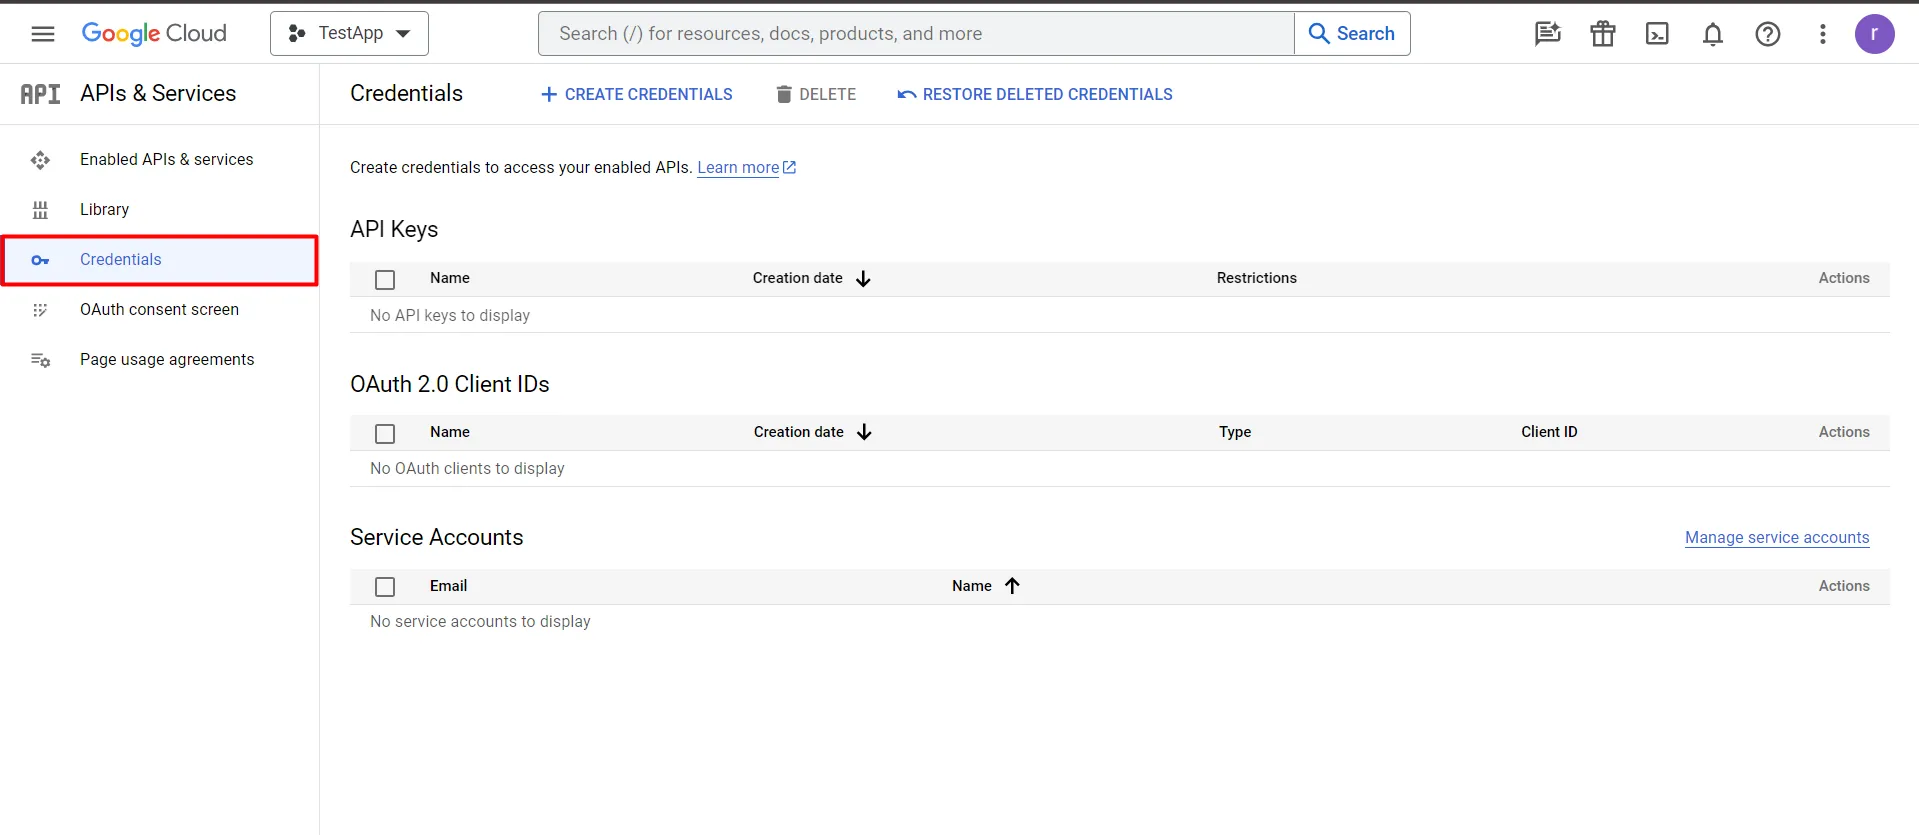
- Proceed to Credentials on the sidebar
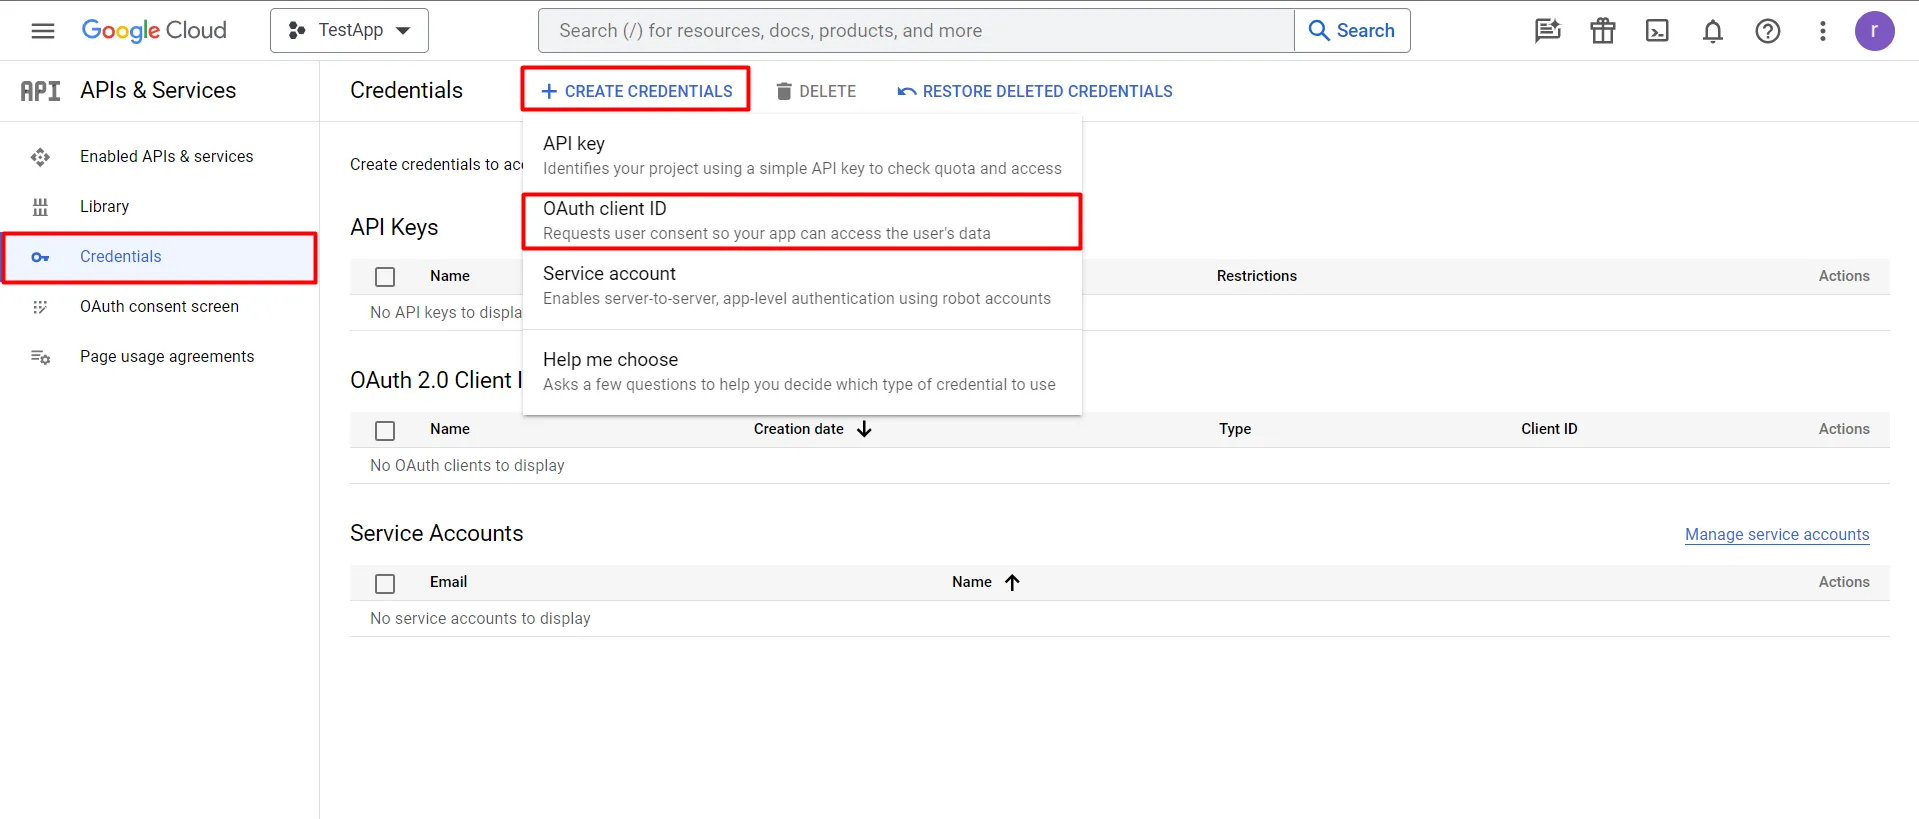
- Click on Create Credentials, and select OAuth Client ID.
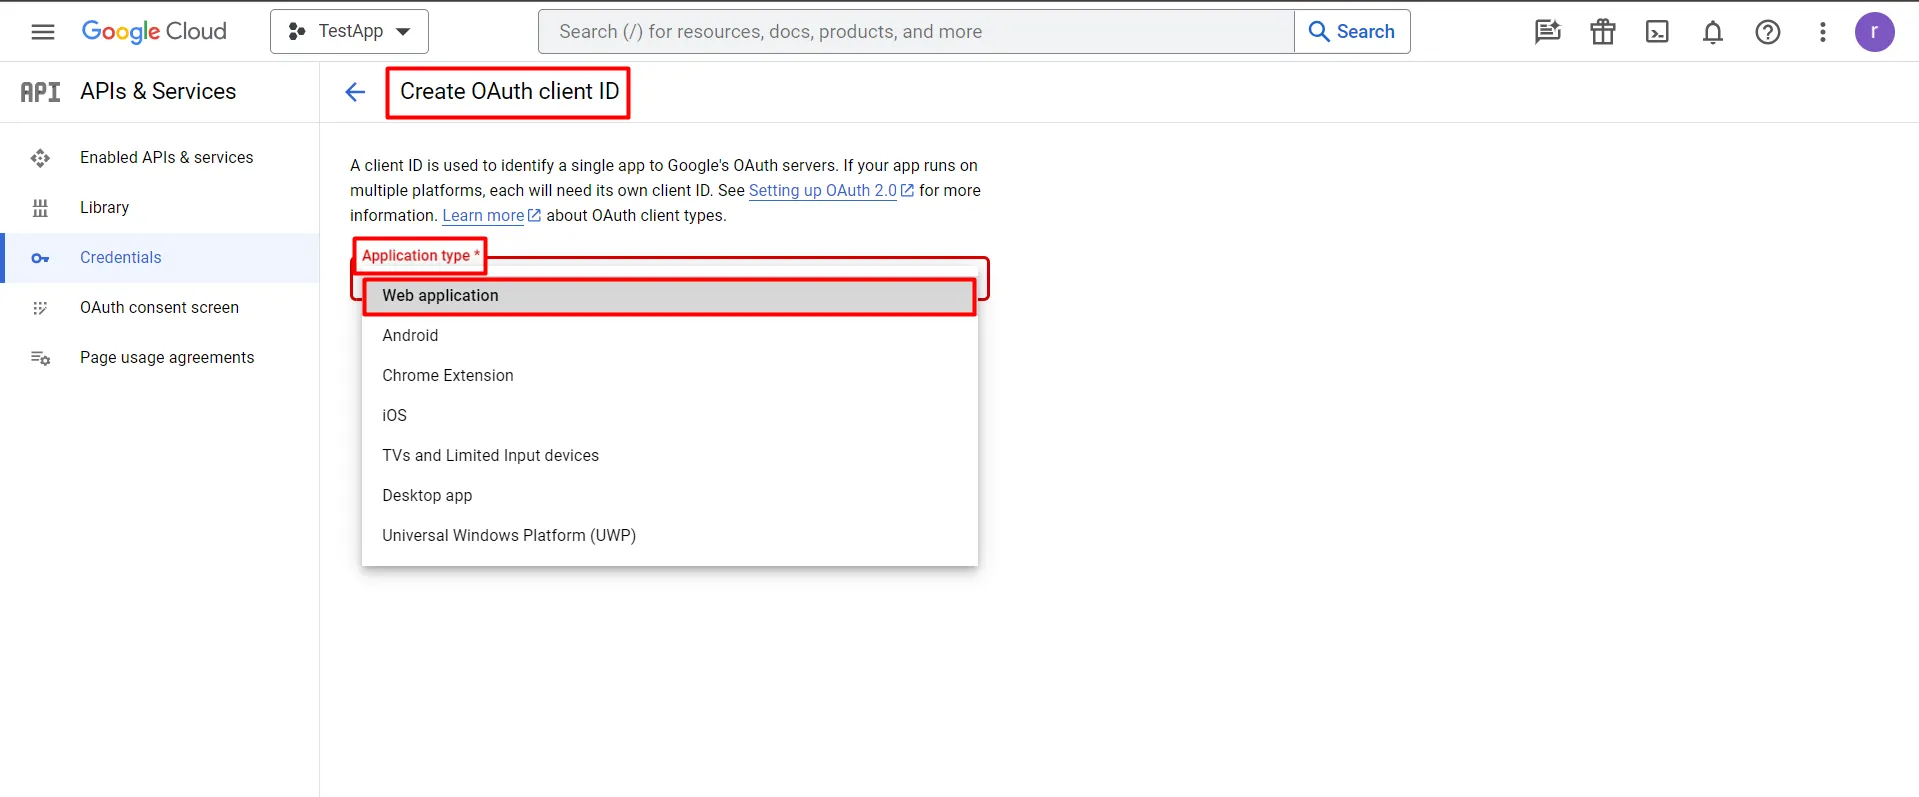
- Select Web application as the Application Type
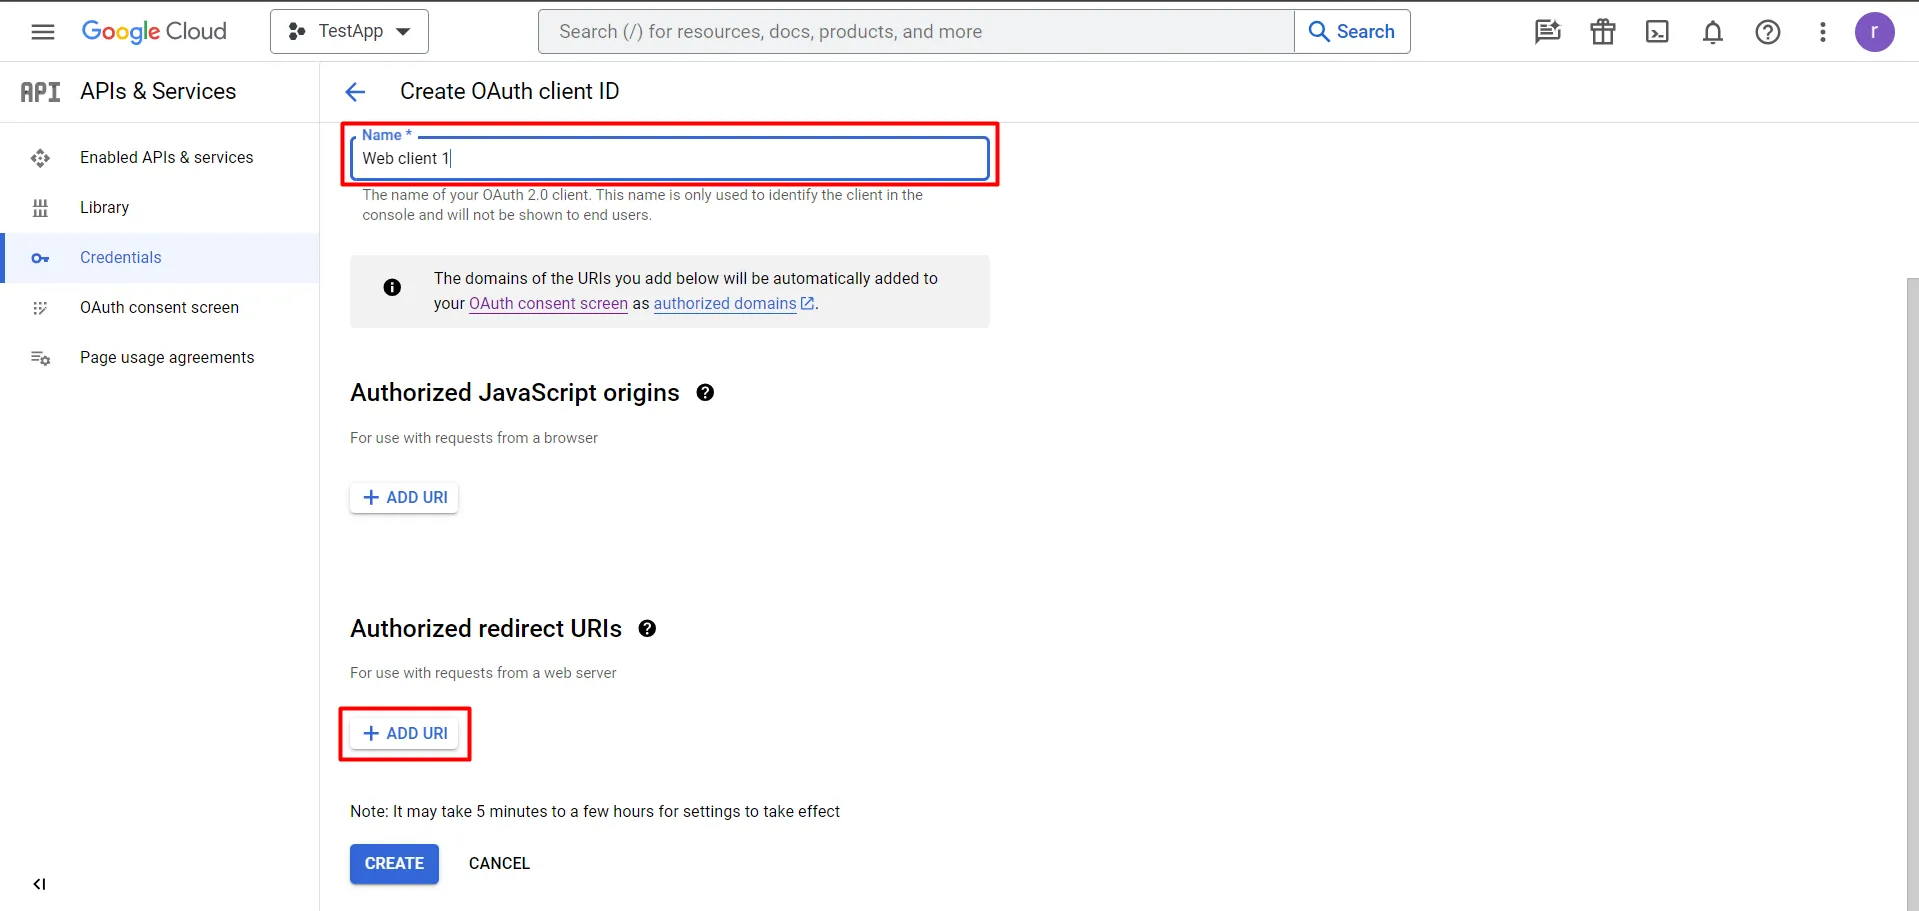
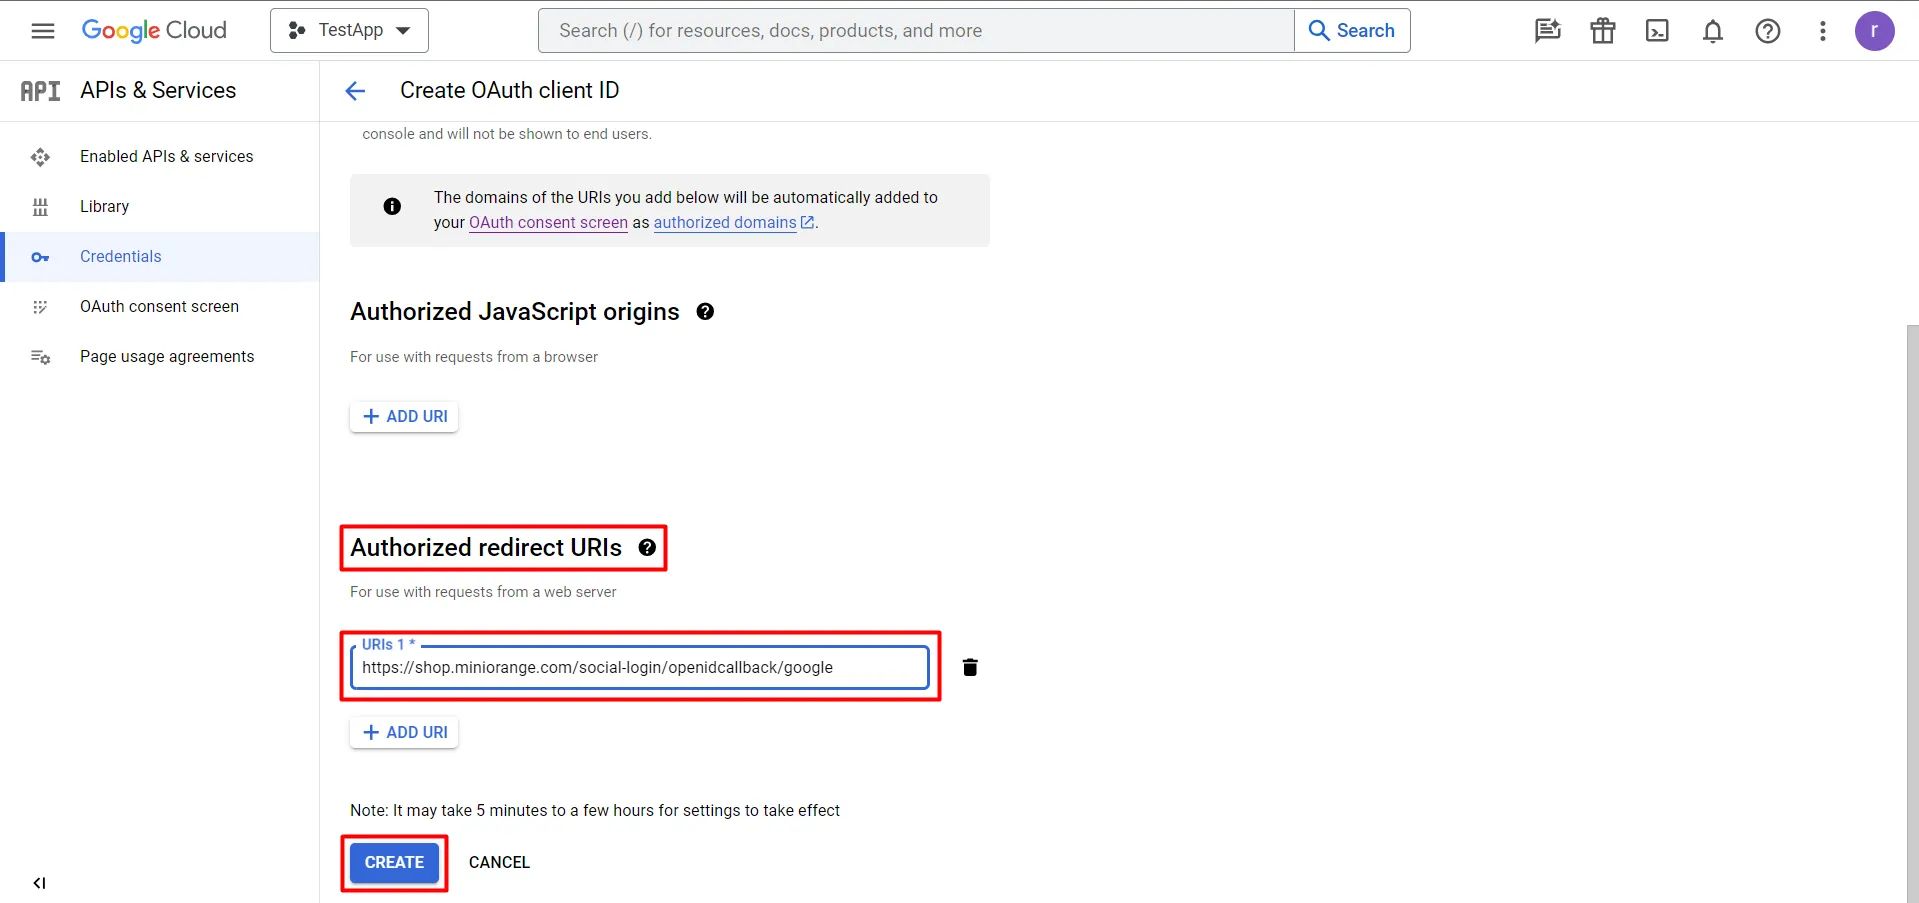
- You can customize the name of the Web Client. Add an Authorized redirect URIs
- Set Authorized redirect URIs to https://shop.miniorange.com/social-login/openidcallback/google. Click on Create
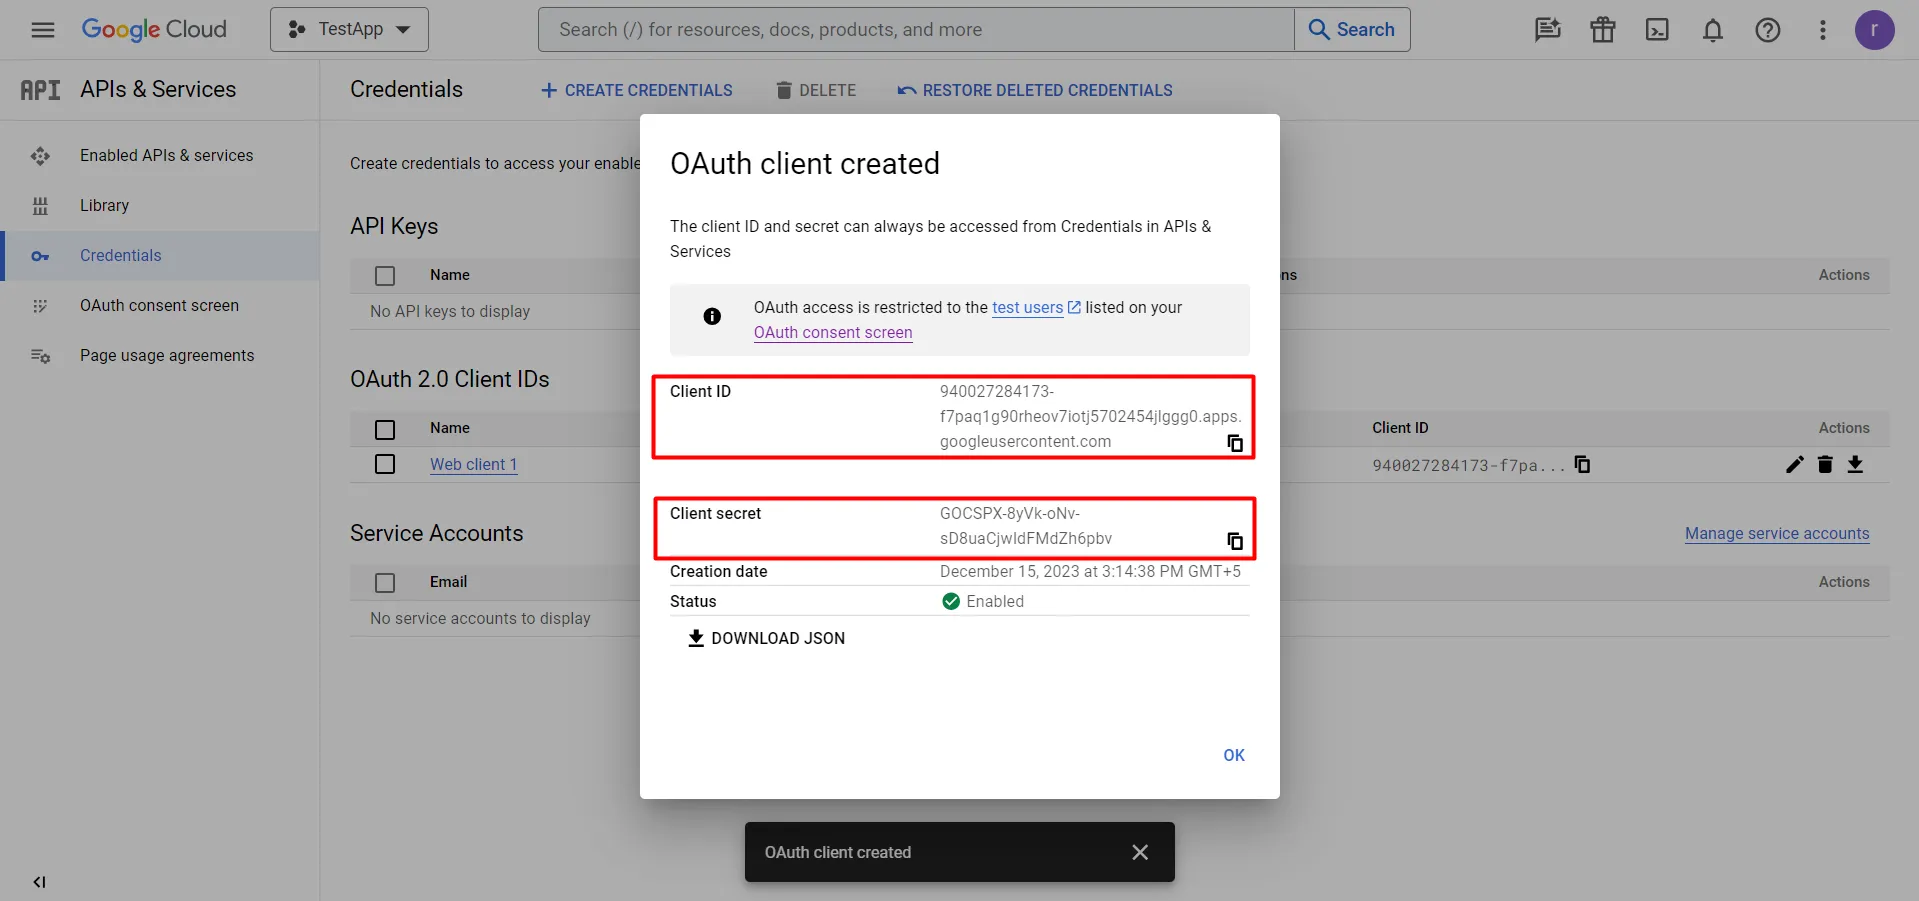
- Copy the generated Client ID and Client Secret, as it will be used in further steps.
- Now you have successfully configured the Custom app for Google Login
2. Configure the miniOrange Social Login Application
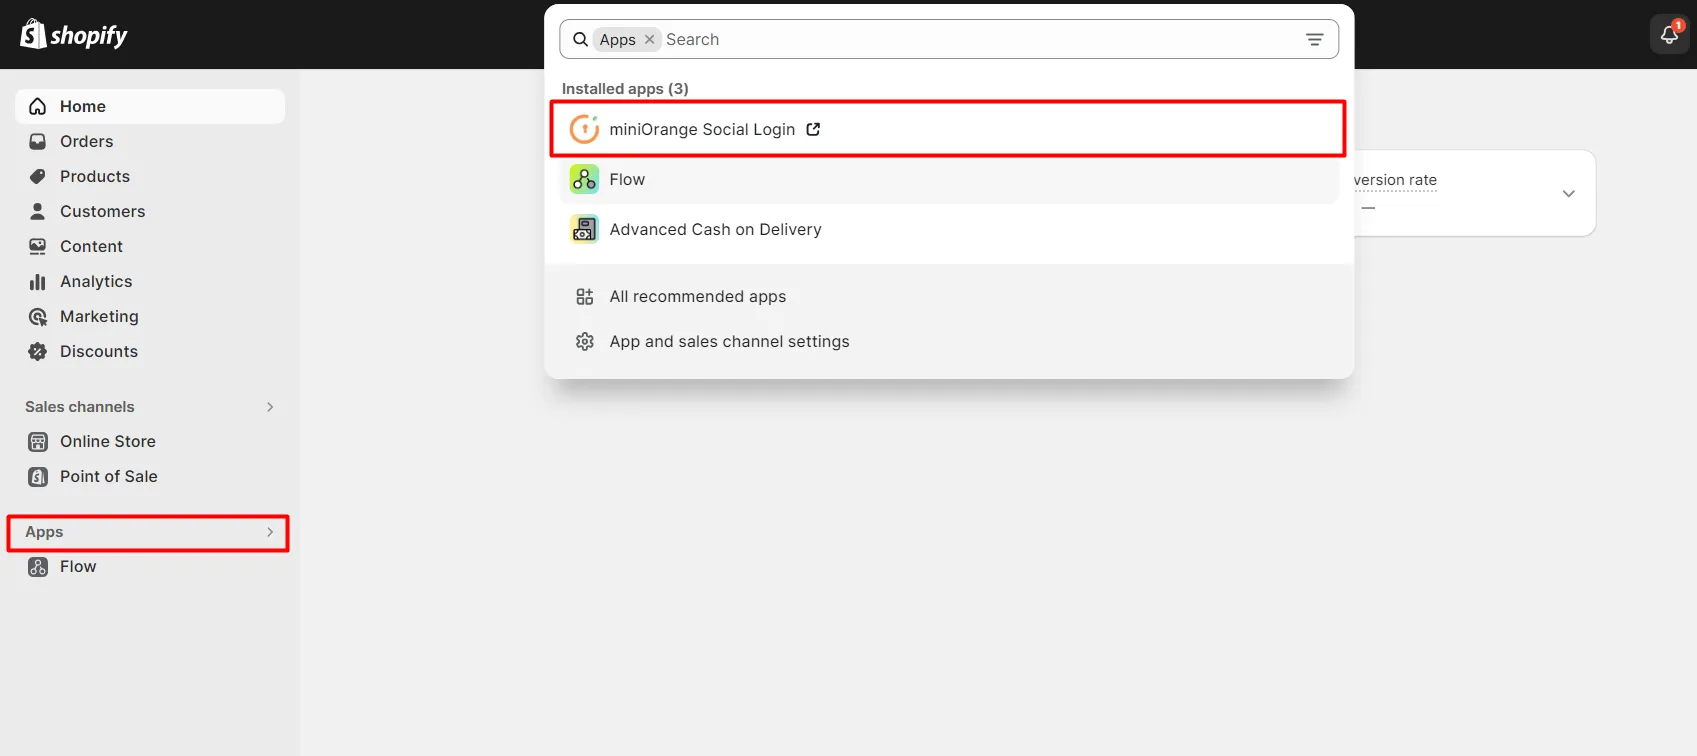
- Go to your Shopify store's Apps section and select the miniOrange Social Login application.
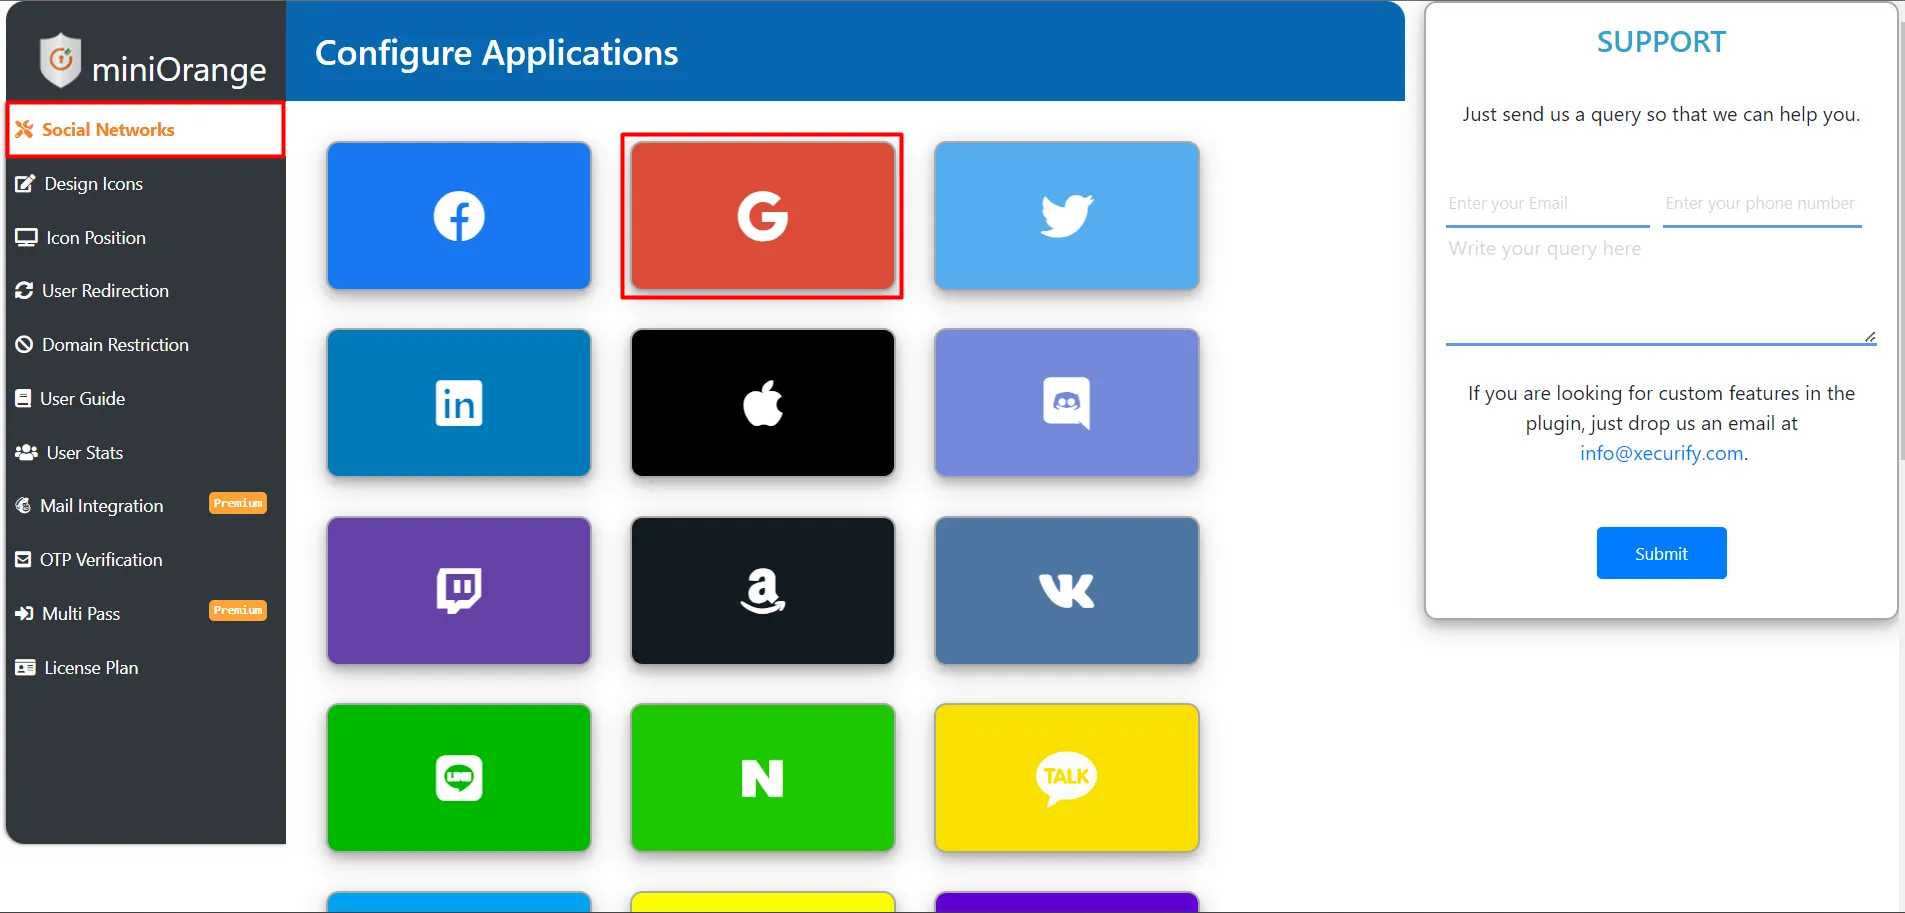
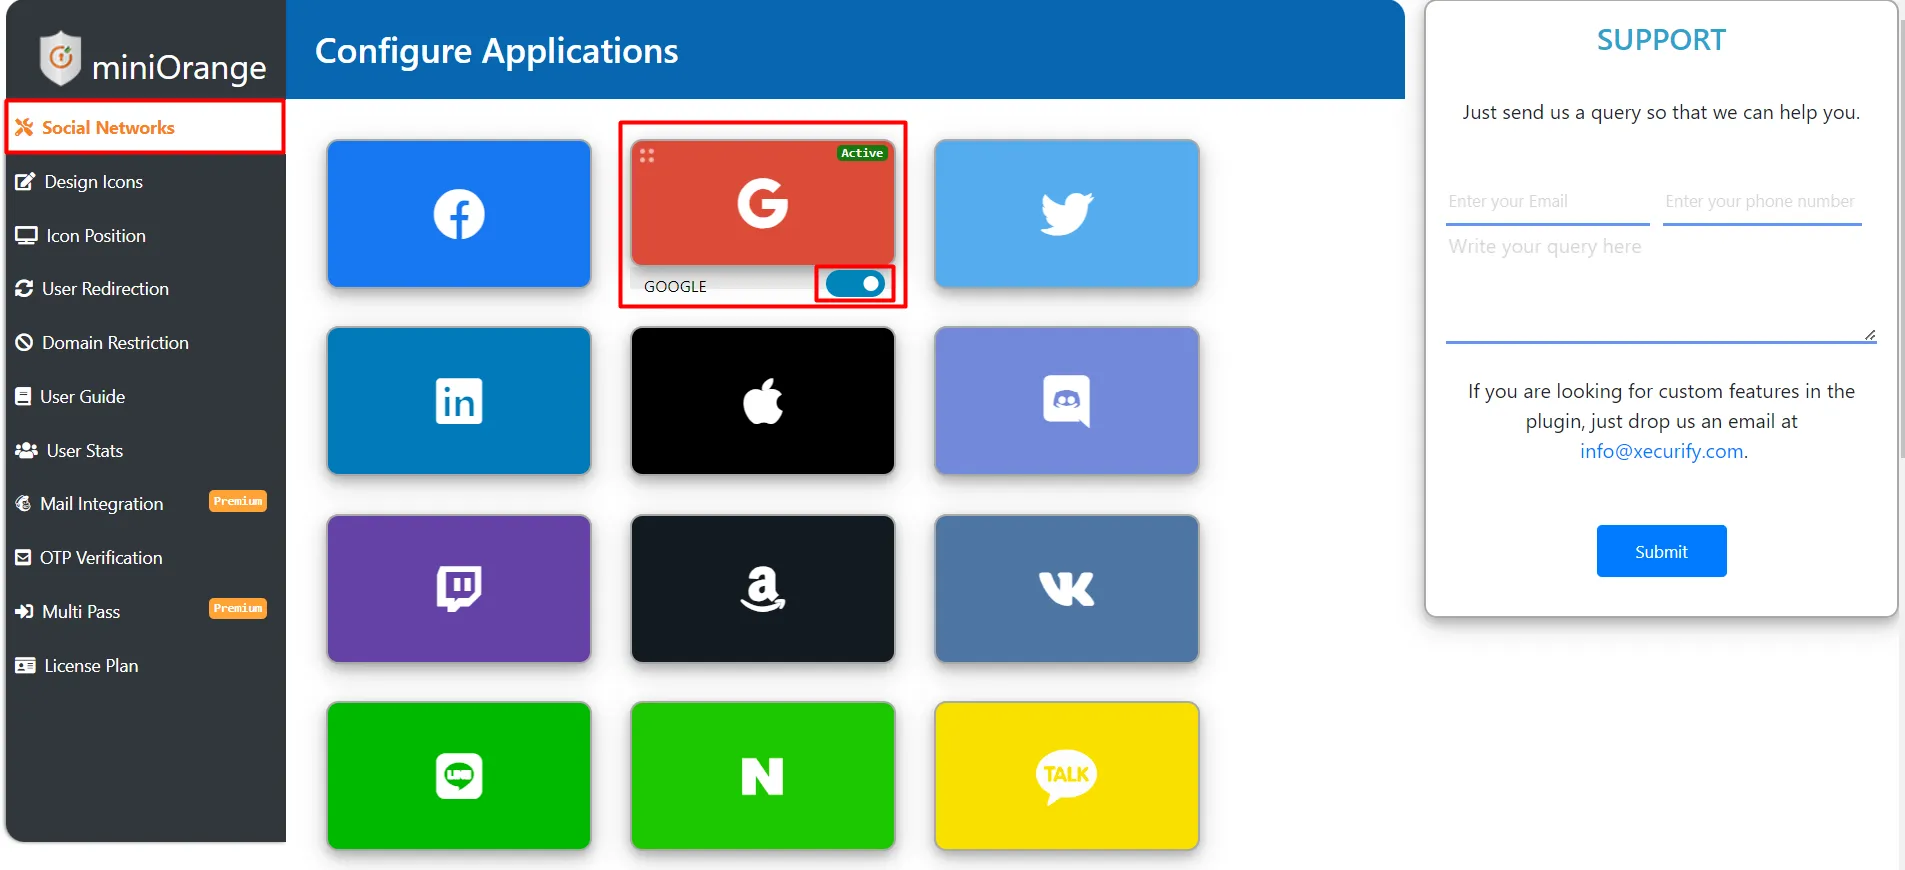
- You'll be redirected to the Social Login Application dashboard. Select Google.
-
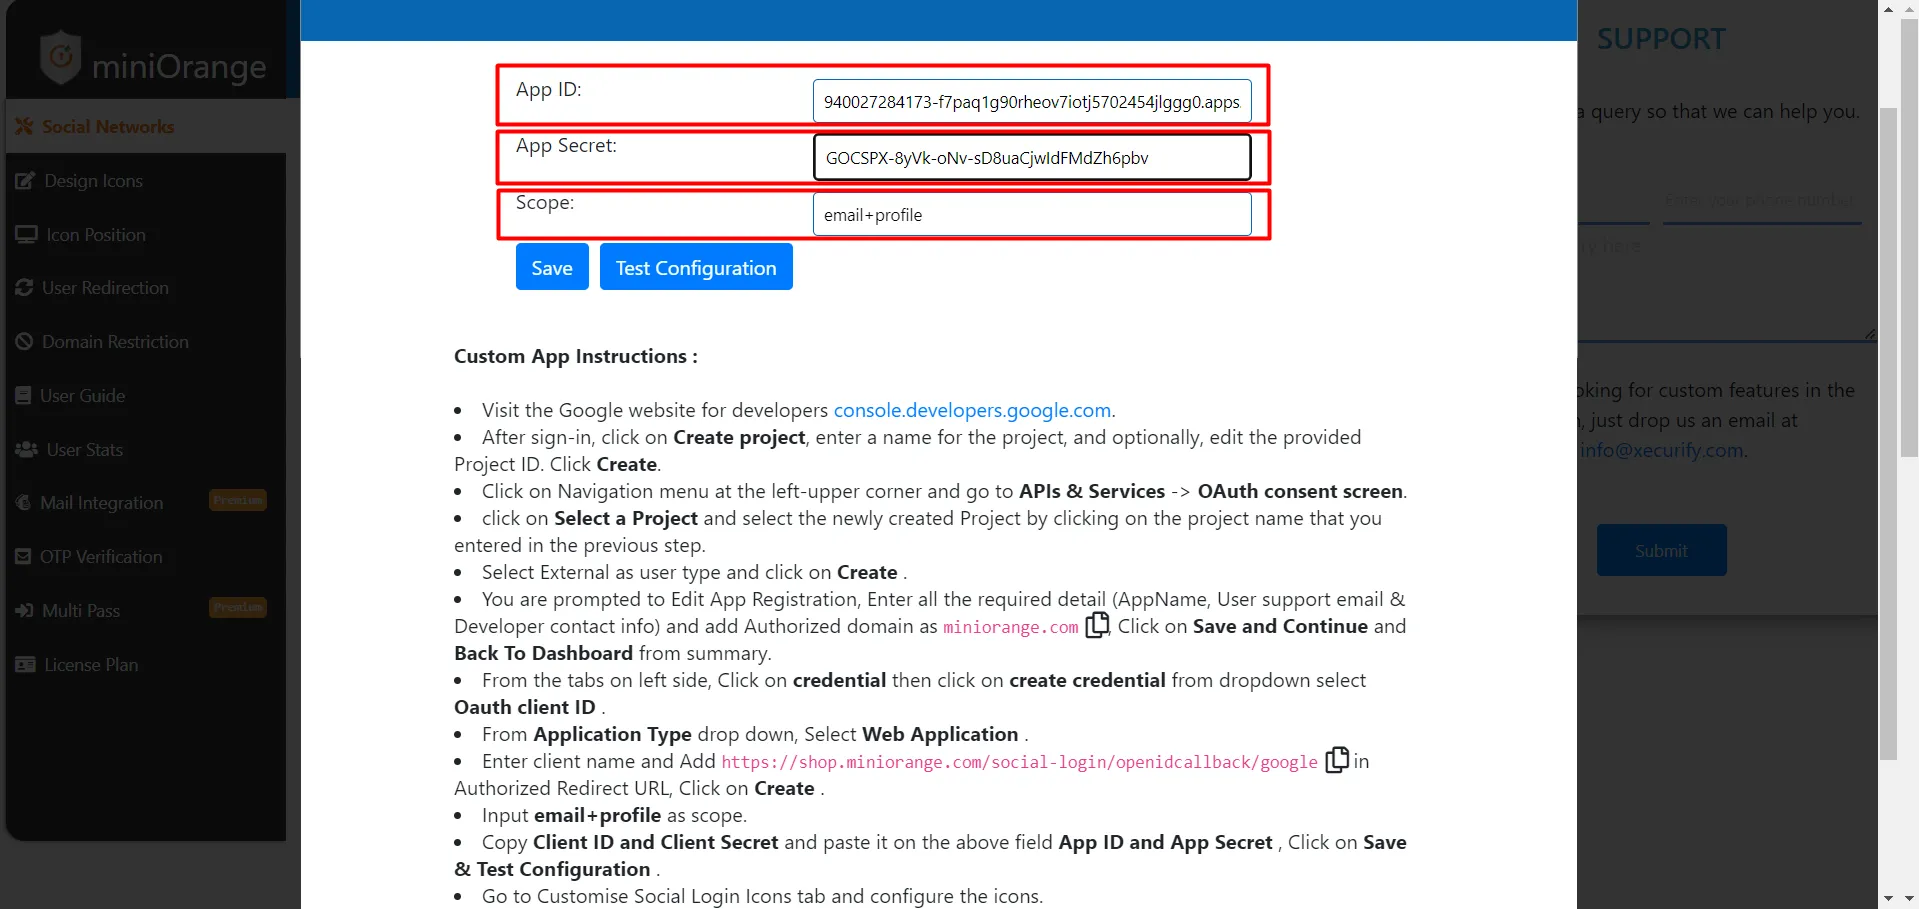
Paste the previously copied Client ID and Client Secret as mentioned in table.
App ID Client ID App Secret Client Secret Scope email+profile - Click on the Save to save the credentials.
- You have now successfully configured the miniOrange Social Login application side as well.
3. Test your Configuration
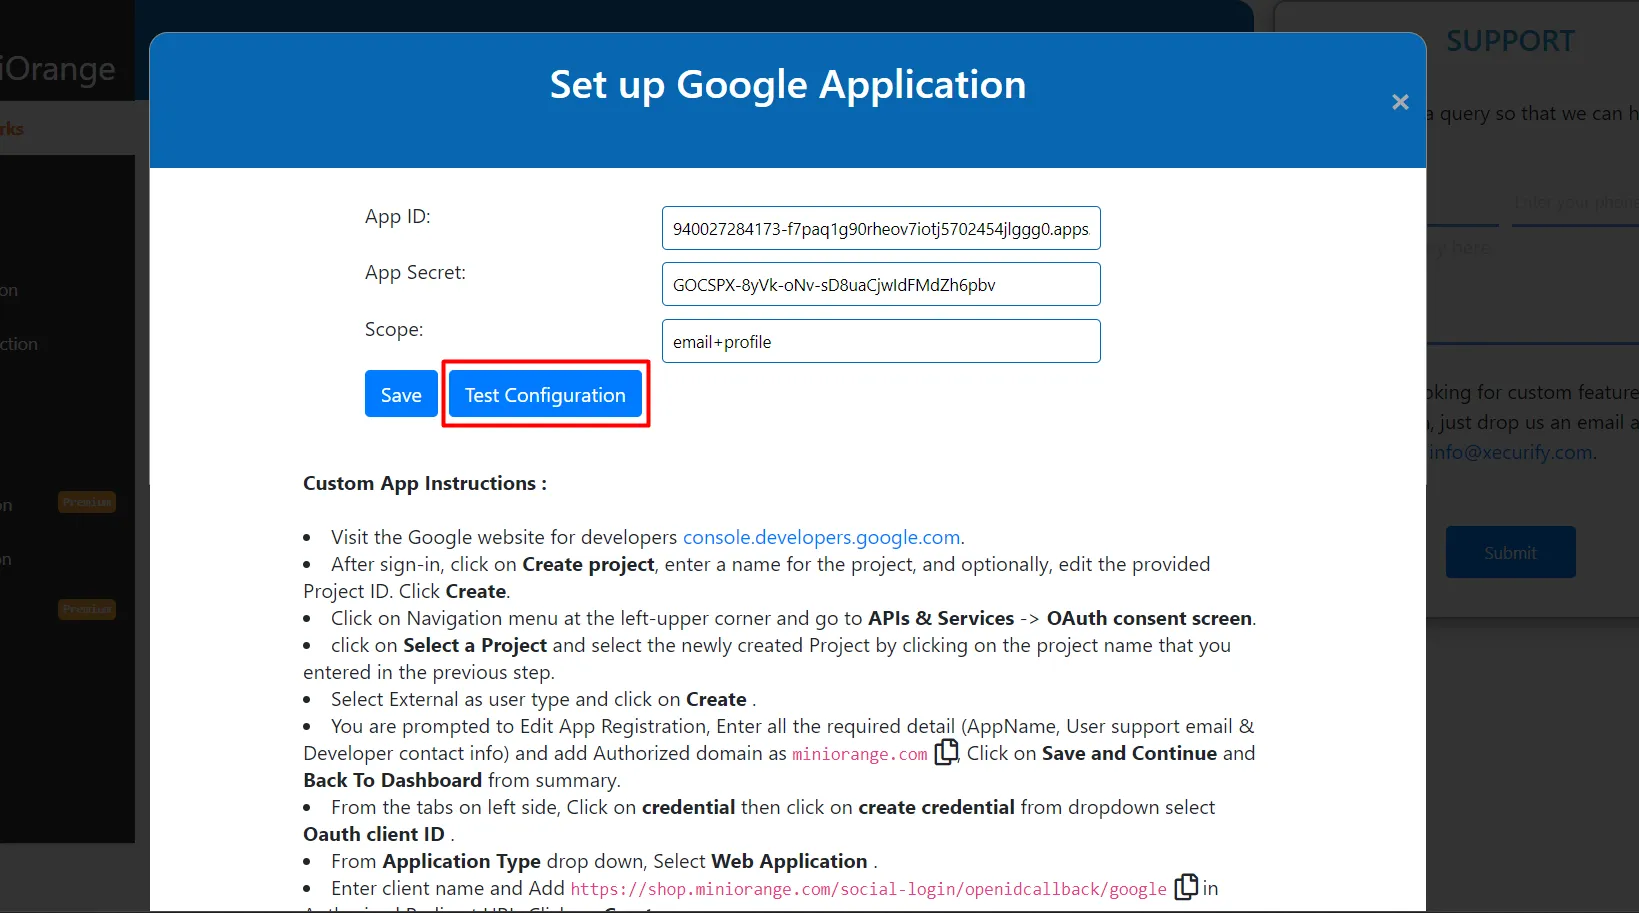
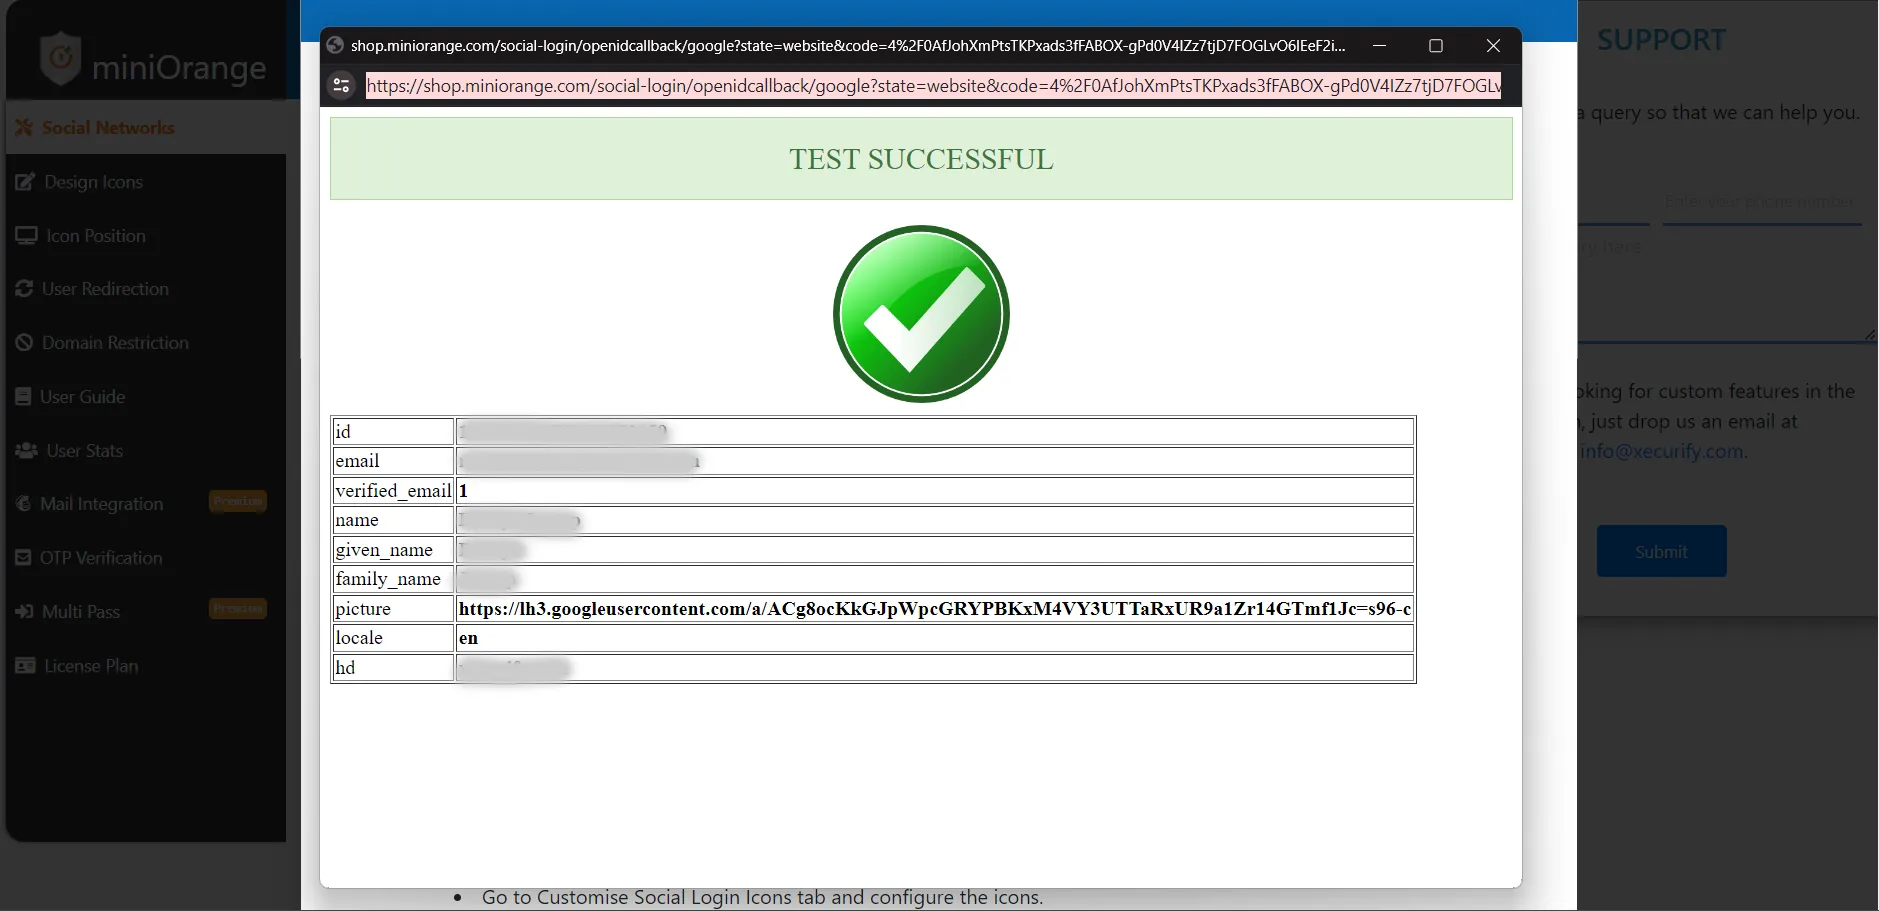
- Click Test Configurations on the Social Login Dashboard to validate your setup.
- A window should pop up, as Shown in the below image.
- Go to Social Login Dashboard, And Enable the Google toggle to display the Google Social Login button on your login page.
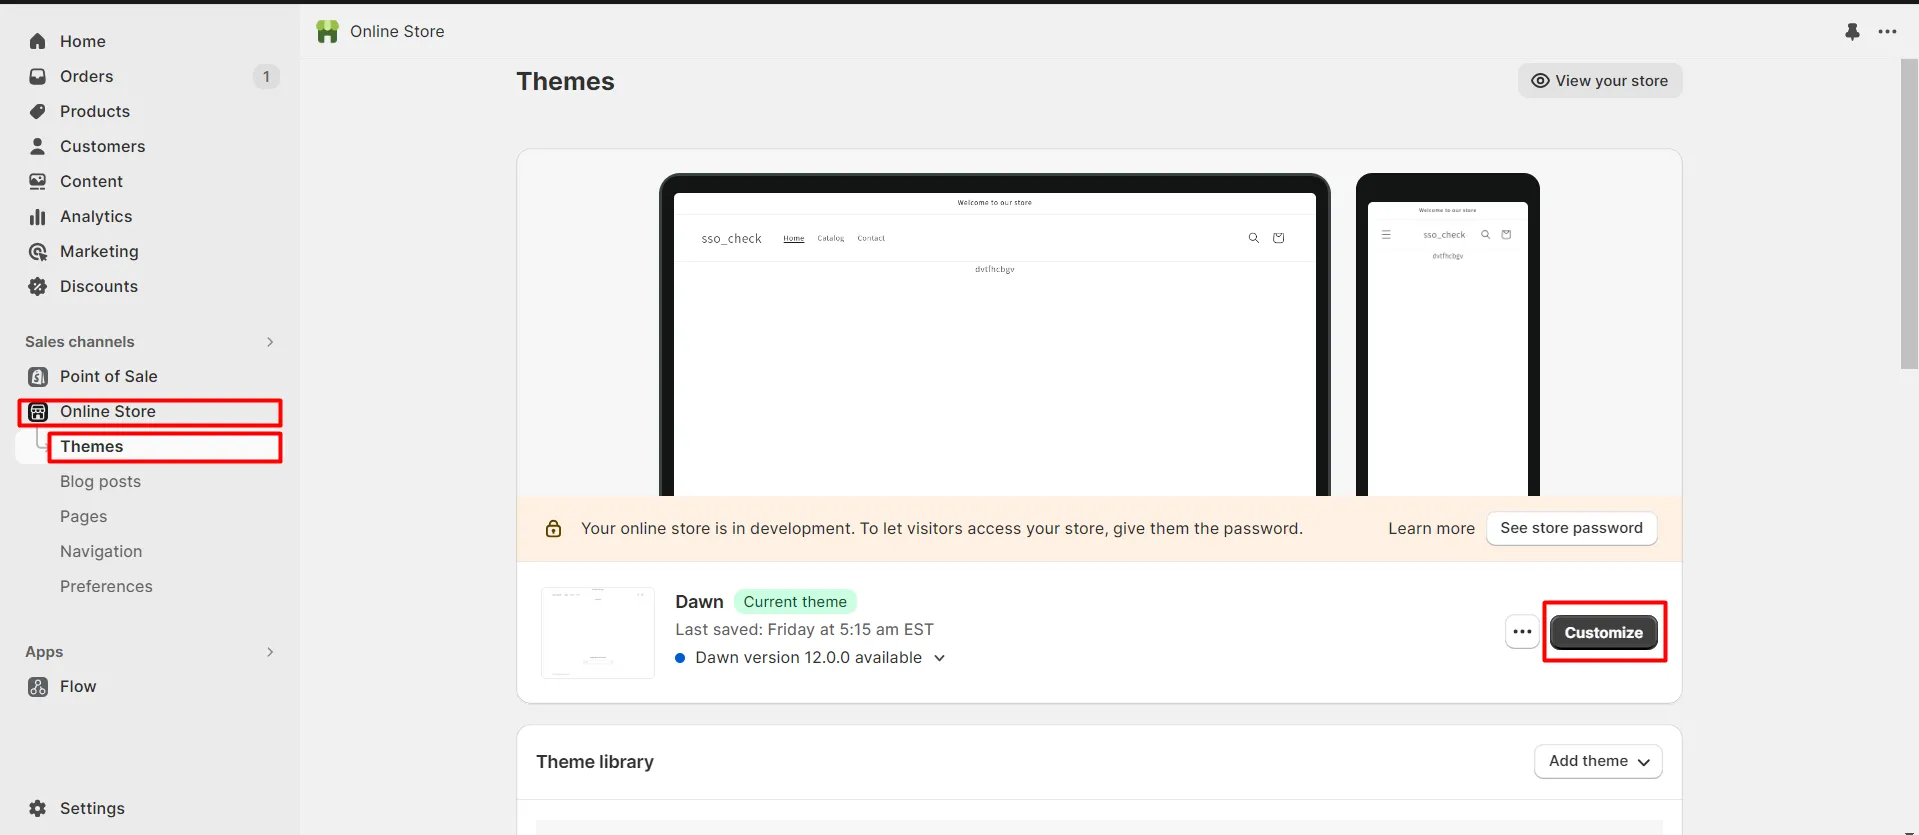
- Go to your Shopify Store >> Online Store >> Themes Click on Customize As Shown in the Image.
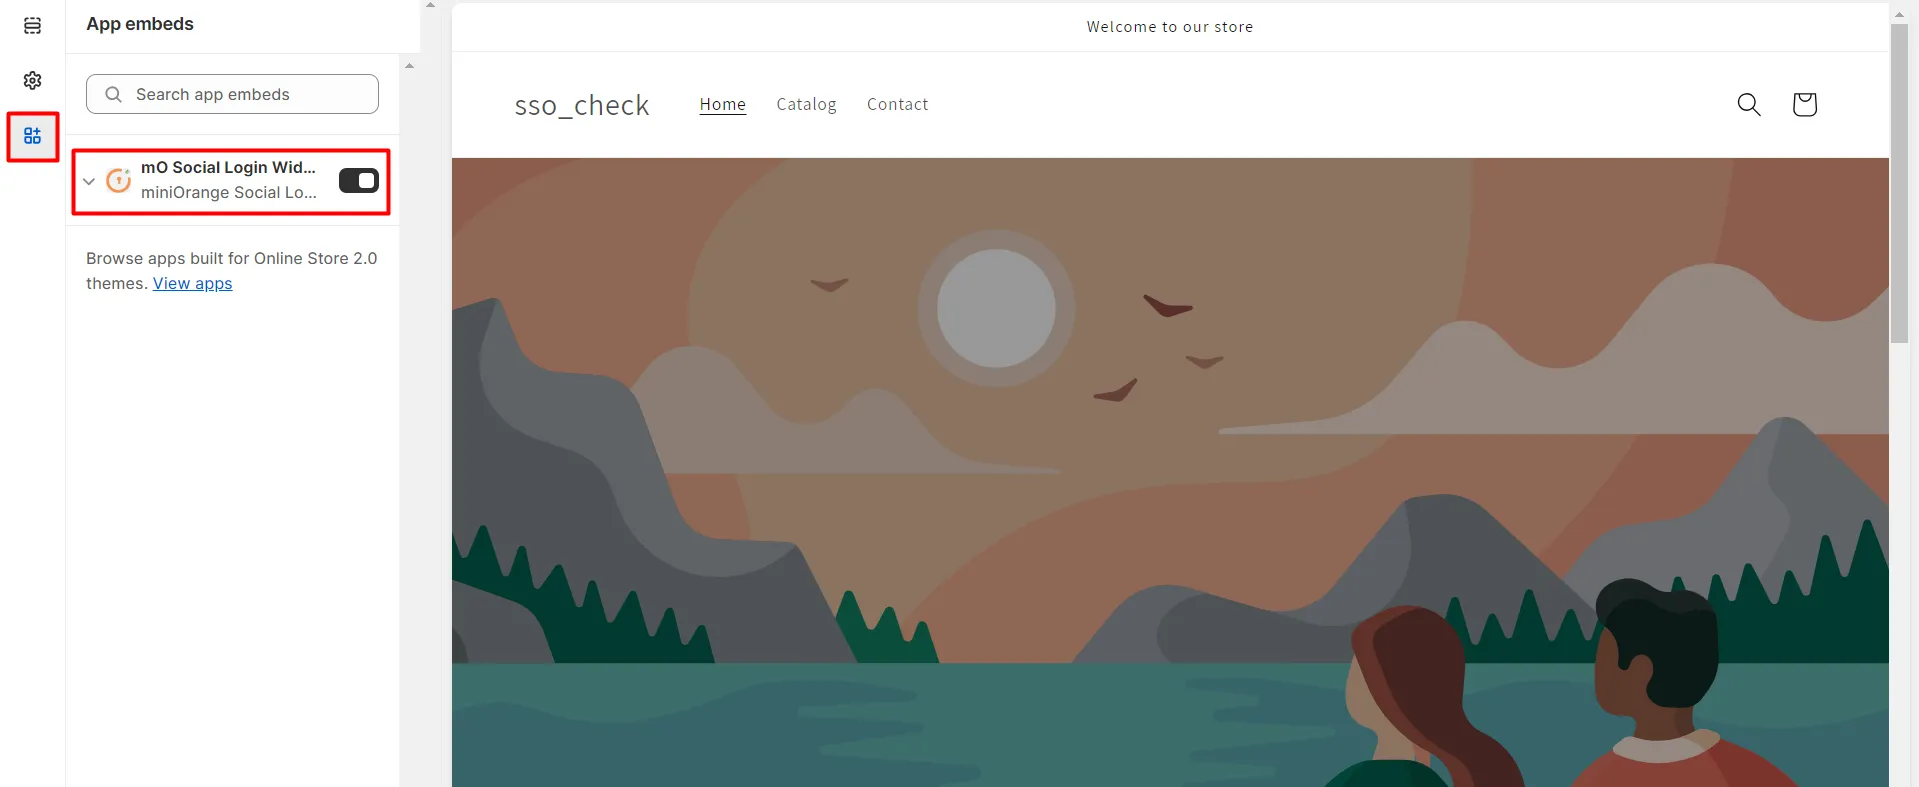
- Go to the App Embeds Section, and turn the mO Social Login widget On
- Now you can see the Google Social Login button is showing on your login page
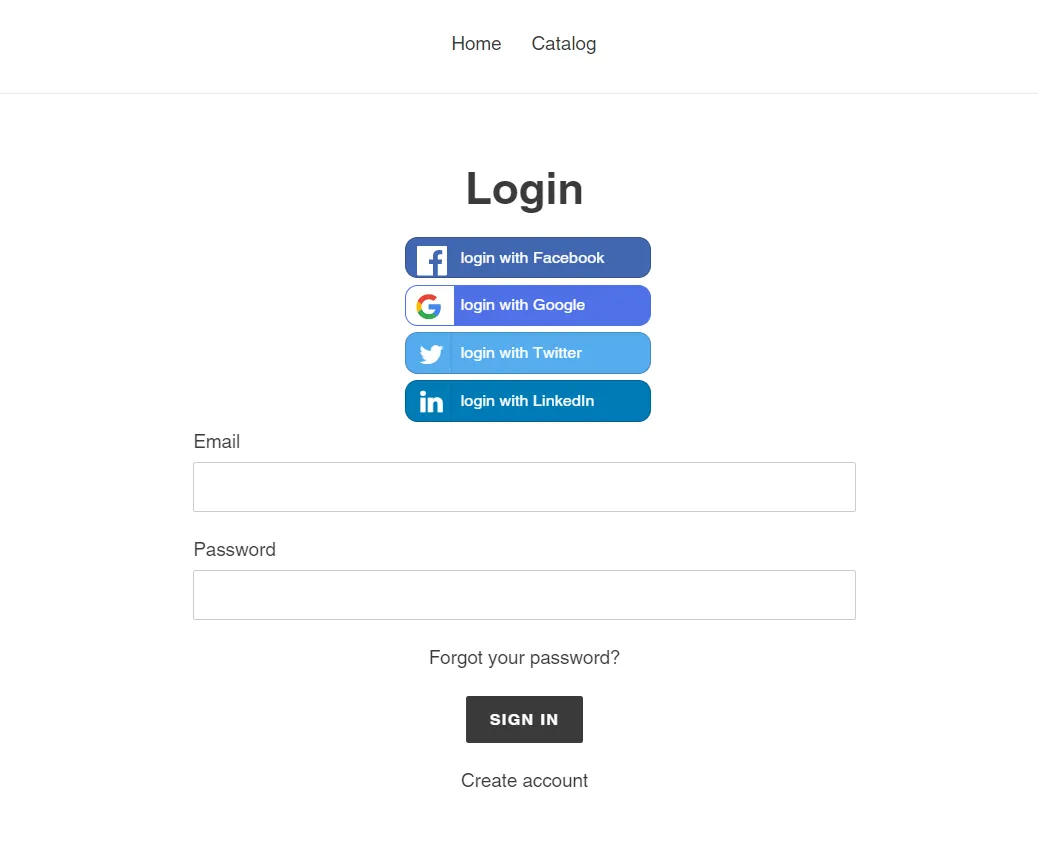
You have completed Google Social Login Setup.
Other Customizations provided by the miniOrange Social Login Application
If you are looking for Branding/White-Labeling the Google Authorization Screen, Please reach out to us at shopifysupport@xecurify.com to discuss this further.
If you would like to fetch a record of the Date of birth and Gender of users who log in through Google Social login, please get in touch with us at shopifysupport@xecurify.com.
If you have any error or query, click here to see others.
Additional Resources
If you are looking for anything that you cannot find, please drop us an email at shopifysupport@xecurify.com.
Need Help? We are right here!
