Meet us at WordCamp Europe | ShopTalk | DrupalCon Conferences to explore our solutions. Know More
Naver Single Sign-On SSO into WordPress using OAuth OpenID Connect
WordPress OAuth/OpenID Single Sign-On plugin gives the ability to enable OAuth/OpenID Single Sign-On for WordPress. If you want users to log in to your WordPress site using their Naver credentials, you can simply do it using our WP OAuth Client plugin. Once you configure the Naver with WordPress plugin, you can allow users to SSO to your WordPress site using miniOrange. To know more about other features we provide in WP OAuth Client plugin, you can click here.
You can download OAuth Client plugin using the following link.
Download And Installation
- Log into your WordPress instance as an admin.
- Go to the WordPress Dashboard -> Plugins and click on Add New.
- Seach for a WordPress OAuth Single Sign On plugin and click on Install Now.
- Once installed click on Activate.
Step 1: Setup Naver as OAuth Provider
- Visit and login at https://developers.naver.com/main/
- Go to Application -> My application.
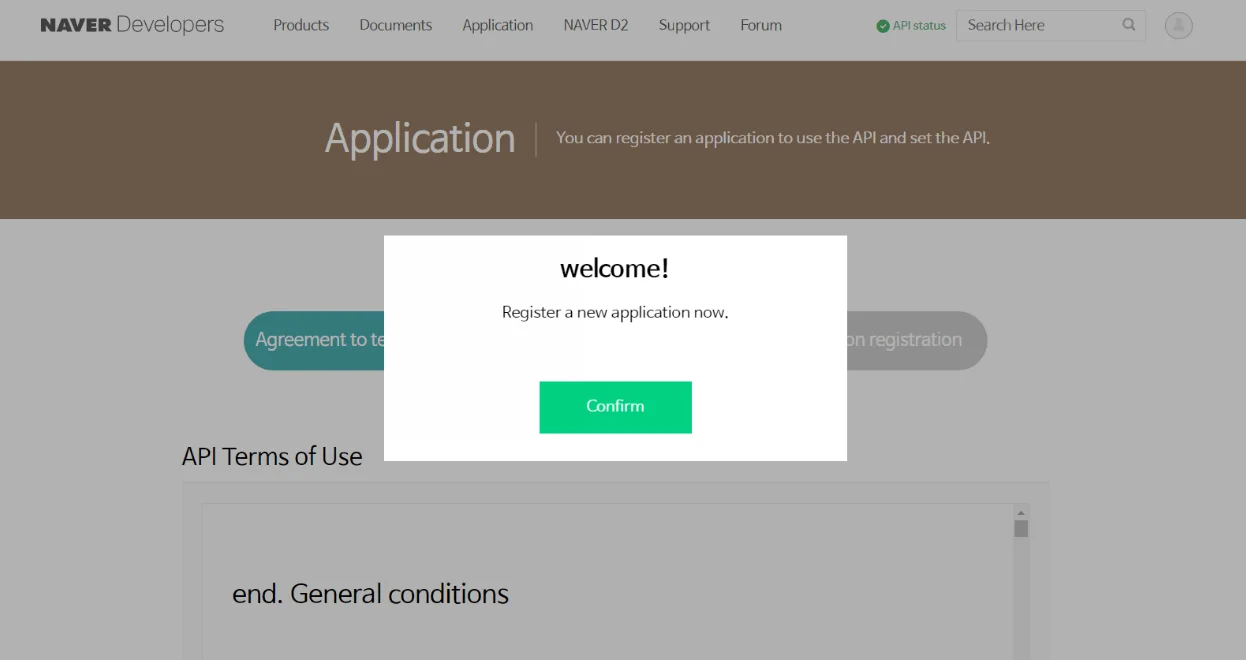
- Click on confirm to register a new application.
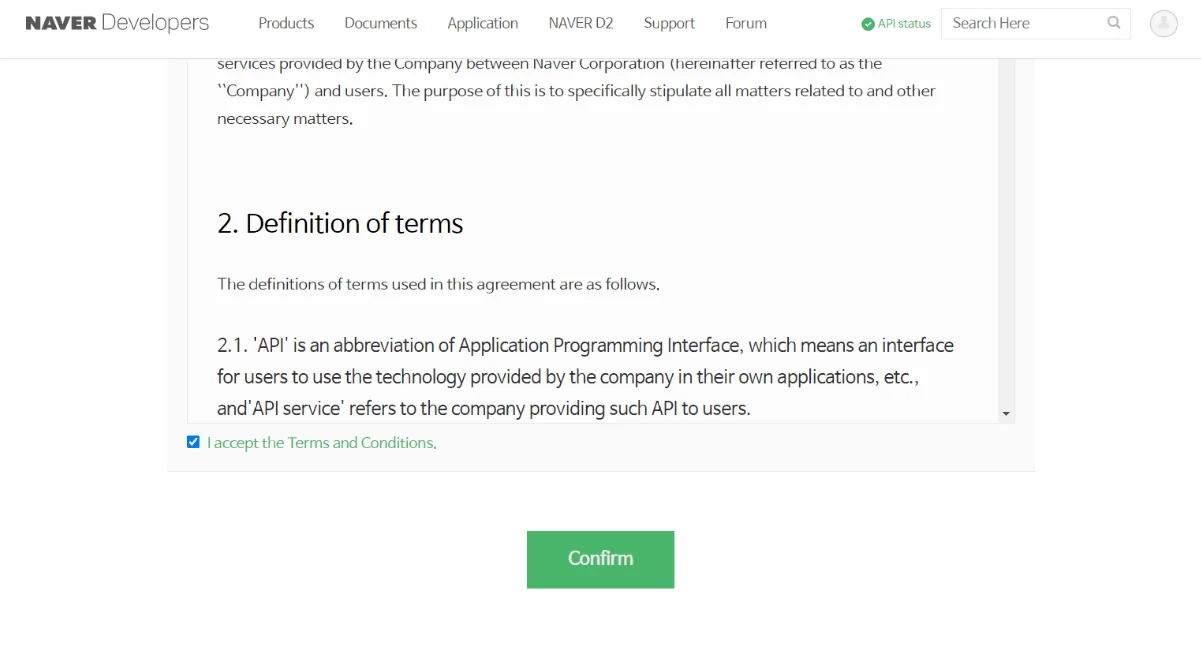
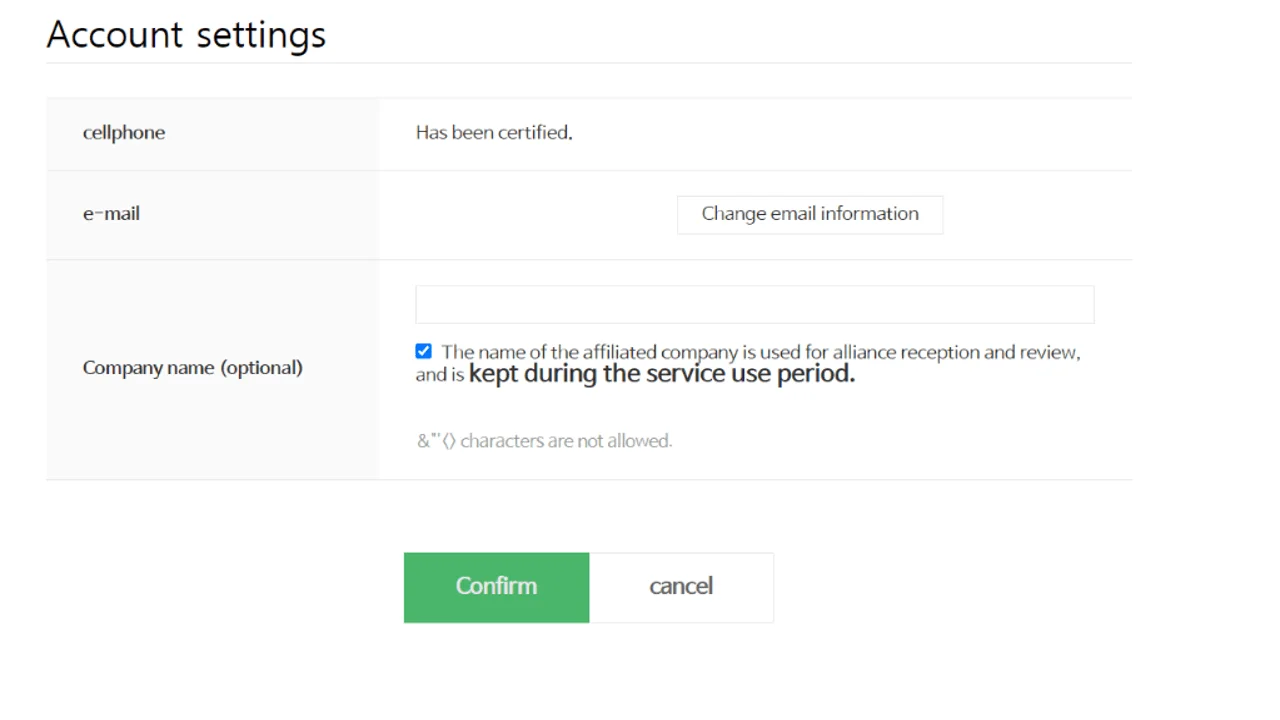
- Check the box and click Confirm.
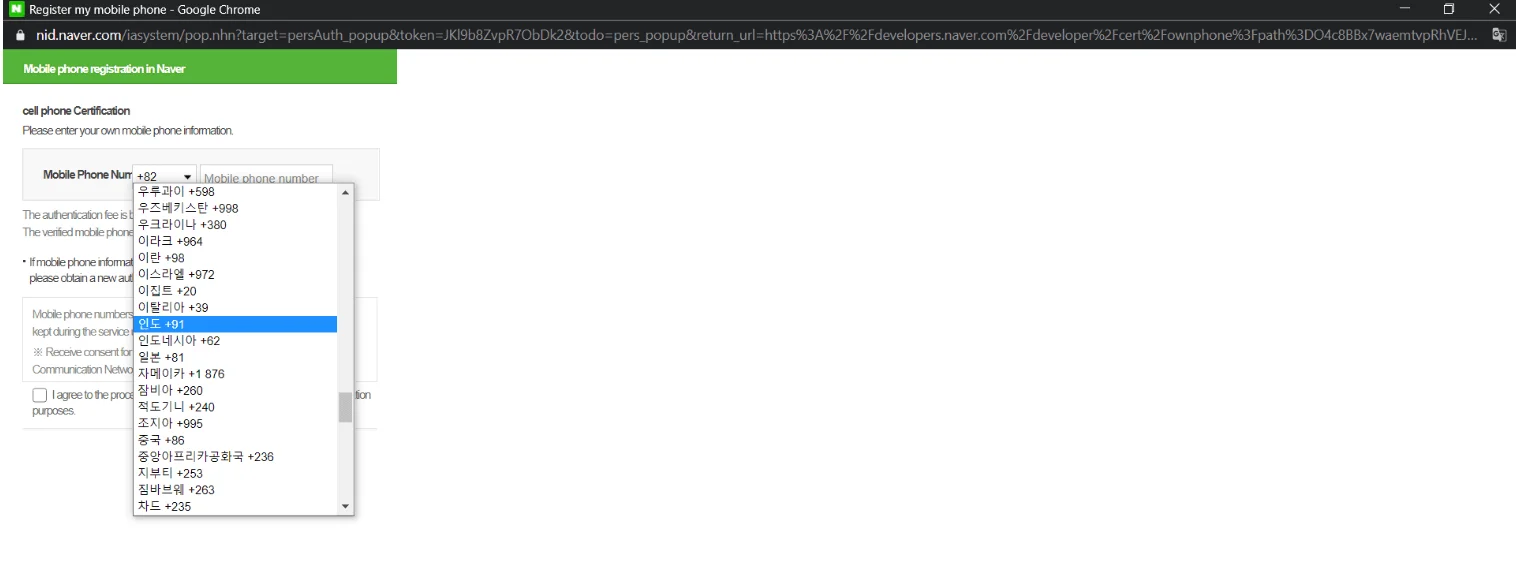
- Select country code, enter mobile number, Check the box and click Left button .
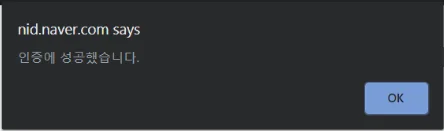
- Complete the process by entering code received by SMS and Click OK.
- Check the box and Click Confirm.
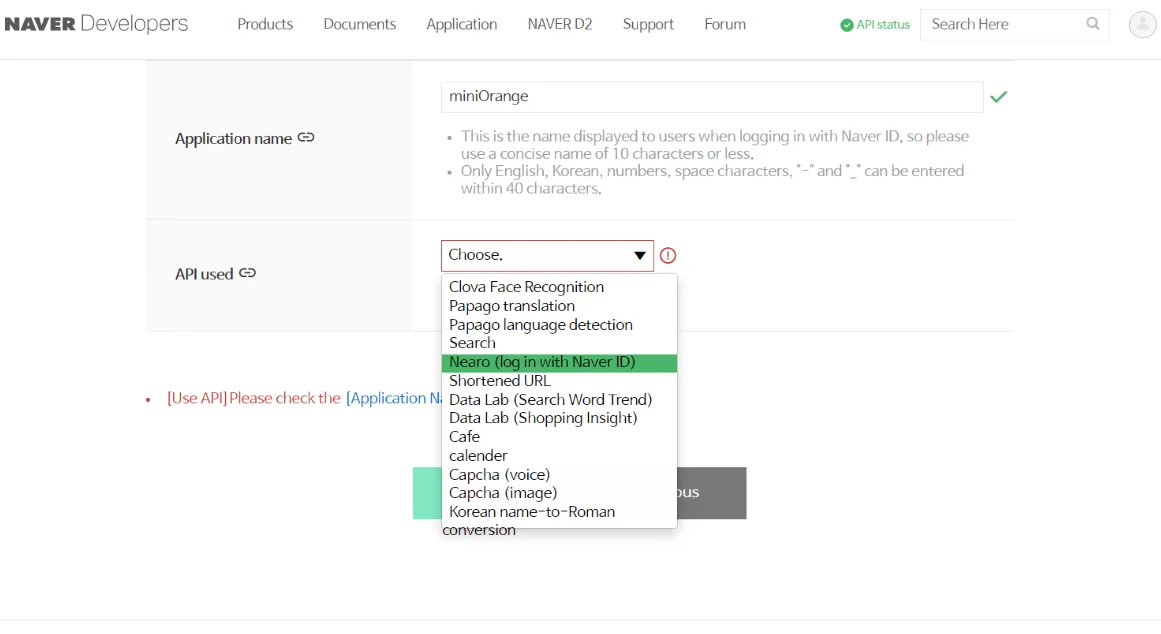
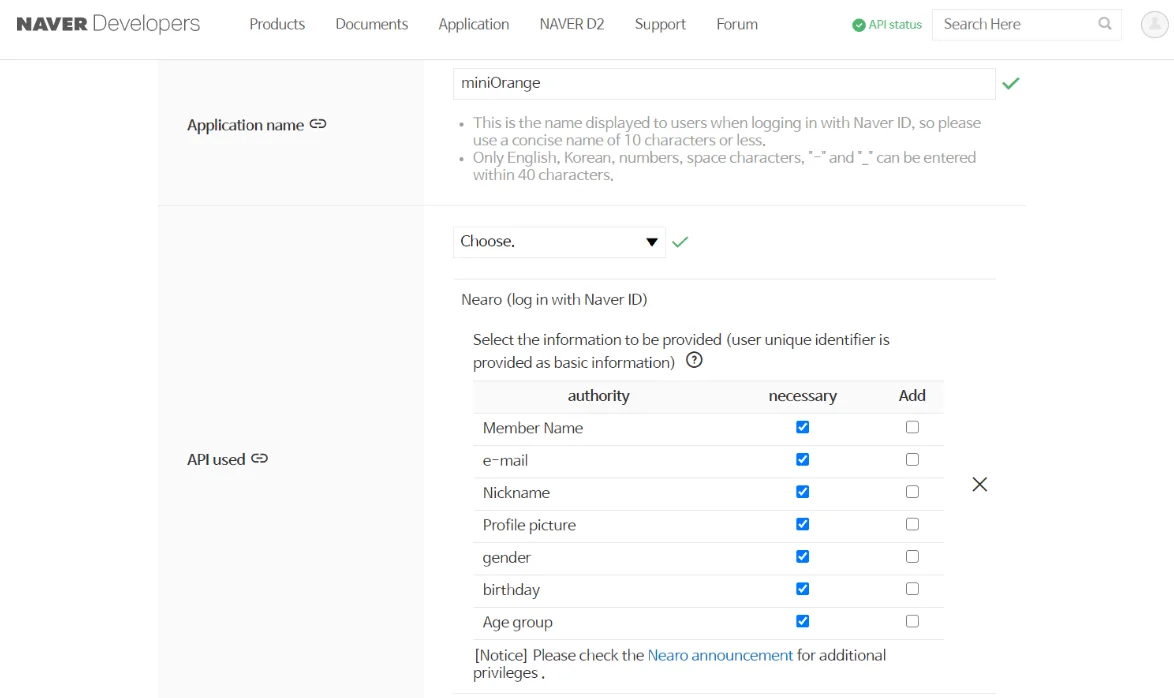
- Give Application name and Select Nearo(log in with Naver ID) as API used
- Select all the necessary attributes you want to fetch.
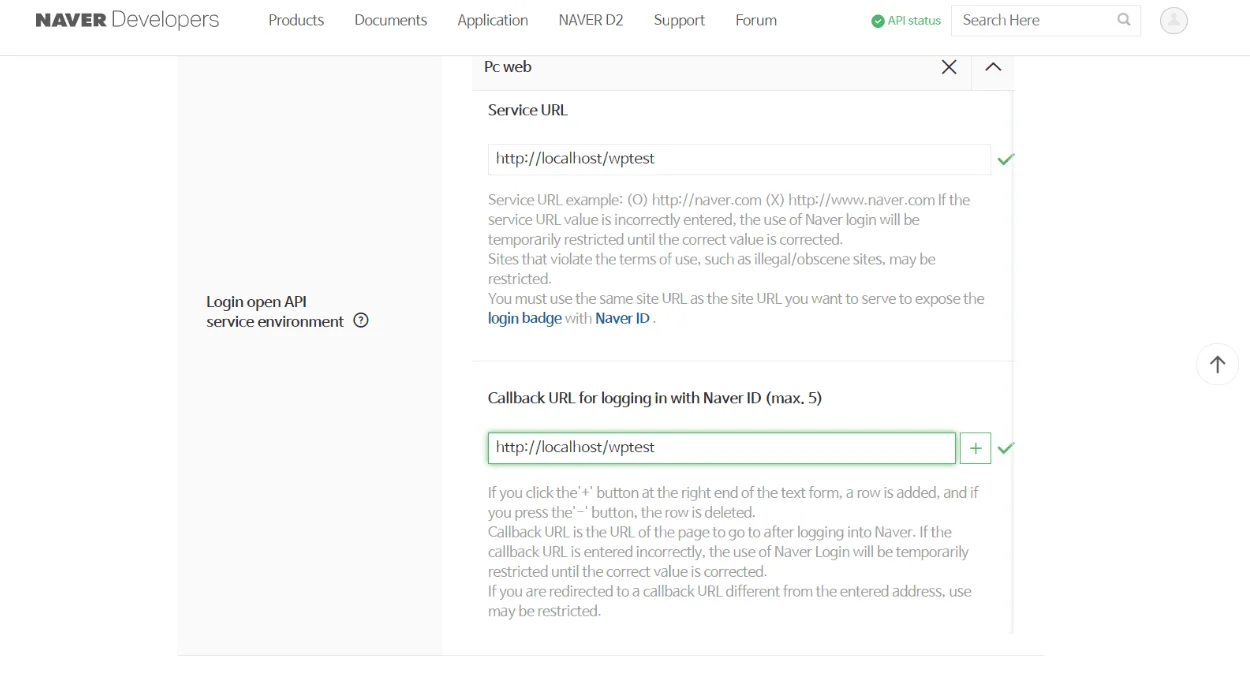
- Select PC web as platform.
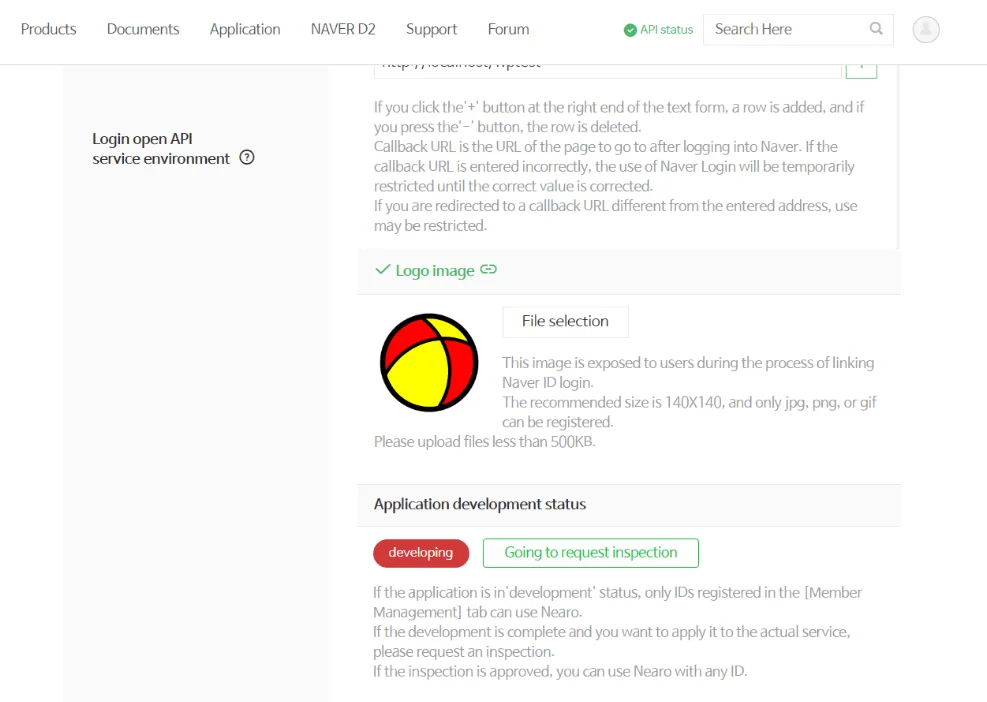
- Enter the Callback URL which you will get from the plugin .
- Click registration.
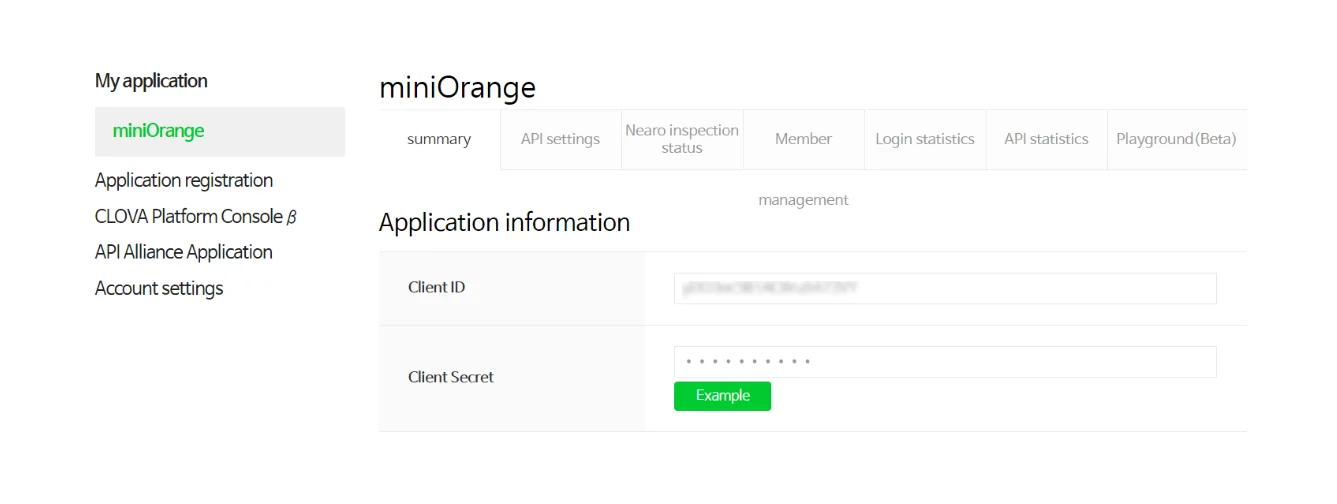
- Click Example to View Client Secret.
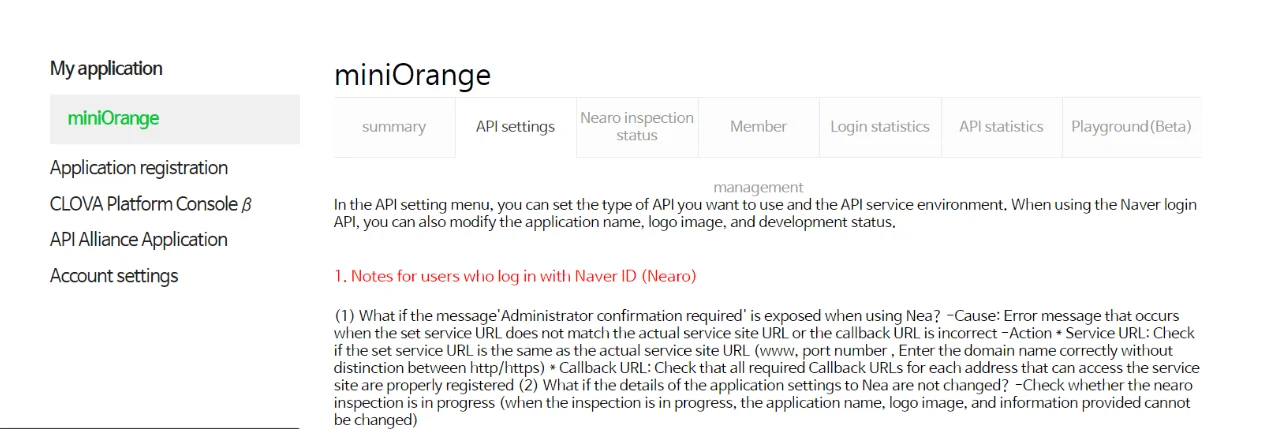
- Go to API Settings
- Upload Logo Image and Click Going to request inspection
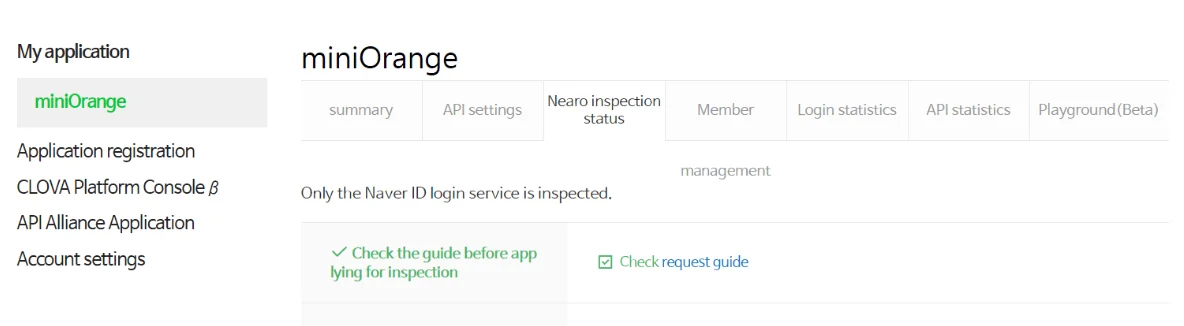
- Go to Nearo inspection status Tab and complete steps there. Click Modified.


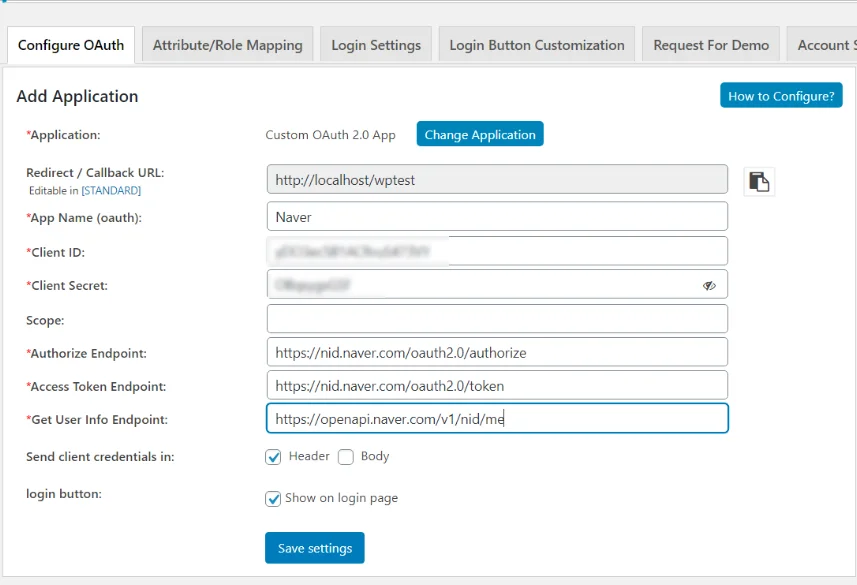
Naver Endpoints:-
| Authorize Endpoint: | https://nid.naver.com/oauth2.0/authorize |
| Access Token Endpoint: | https://nid.naver.com/oauth2.0/token |
| Get User Info Endpoint: | https://openapi.naver.com/v1/nid/me |
Step 2: Setup WordPress as OAuth Client
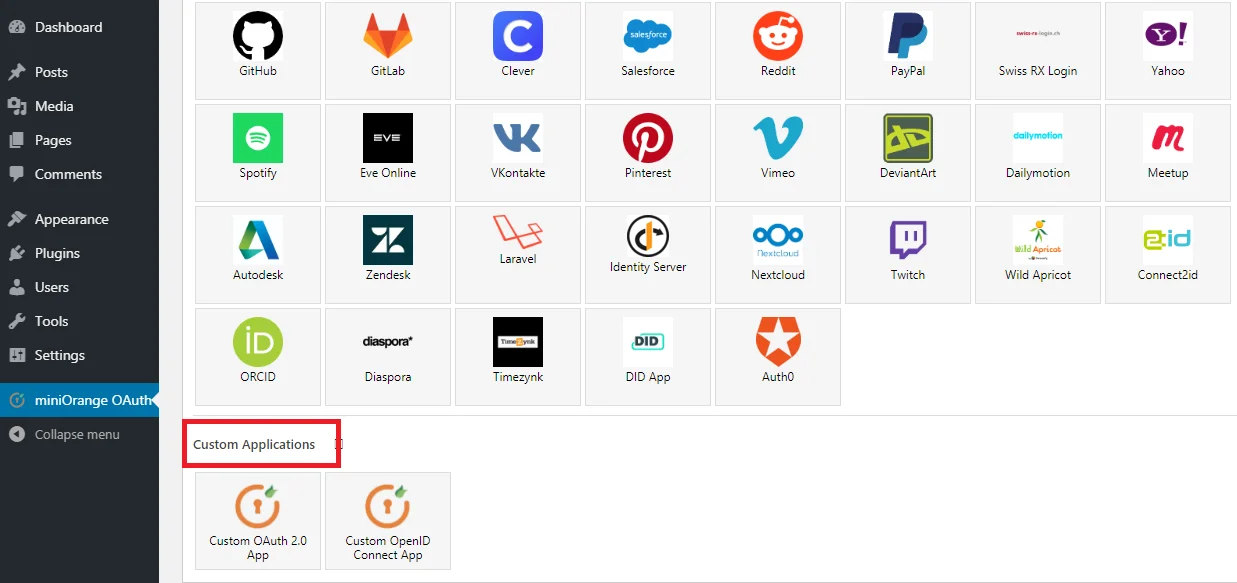
- Go to miniOrange plugin and add custom app.
- Enter Client ID and Client Secret as copied from the Naver application.
- Click Save Settings.
Step 3: User Attribute Mapping.
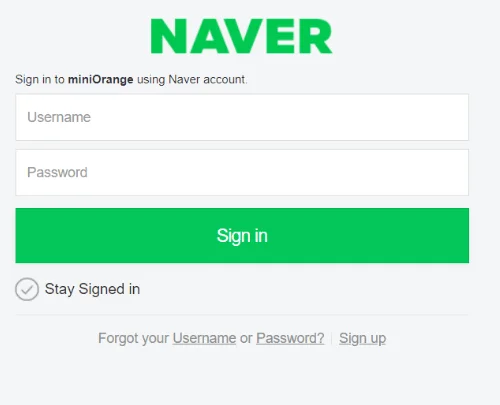
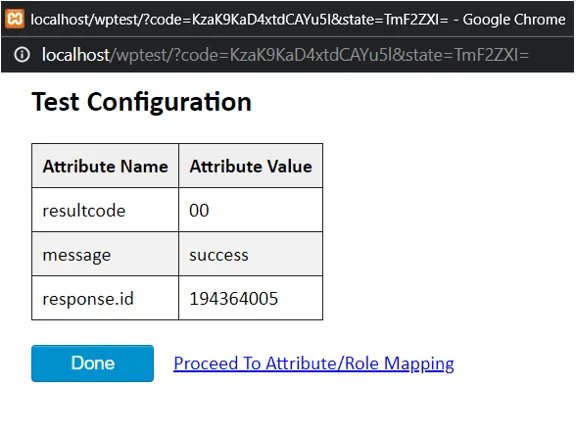
- Go to miniOrange Plugin and Click Test Configuration. Login if you are asked
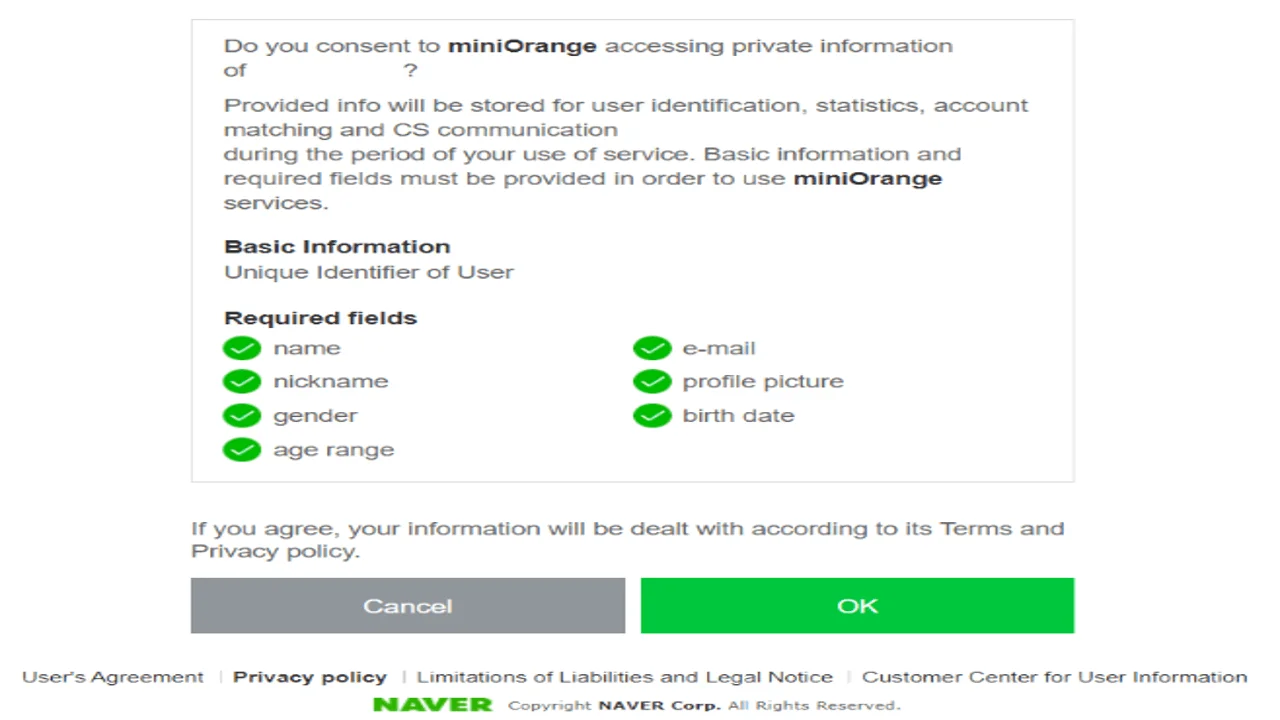
- Click OK when you are asked for permission .
- Click Proceed to Attribute/Role Mapping once you receive the attributes .
Step 4: Login Settings / Sign In Settings.
- The settings in Single Sign-On (SSO) Settings tab define the user experience for Single Sign-On (SSO). To add a Naver login widget on your WordPress page, you need to follow the below steps.
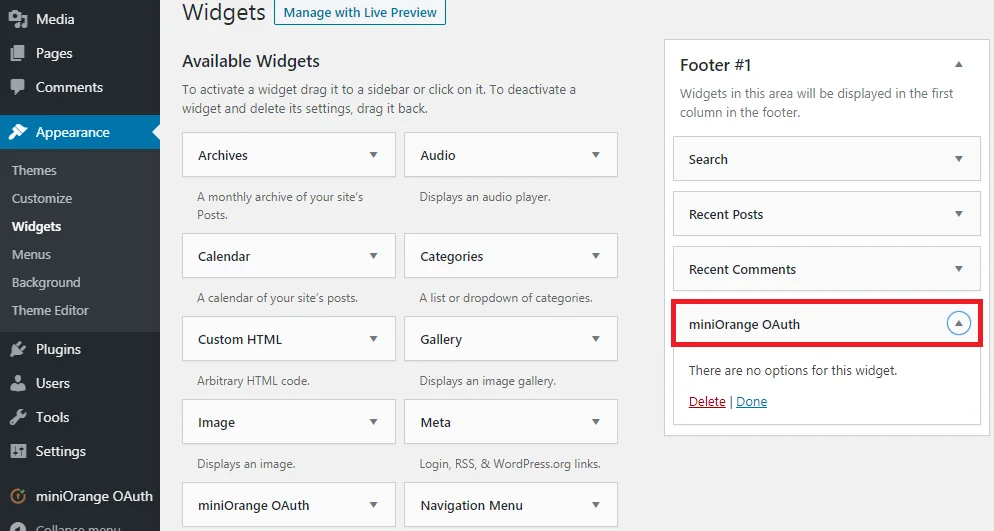
- Go to WordPress Left Panel > Appearances > Widgets.
- Select miniOrange OAuth. Drag and drop to your favourite location and save.
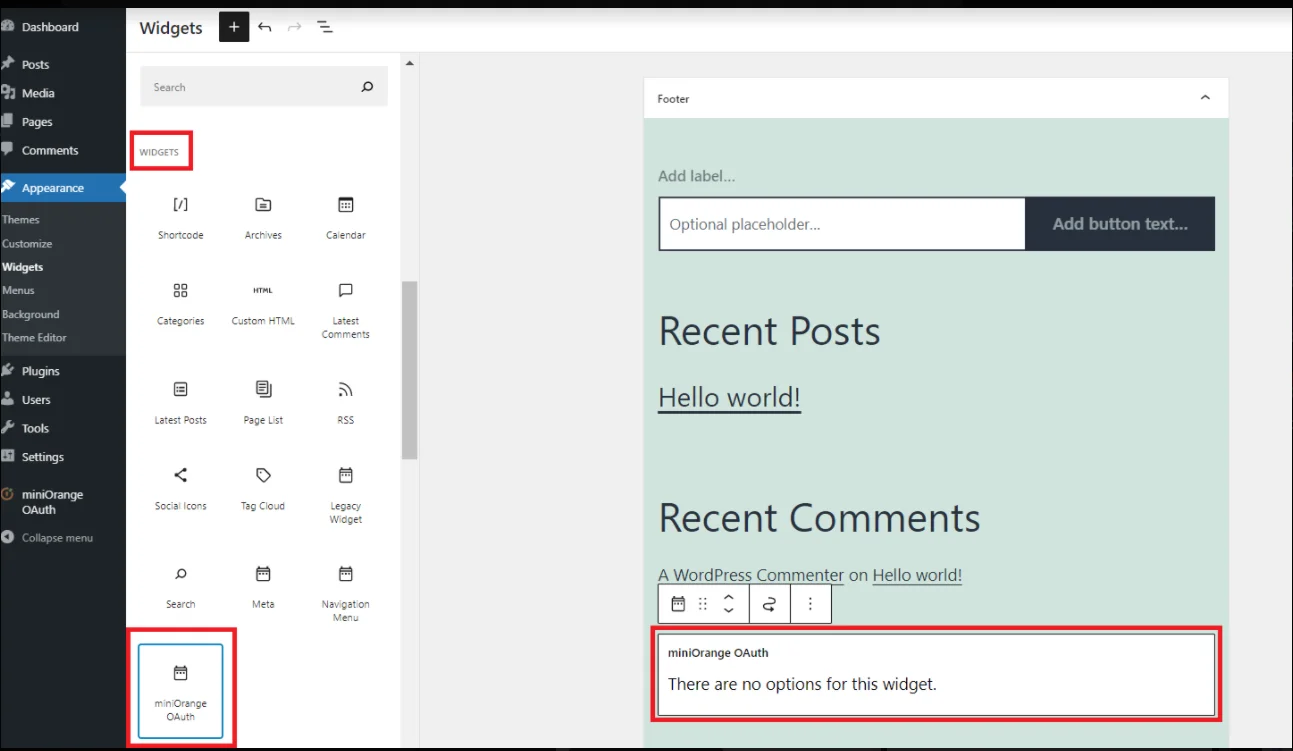
- Go to WordPress Left Panel > Appearances > Widgets.
- Select miniOrange OAuth. Drag and drop to your favourite location and save.
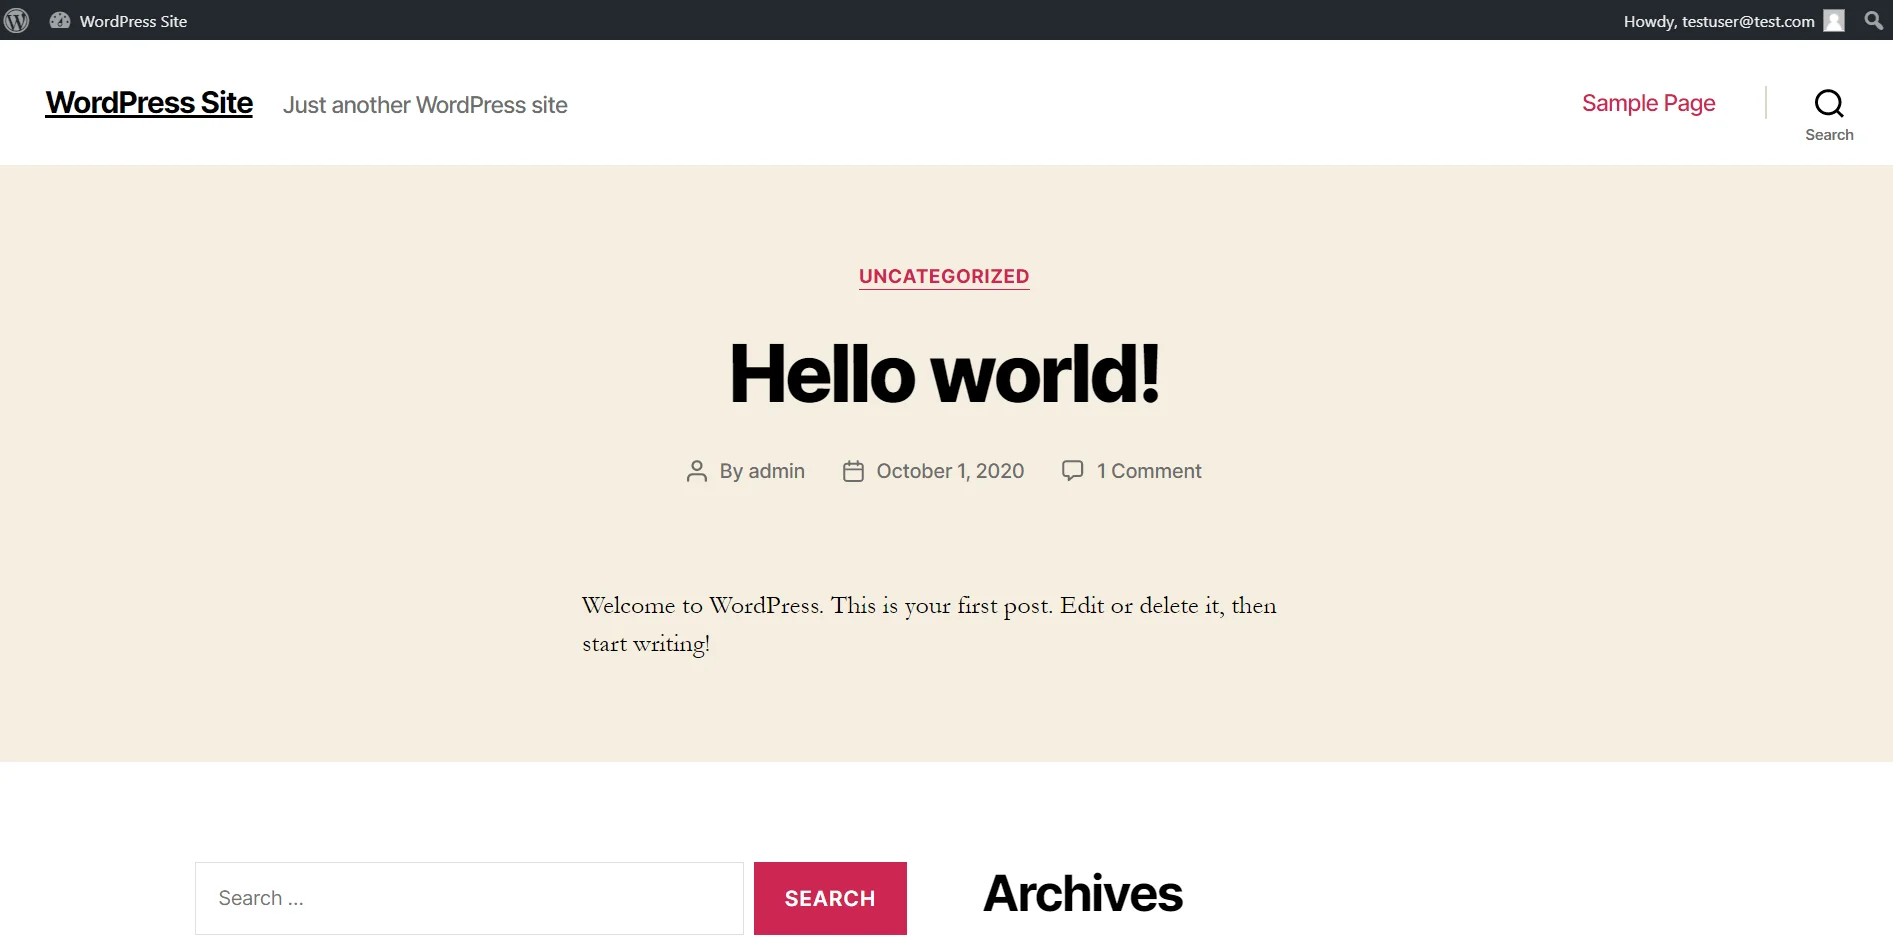
- Go to your site-URL on a private window and you will be able to see the Login with Naver button the display name you have given.
- After clicking on Login with Naver , you will see a homepage. Refer to the below image.
1. sign in settings for wordpress 5.7 and before :
2. sign in settings for wordpress 5.8 :

Need Help?
Mail us on oauthsupport@xecurify.com for quick guidance(via email/meeting) on your requirement and our team will help you to select the best suitable solution/plan as per your requirement.
×
![]()
Trending searches:
Hello there!
Need Help? We are right here!
