REST API Authentication On Atlassian using Keycloak as OAuth Provider
Enhance API Security for Jira REST APIs with OAuth/API Token plugin will let you authenticate any application (Jira, Confluence, Bitbucket) APIs
using any third-party OAuth/OIDC provider or API Tokens. The app supports Azure AD, Keycloak, Okta, AWS
Cognito, Google, Github, Slack, Gitlab, Facebook, and any custom provider.
Atlassian provides REST APIs to perform several operations such as Create Page, Delete Page, Add Comment,
Create Space, etc.
However, it supports only two authentication methods for REST APIs:
Basic Authentication
Using OAuth 1.0
The Enhance API Security for Jira REST APIs with OAuth/API Token plugin allows you to use any third party OAuth 2.0 provider/ OpenID connect to
authenticate REST APIs of any application (Jira, Confluence, Bitbucket). Here we will go through a guide to
configure Azure AD as Provider.
You can refer the steps to configure REST API Authentication using API Token from the video or
documentation given below
Download And Installation
Log into your Atlassian instance as an admin.
Navigate to the settings menu and click Manage Apps.
Click Find new apps or Find new add-ons from the left-hand side of the page.
Locate Enhance API Security for Jira REST APIs with OAuth/API Token app.
Click Try free to begin a new trial or Buy now to purchase a license.
Enter your information and click Generate license when redirected to MyAtlassian.
Click Apply license.
×
Step 1: Configure Keycloak server:
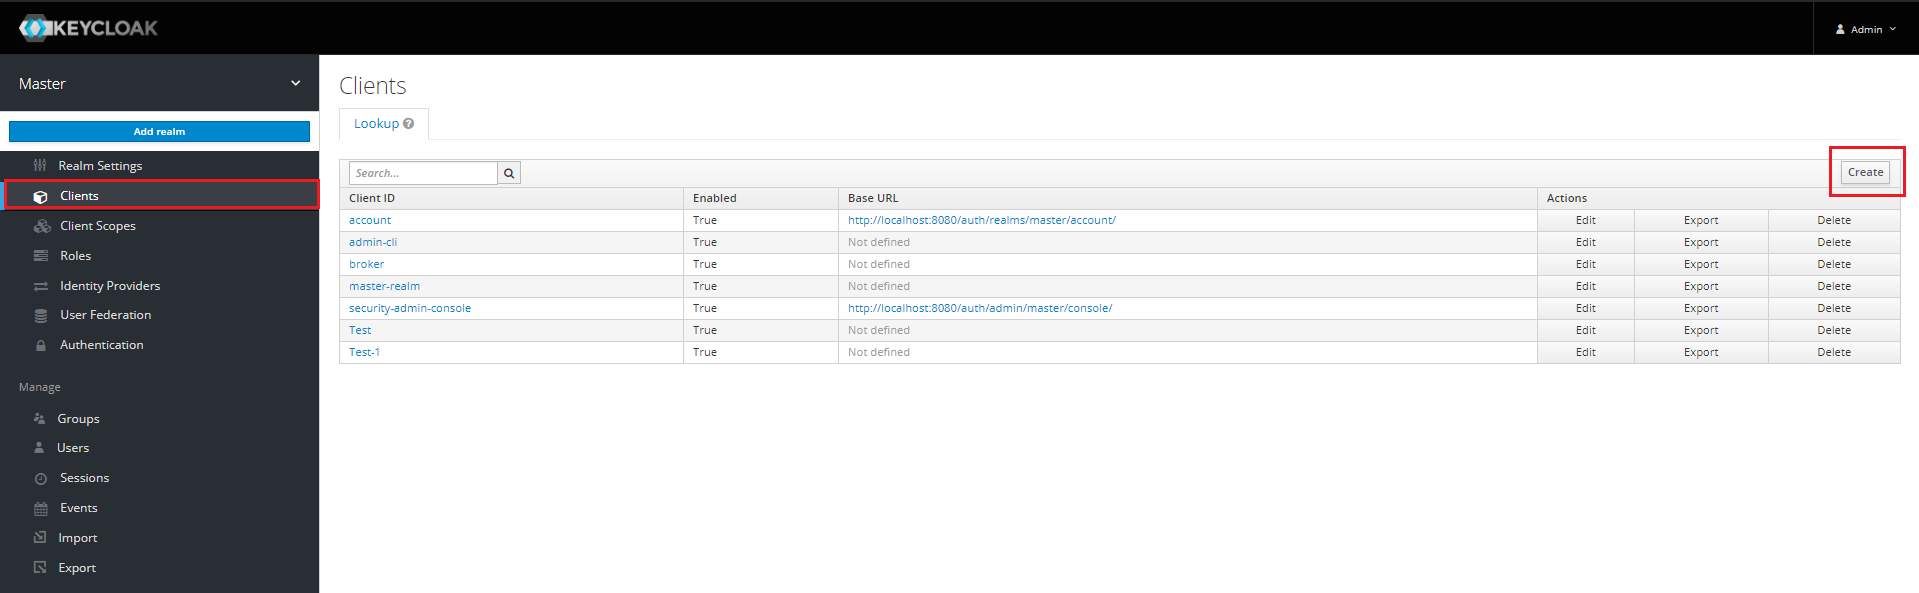
In your Keycloak admin console, select the realm that you want to use.
Go to Clients in the left navigation bar and click on
Create.
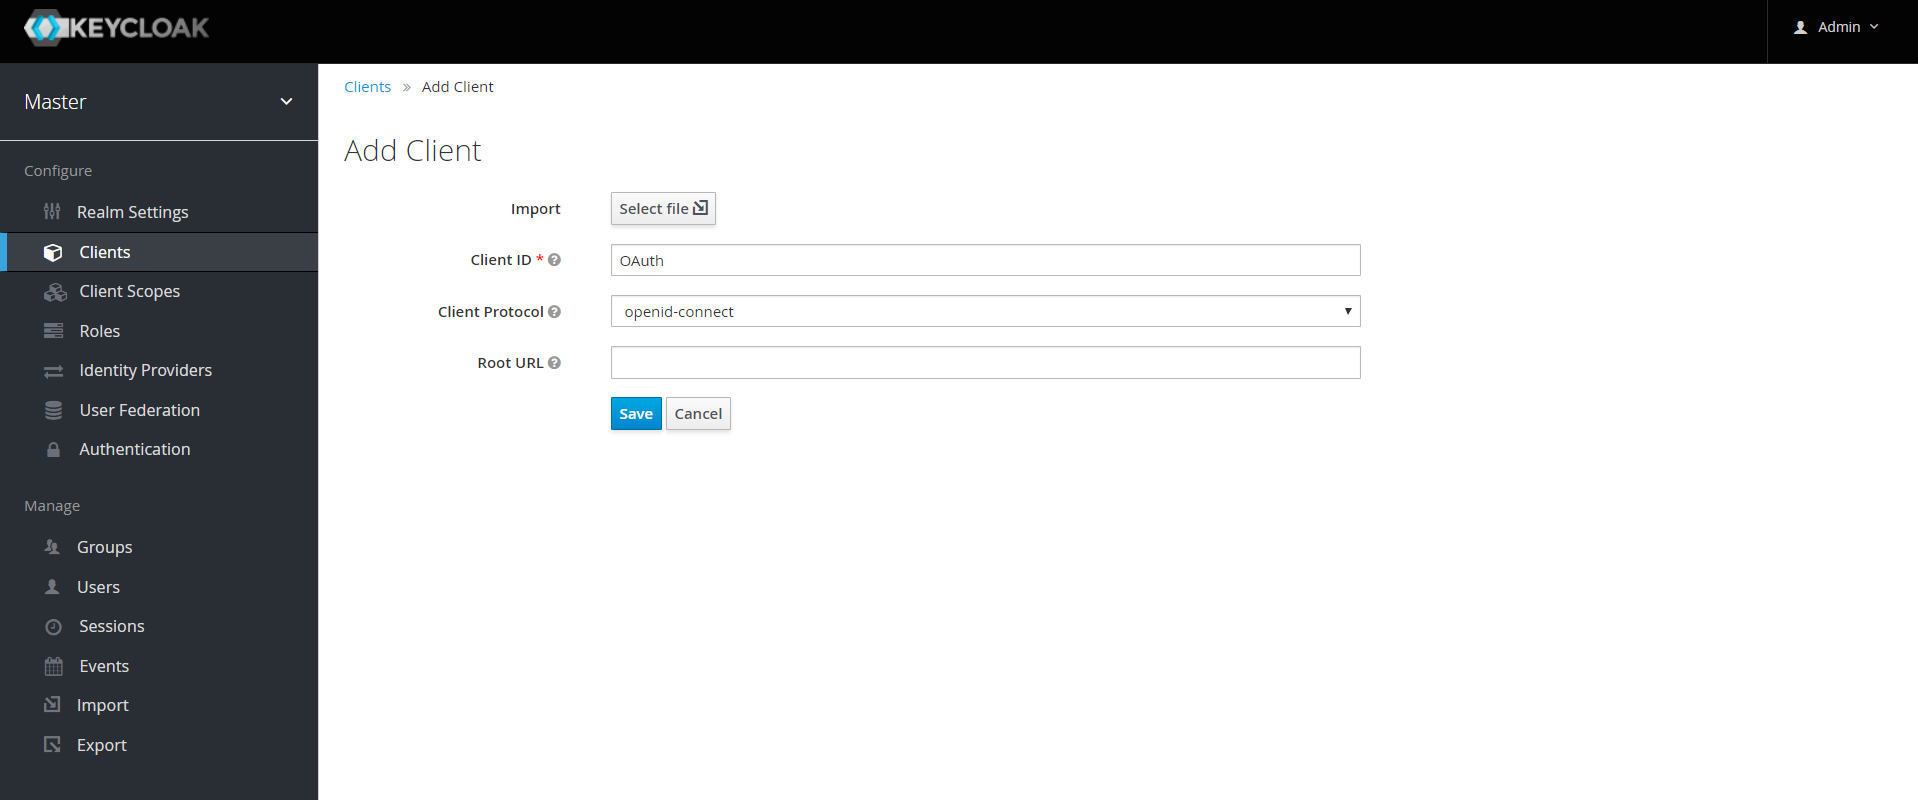
Enter the ClientID and select the client protocol as OpenID-connect
and click on Save.
Select access type as Confidential, enter the redirect URL and click on
save (Enter the Application's Base URL).
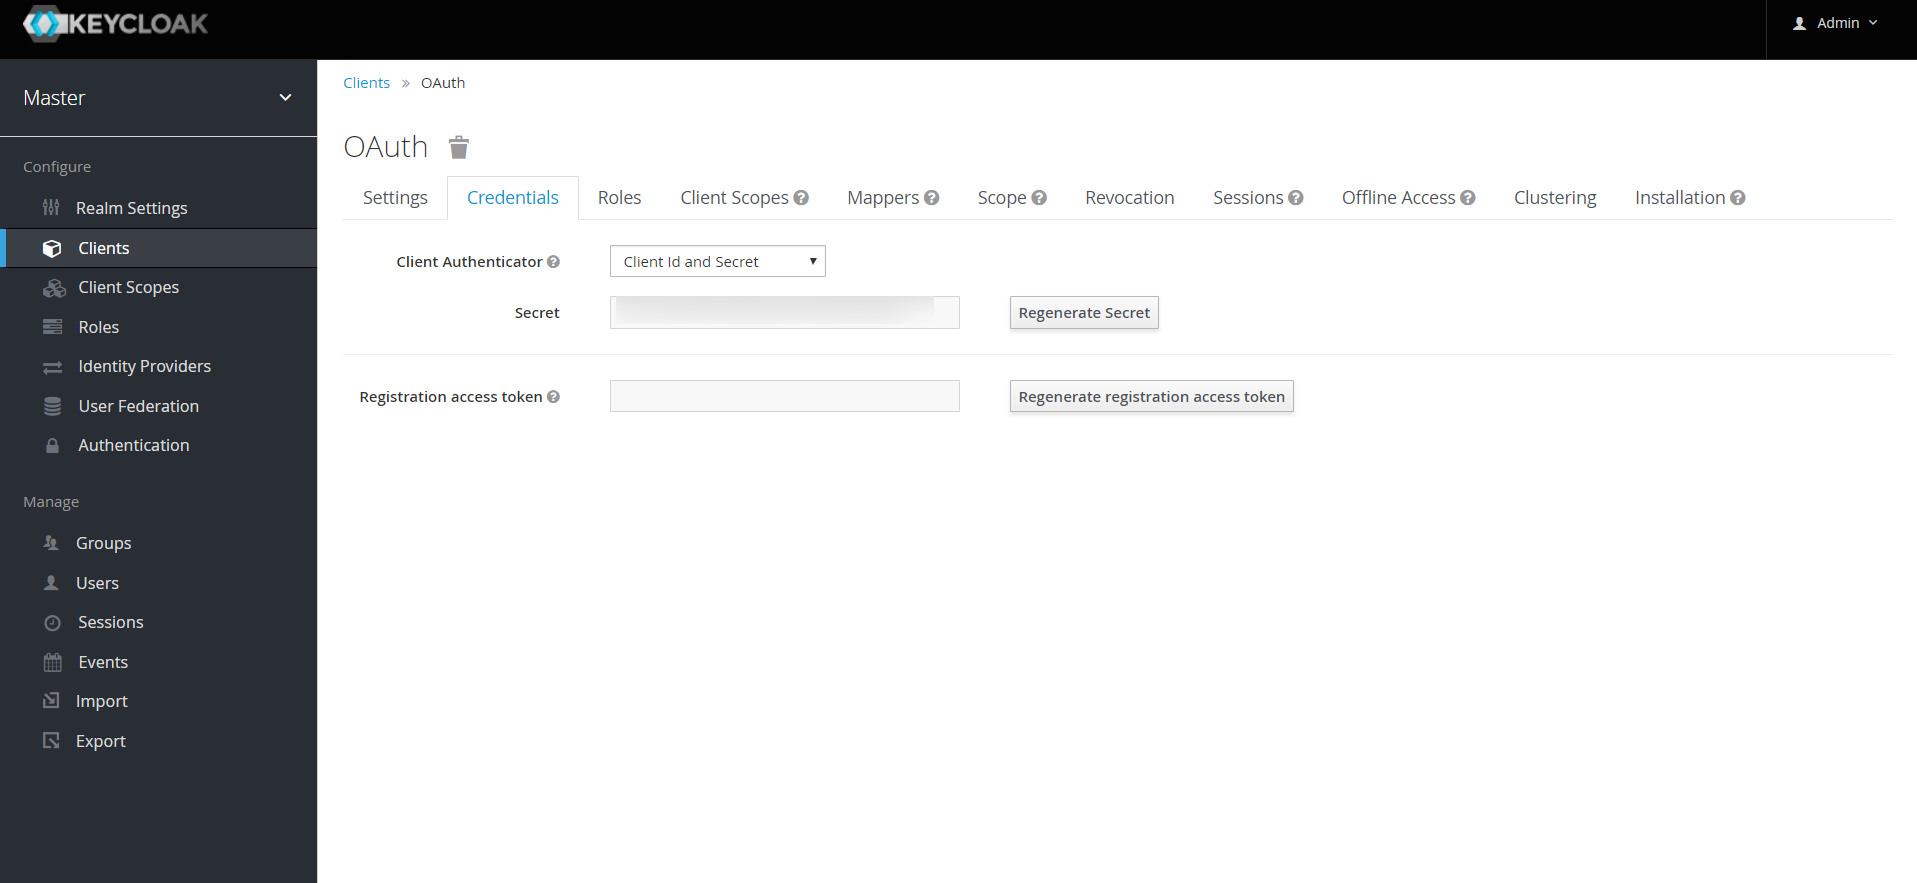
To get Client Secret Navigate to Clients, select Client Id and navigate to the Credentials tab.
Note: Copy the ClientID and Client Secret.
Step 2: Fetch Access token through POSTMAN:
Open the Postman Application (Here is the link to download Postman Application).
Go to Authorization tab.
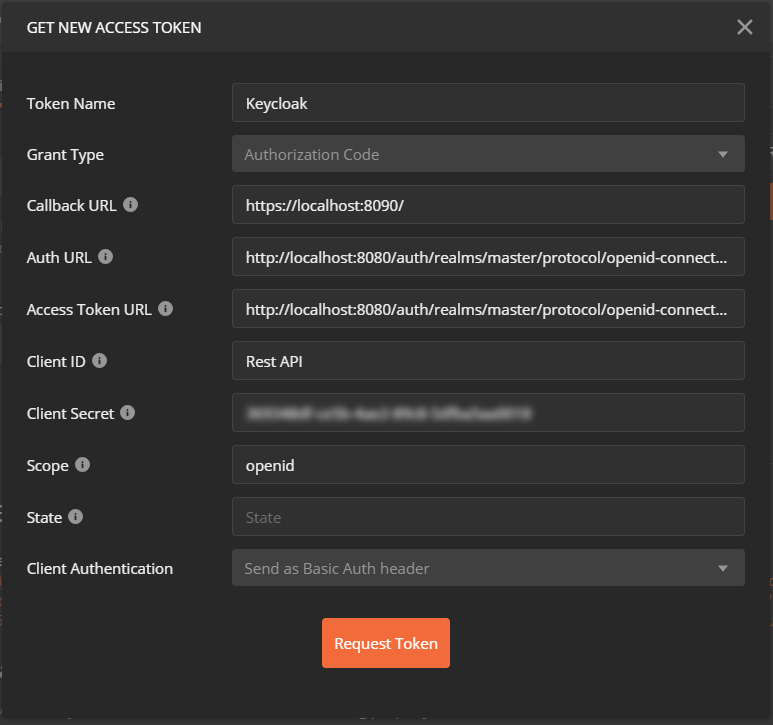
From the dropdown select type as OAuth 2.0 and click on Get access
token.
Add the following information from the table below.
Postman starts the authentication flow and prompts you to use the access token.
Select Add token to the header.
Field
Value
Grant type
Authorization Code or Client Credentials
Callback URL
Enter the Application's base URL if you dont have a callback URL
Note: For Host_name and Realm_name enter the Keycloak hostname
and realmname.
Copy the Access Token or click on Use Token.
A sample access token from Keycloak Provider looks like this.
A834c0606ba71336423013699db8e971
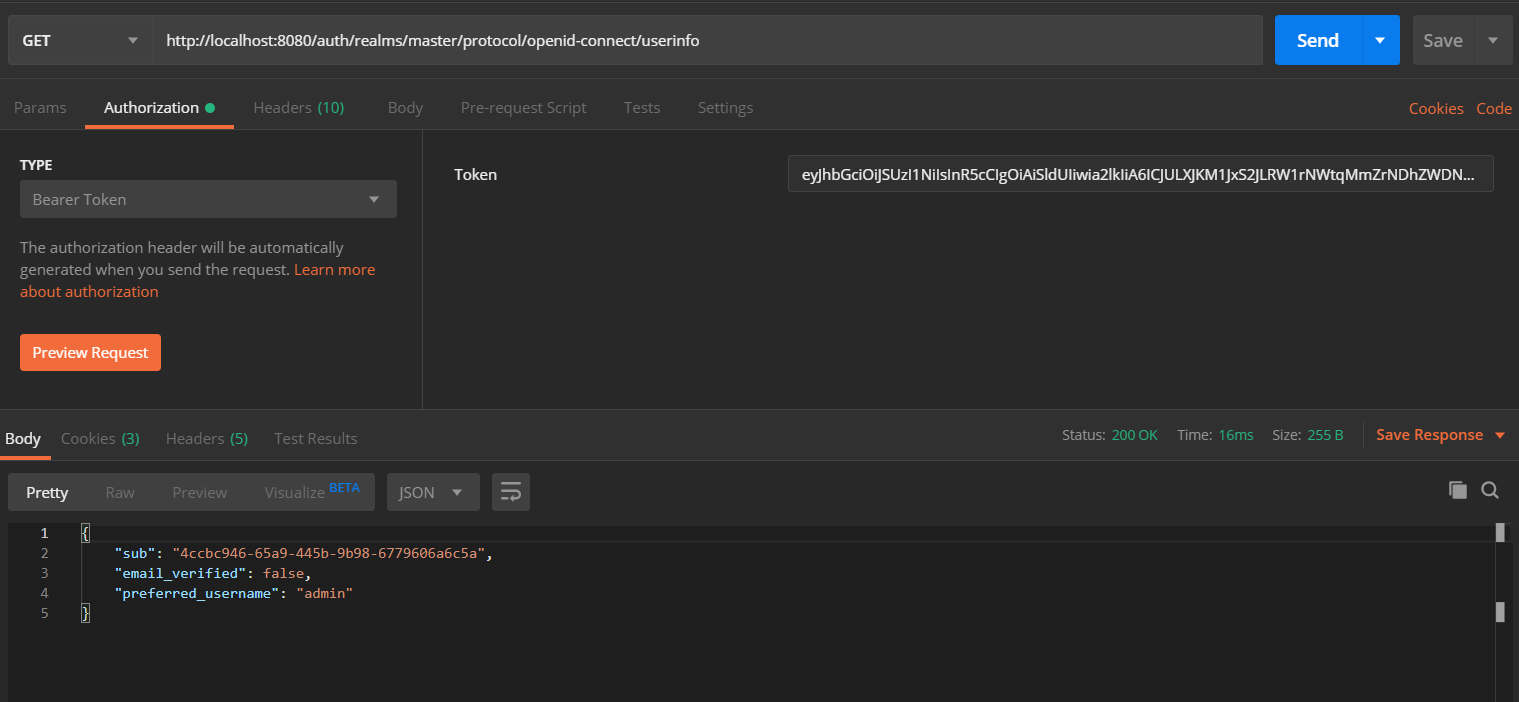
Step 3: Fetch Username through Keycloak:
Choose the method type as "GET".
Enter the interoception Endpoint from the plugin to fetch the username in the Request URL. For Keycloak it is "
http://{host_name}/auth/realms/{realm_name}/protocol/openid-connect/userinfo".
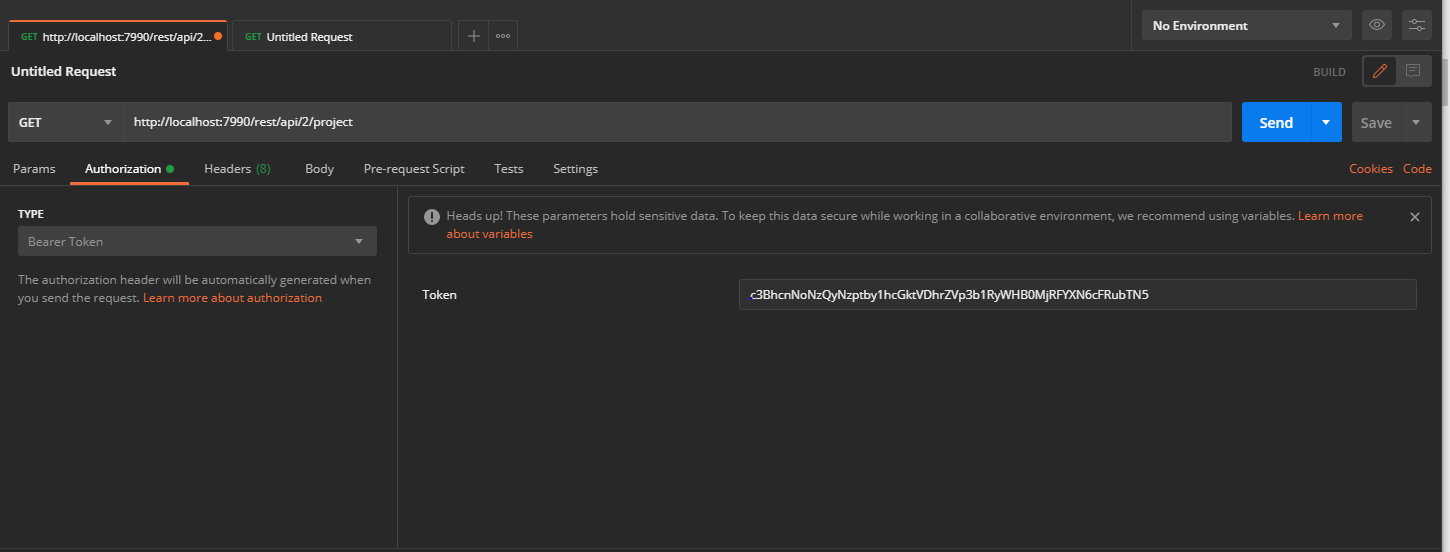
Go to the Authorization tab select the Bearer Token and enter the access token here.
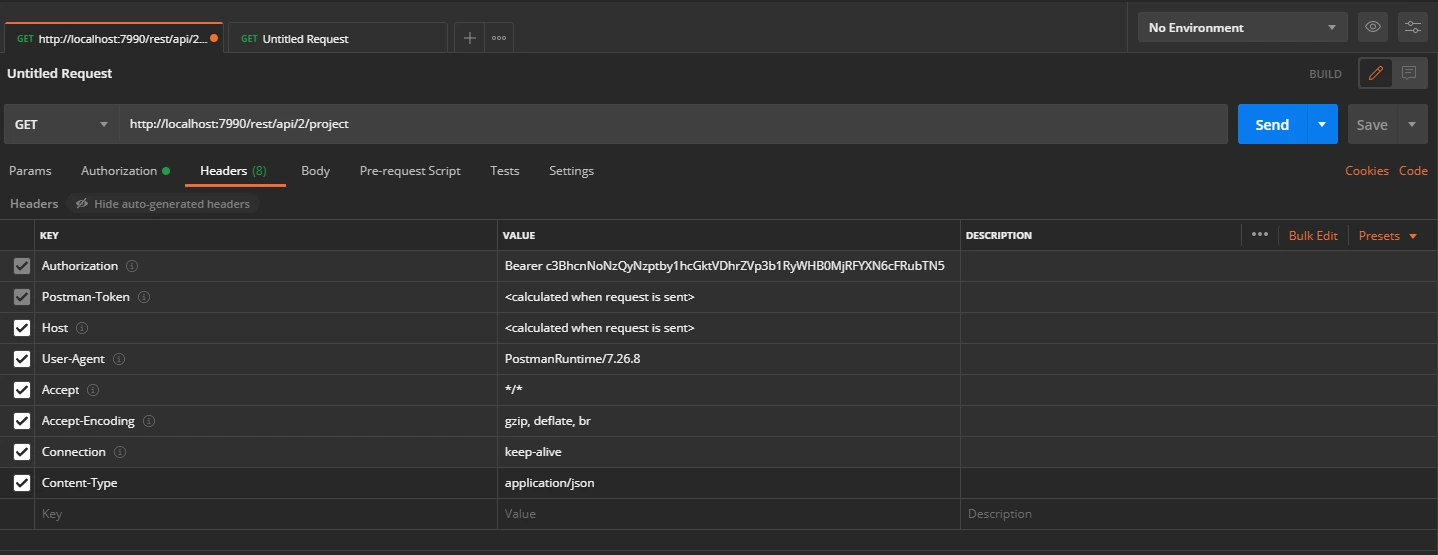
Add the header "content-type: application/json" and click on
Send.
Copy the attribute value against the username, you will need to configure it in plugin. In this
example, the value is "preferred_username".
Step 4: Configure the Rest API plugin:
1: Enable Rest API Authentication:
After installing the app, click on Configure to configure plugin.
Select the Authentication type and navigate to Oauth/OIDC tab, then click on
Configure.
From the drop down select Keycloak as OAuth Provider.
Enter the Host Name and the Realm name from Keyclok.
Enter the attribute value against which we received the username in the Postman response.
Save the settings.
Now navigate to the Global Settings tab.
Here you will have to Enable the Authentication through Enable REST API
Authenticationand click on Save.
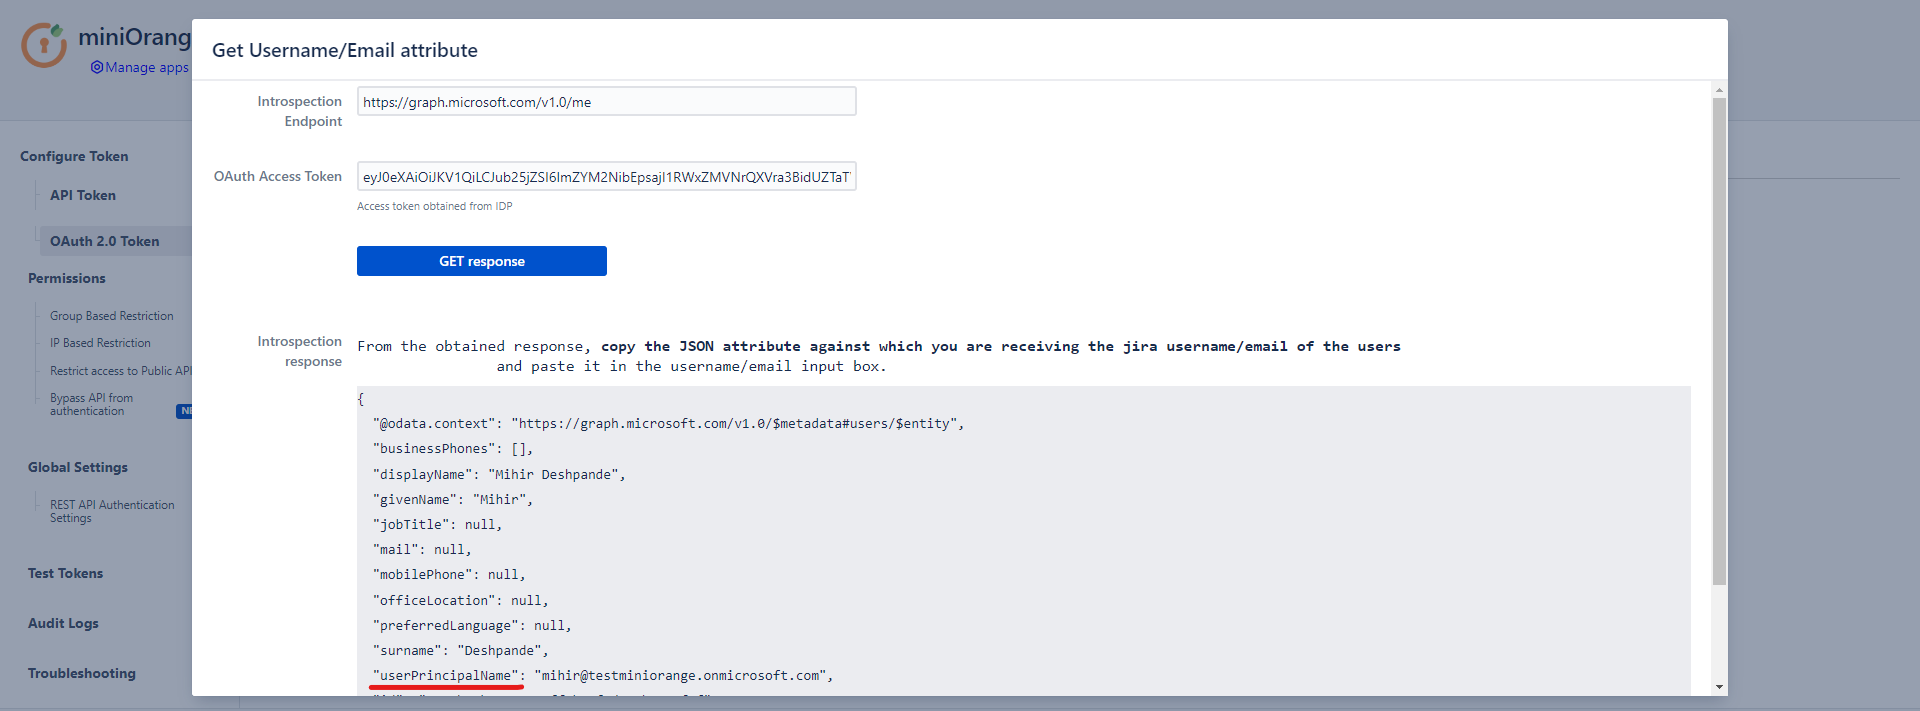
To configure the username attribute, click on Get username/email Attribute button.
Paste the OAuth 2.0 Access token obtained from the OAuth provider and click on Get response.
In the received response, copy the JSON attribute against which you are receiving the username/email of the user in the local directory and paste it into the Username/Email Attribute input field, and click on Save.
Click here to get a FREE TRIAL of Bitbucket REST API Plugin
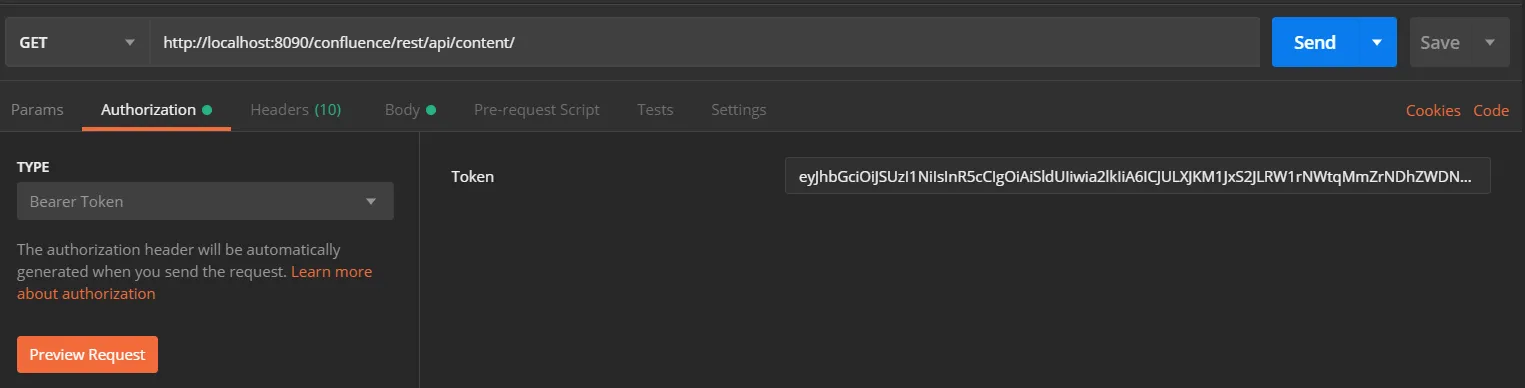
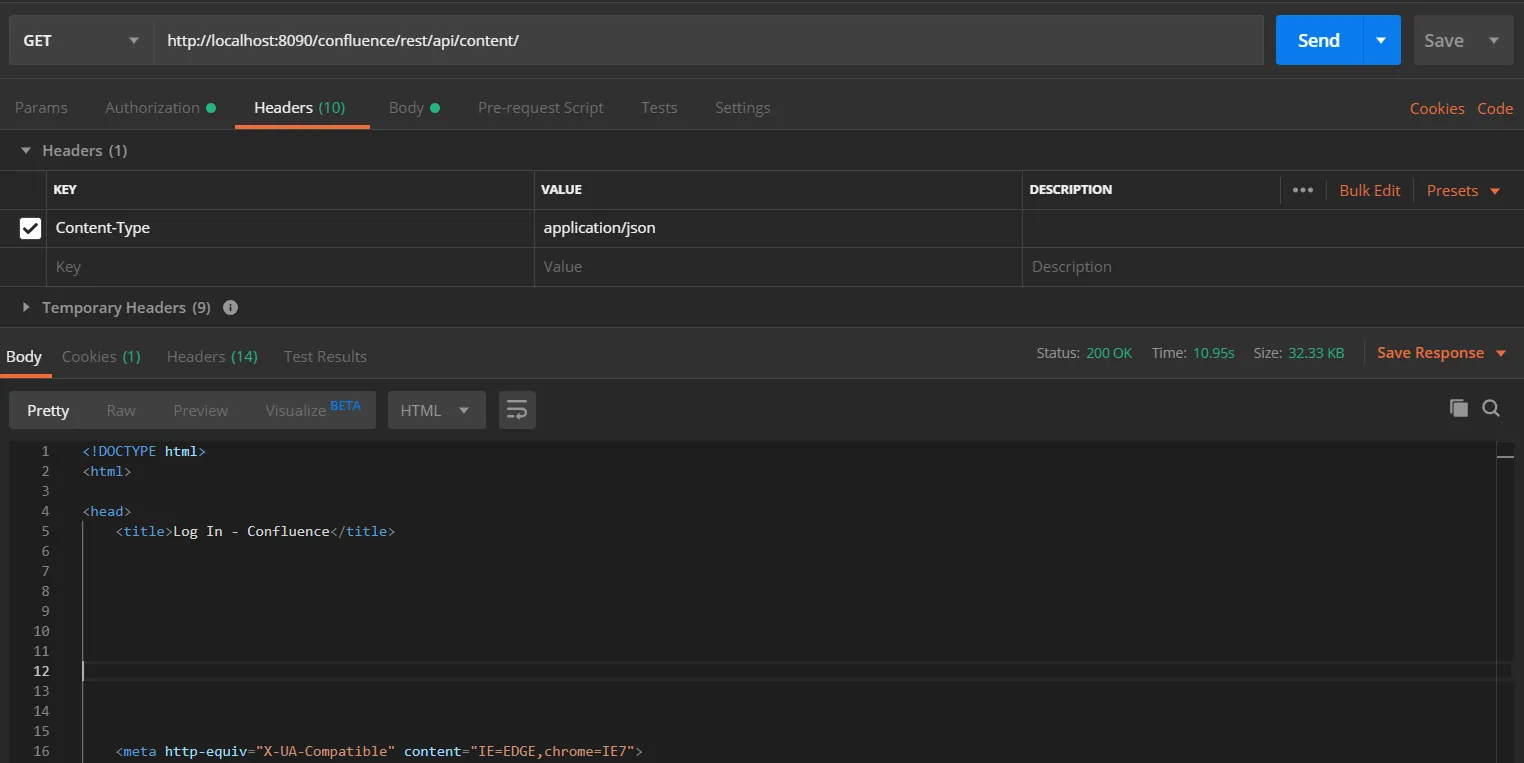
Call Bitbucket REST API endpoint. Include the access token in the Authorization header. Here’s an example of fetching content from Bitbucket.
Go to the Postman application select method type as GET and enter the Request URL. For eg. http://{Bitbucket_Base_URL}/rest/api/1.0/dashboard/pull-requests
In the Authorization tab select type as Bearer Token.
In the Header tab add the header “content-type: application/json and send the request.