ADFS as IDP template
Step 1: Setup ADFS as IDP (Identity Provider)
Follow the steps below to configure ADFS as IdP
 Configure ADFS as IdP
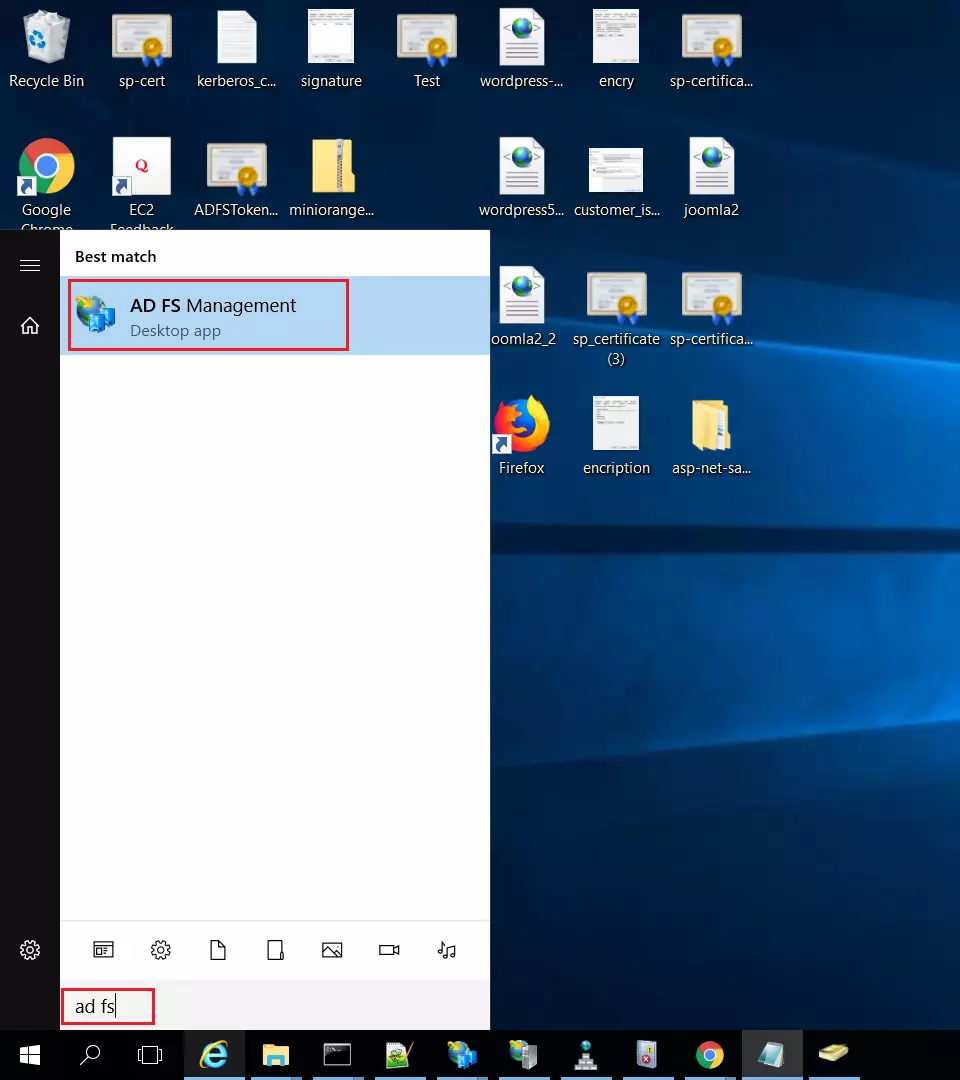
- On ADFS, search for ADFS Management application.
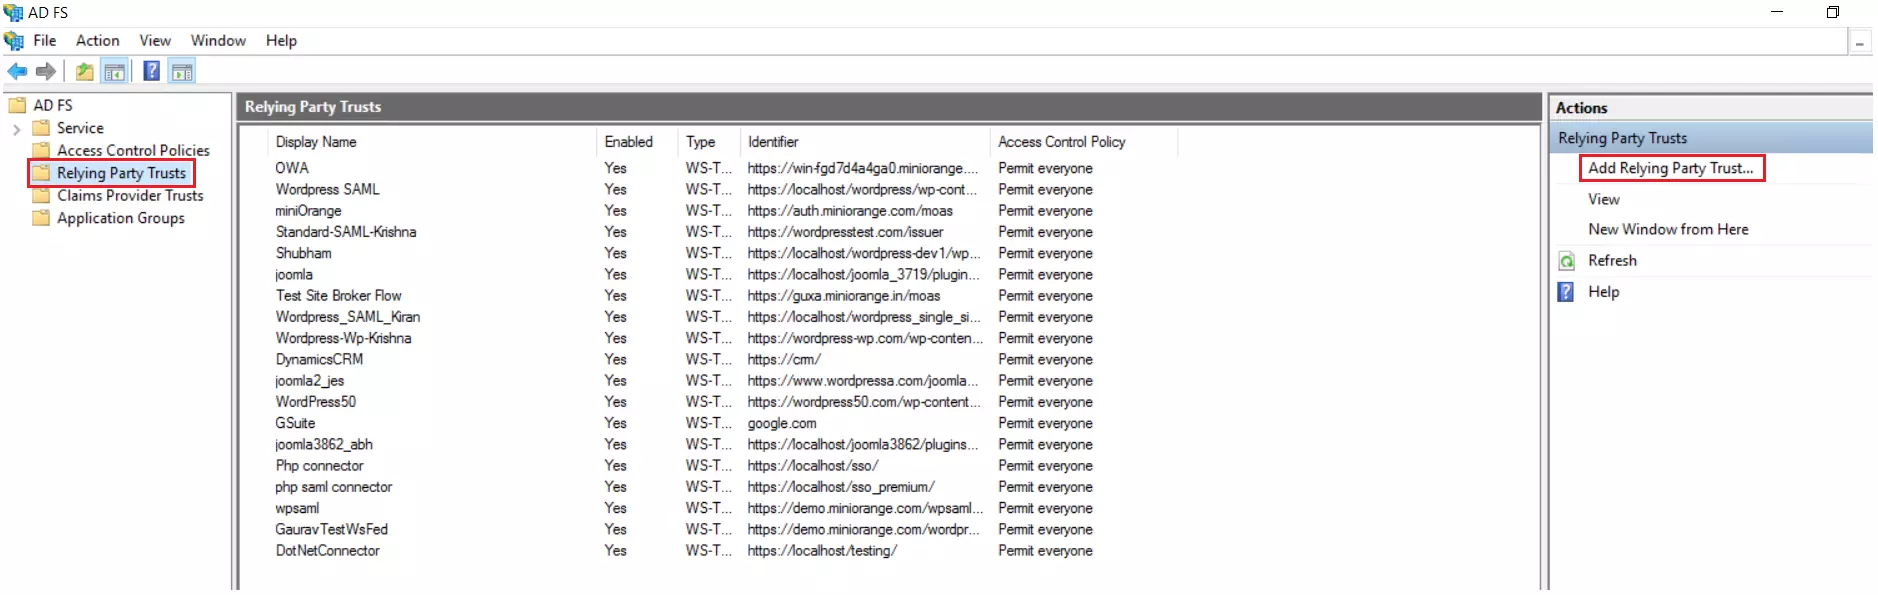
- In AD FS Management, select Relying Party Trust and click on Add Relying Party Trust.
- Select Claims aware from the Relying Party Trust Wizard and click on Start button.

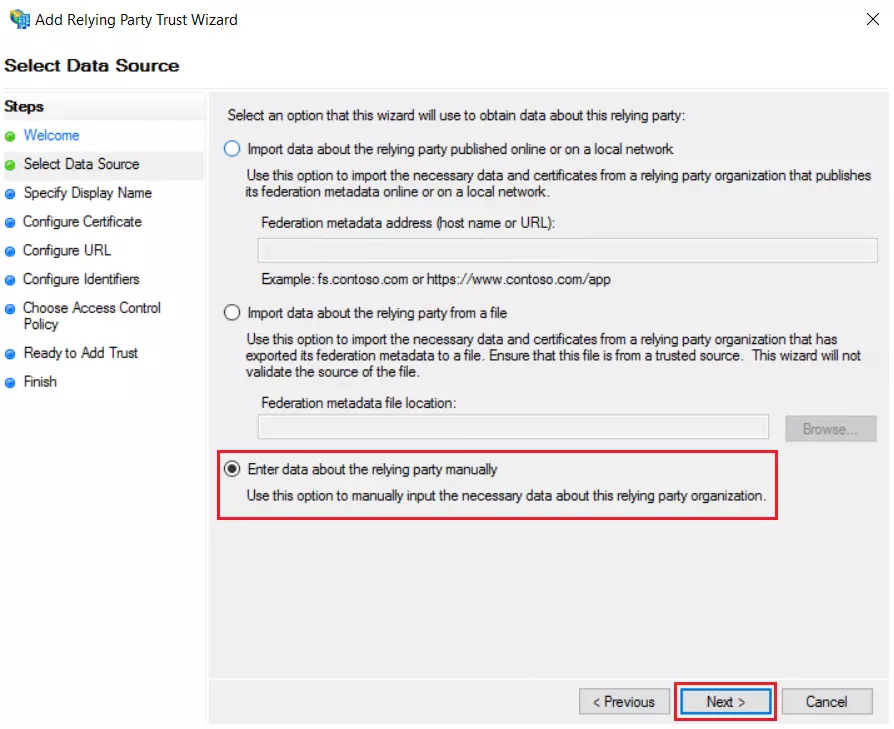
- In Add Relying Party Trust Wizard, Select option Enter data about the relying party manually.
- After selecting manual option, click on Next.
- Enter Display Name and Click Next.
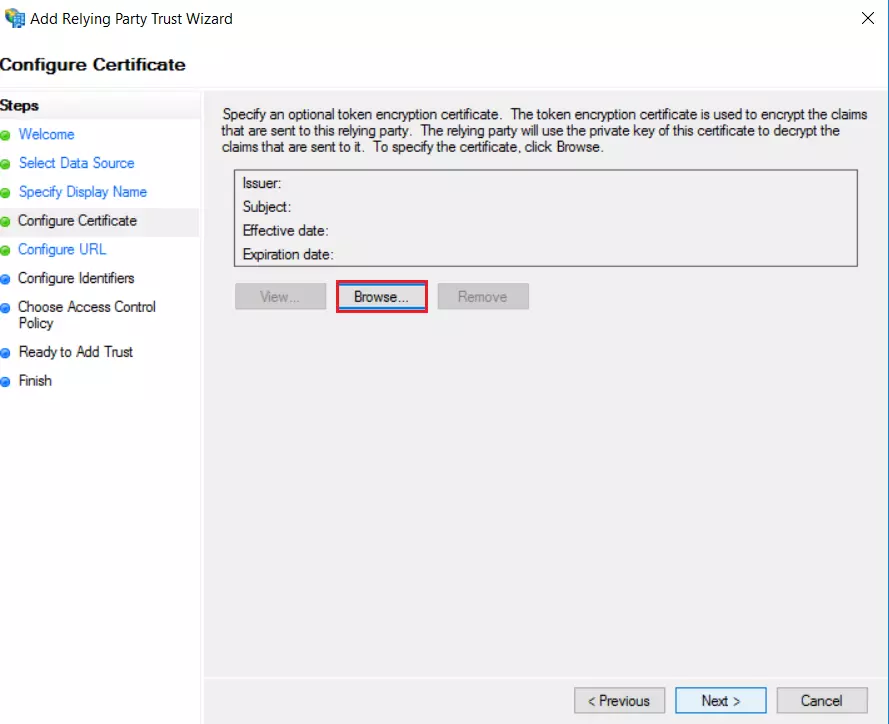
- Download the certificate from miniOrange Plugin in Service Providers Tab.
- Upload the certificate and click on Next.
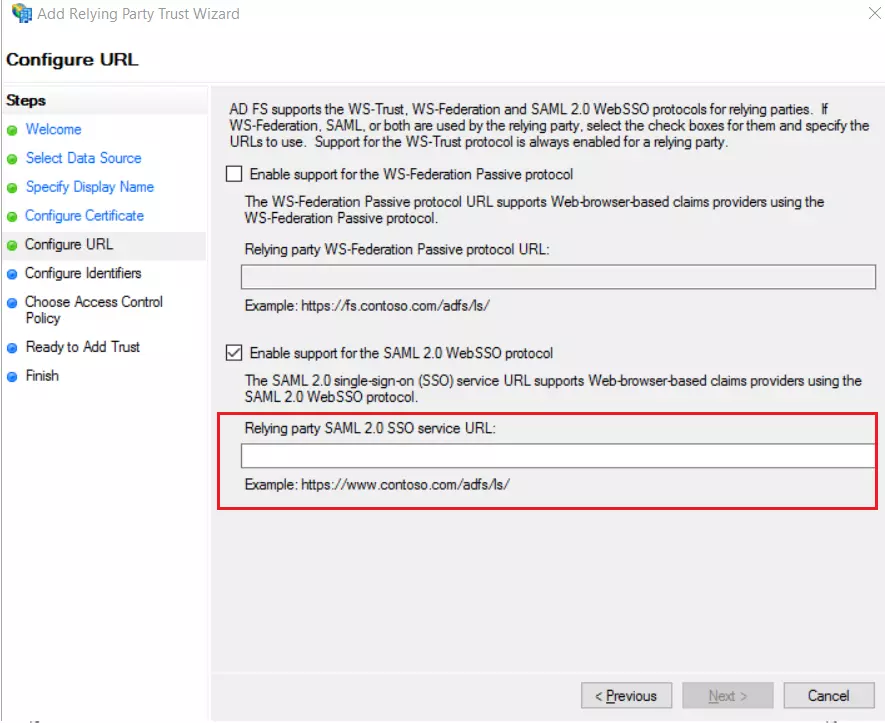
- In Configure Tab select, Enable support for the SAML 2.0 WebSSO protocol option.
- Enter ACS URL from the plugin's Service Provider Metadata Tab and Click Next.
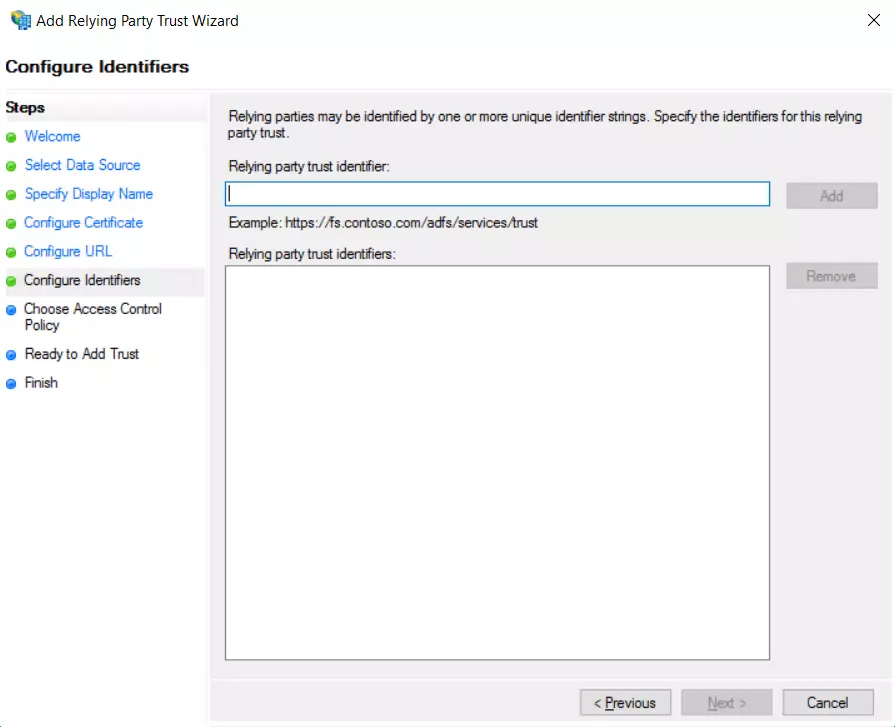
- From Service Provider Metadata tab add Entity ID as Relying party trust identifier and click on Next.

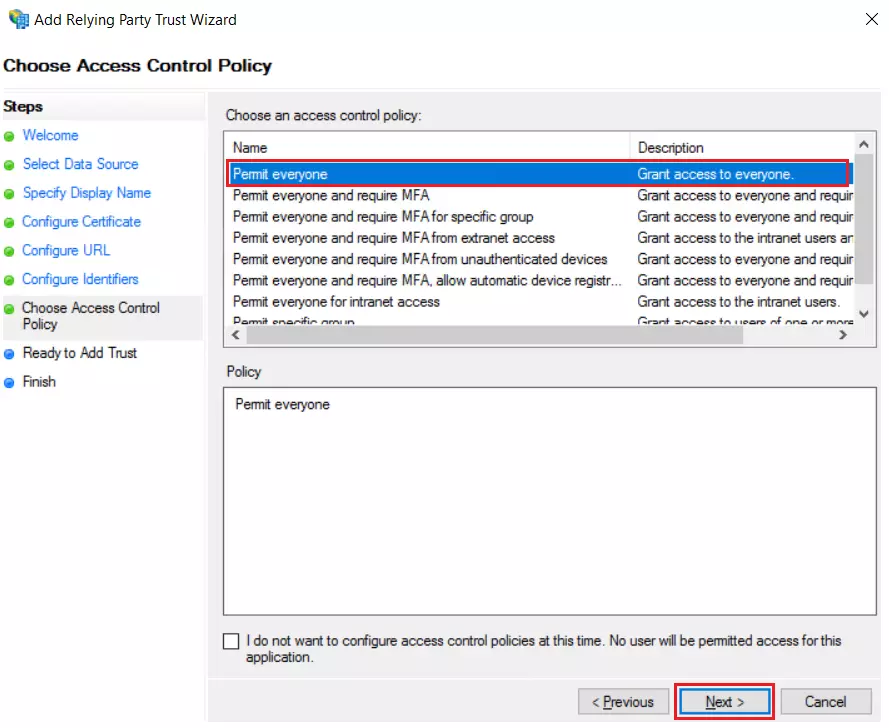
- Select Permit everyone as an Access Control Policy and click on Next.
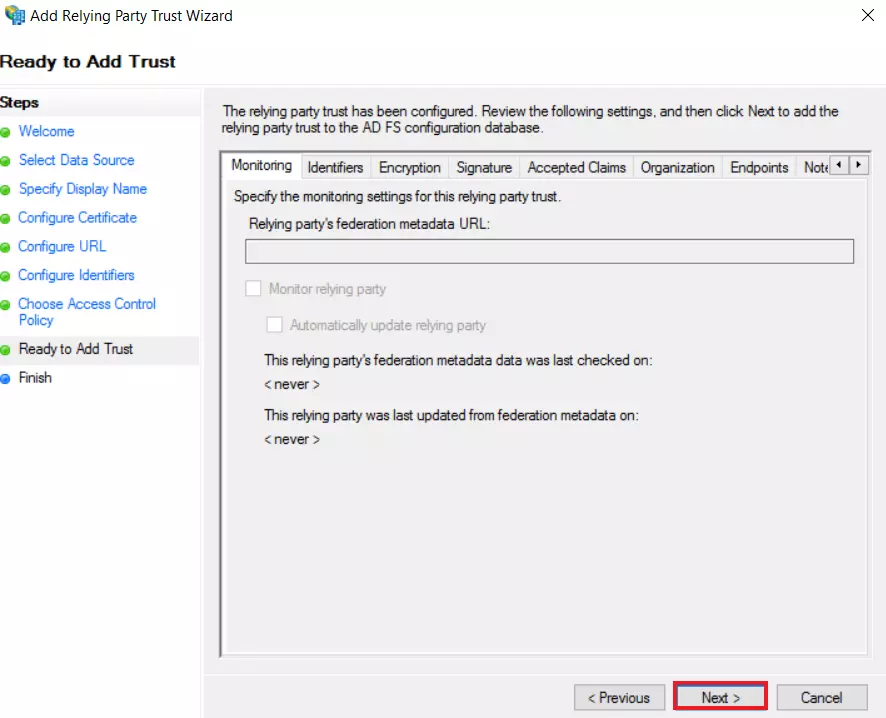
- In Ready to Add Trust click on Next and then Close.
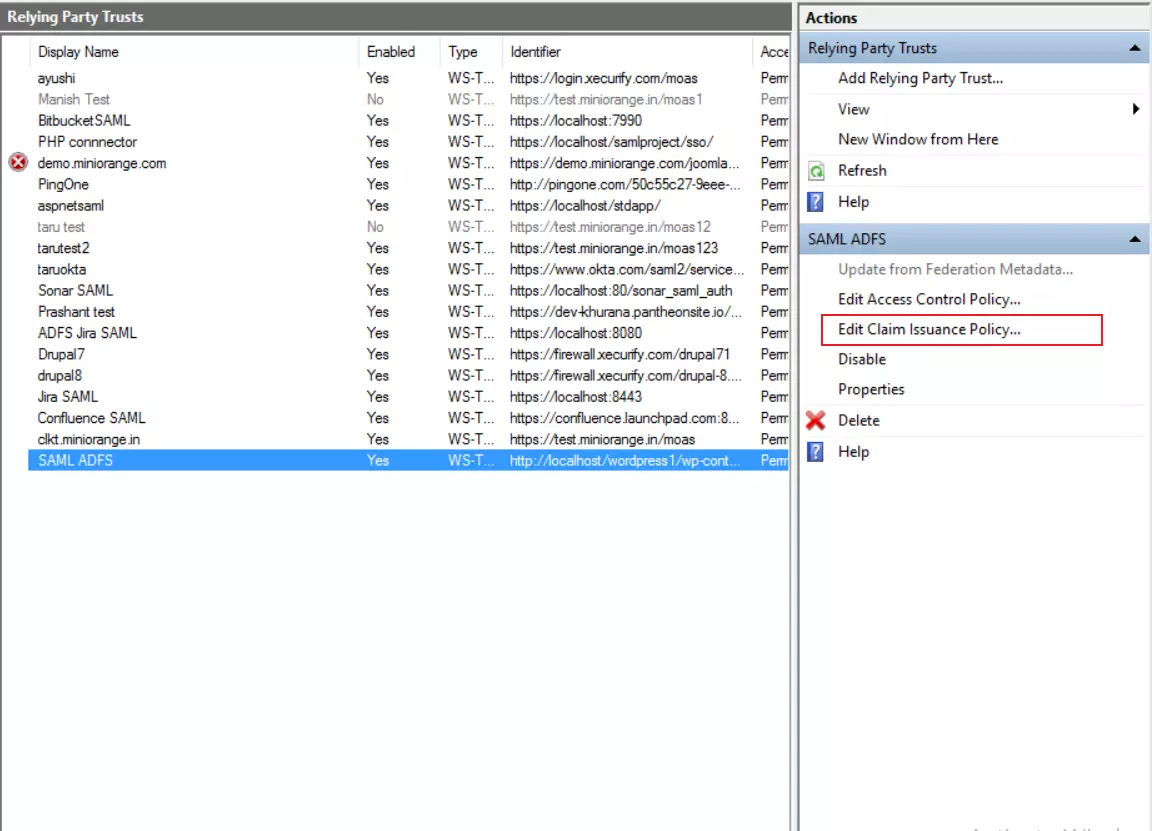
- In the list of Relying Party Trust, select the application you created and click on Edit Claim Issuance Policy.
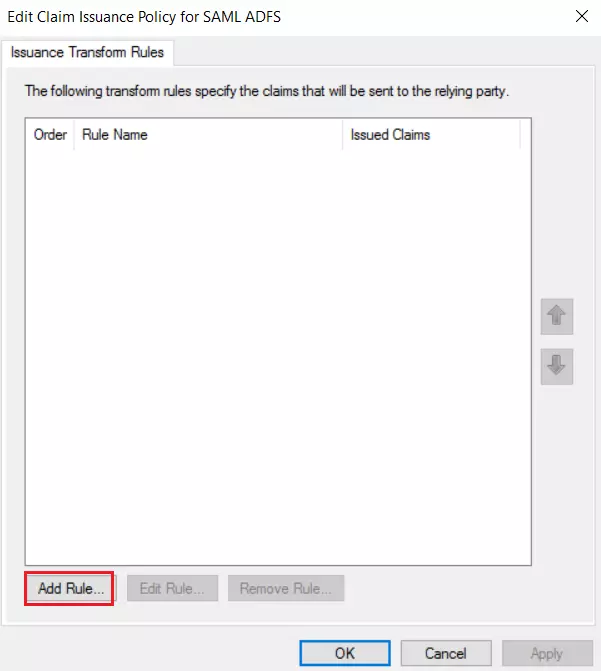
- Click on Add Rule button.
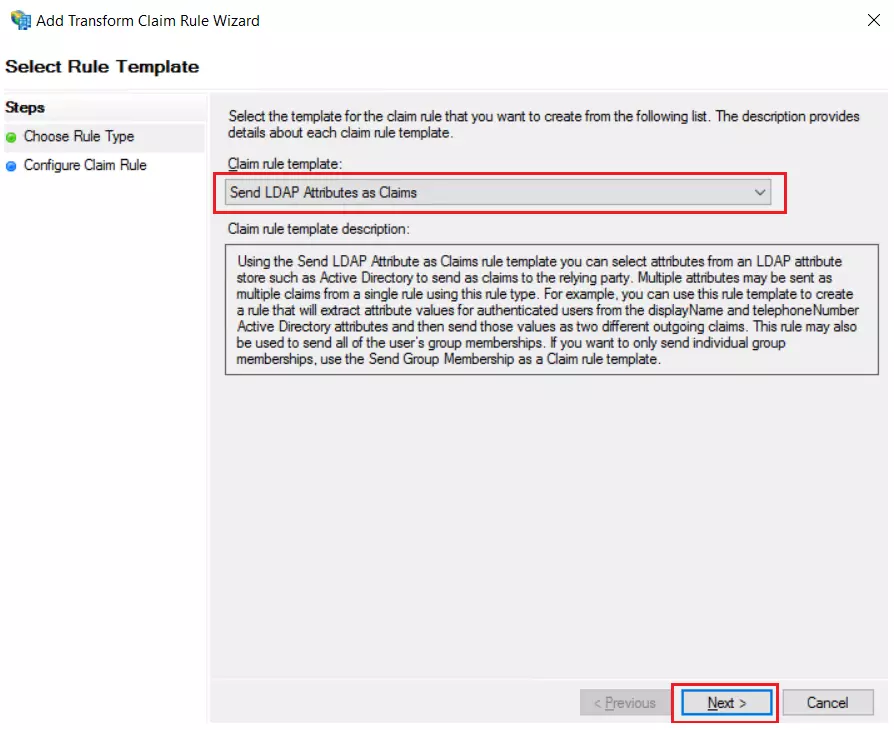
- Select Send LDAP Attributes as Claims and click on Next.
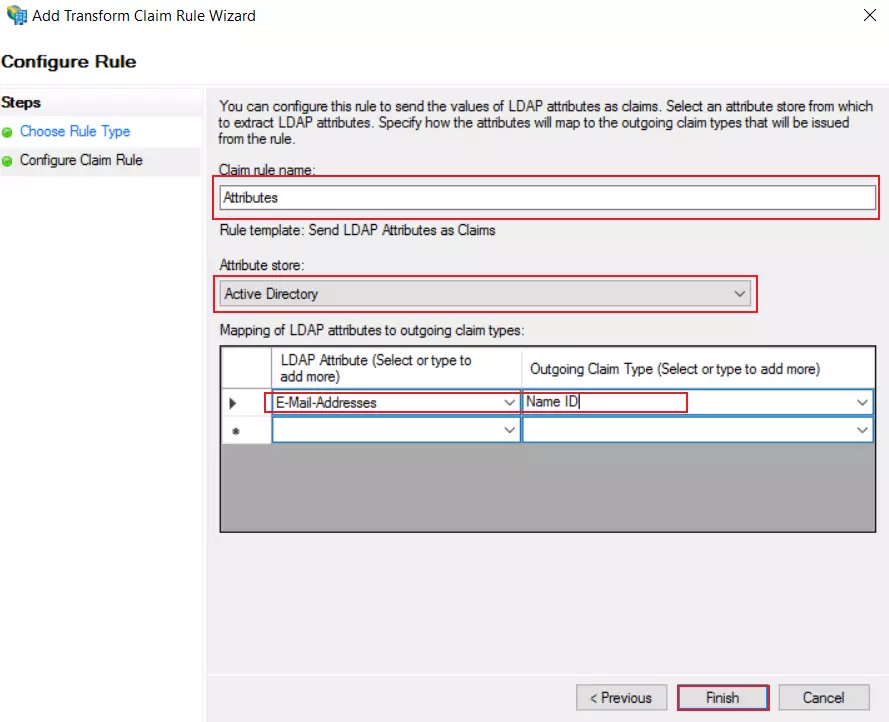
- In the Configure Claim Rule tab, enter the following details and click on Finish.
- After configuring ADFS as IDP, you will need the Federation Metadata URL to configure your SP.
- To get Federation Metadata File enter this URL
https://< ADFS_Server_Name >/federationmetadata/2007-06/federationmetadata.xml
| Claim rule name | Attributes |
| Attribute Store | Active Directory |
| LDAP Attribute | E-Mail-Addresses |
| Outgoing Claim Type | Name ID |
×
![]()
Trending searches:
Hello there!
Need Help? We are right here!
