ADFS as IDP
Step 1: Setup ADFS as Identity Provider
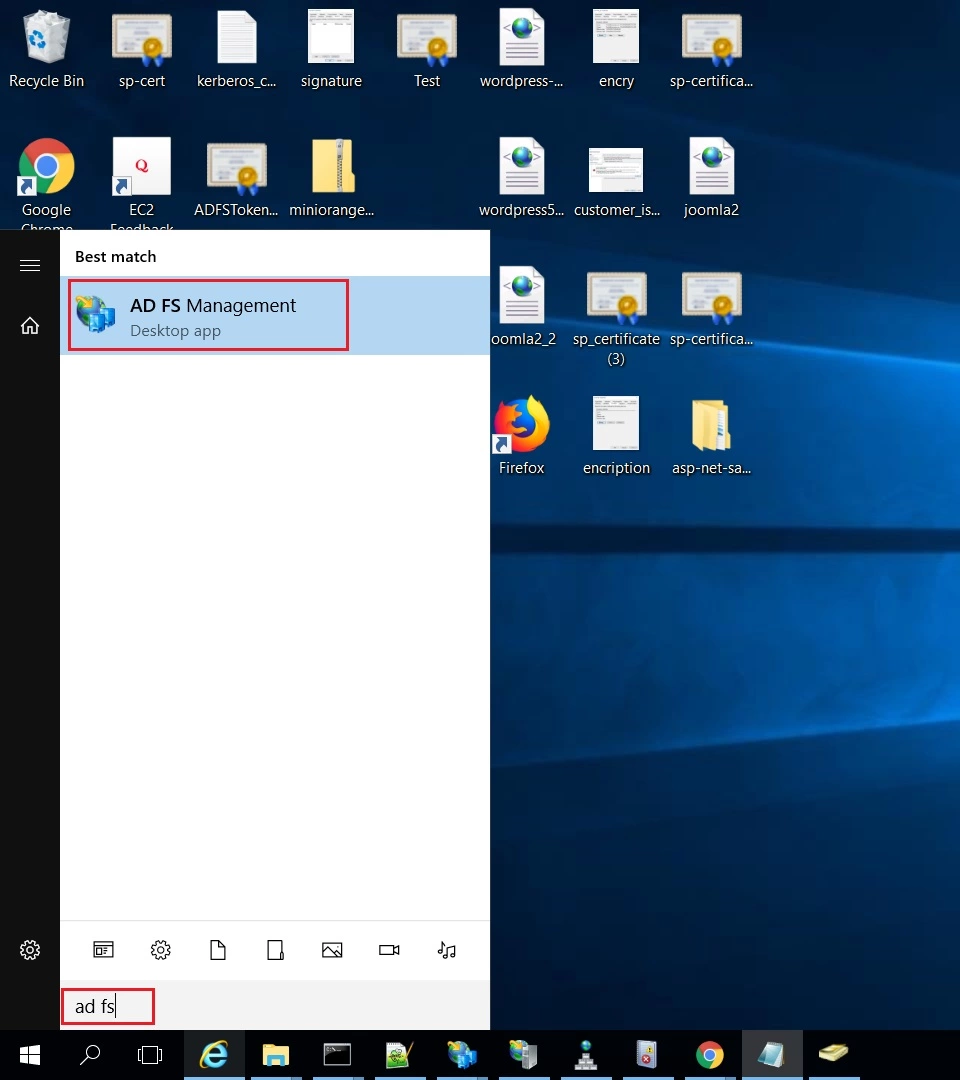
- On ADFS, search for ADFS Management application.
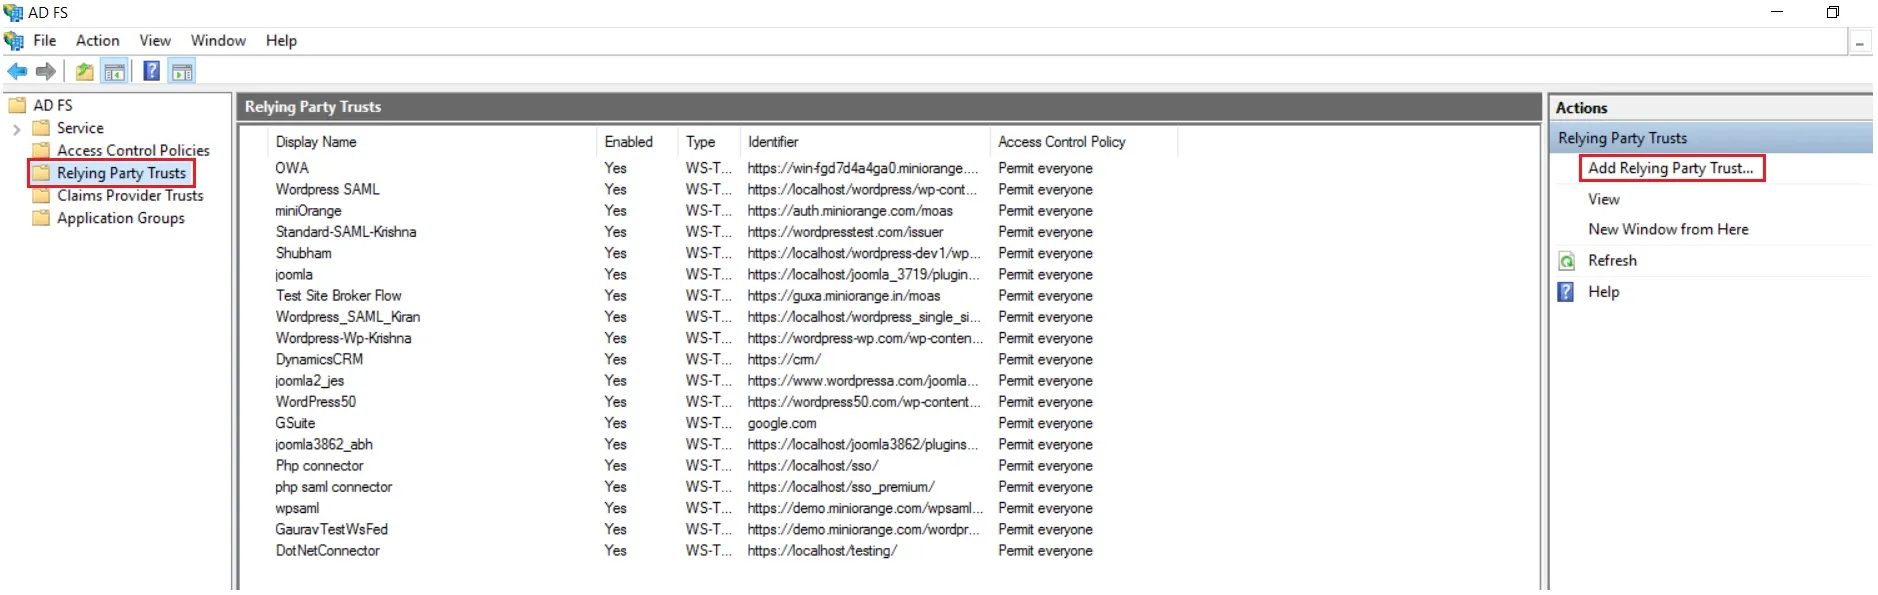
- After opening the AD FS Management, select Relying Party Trust & then click on Add Relying Party Trust.
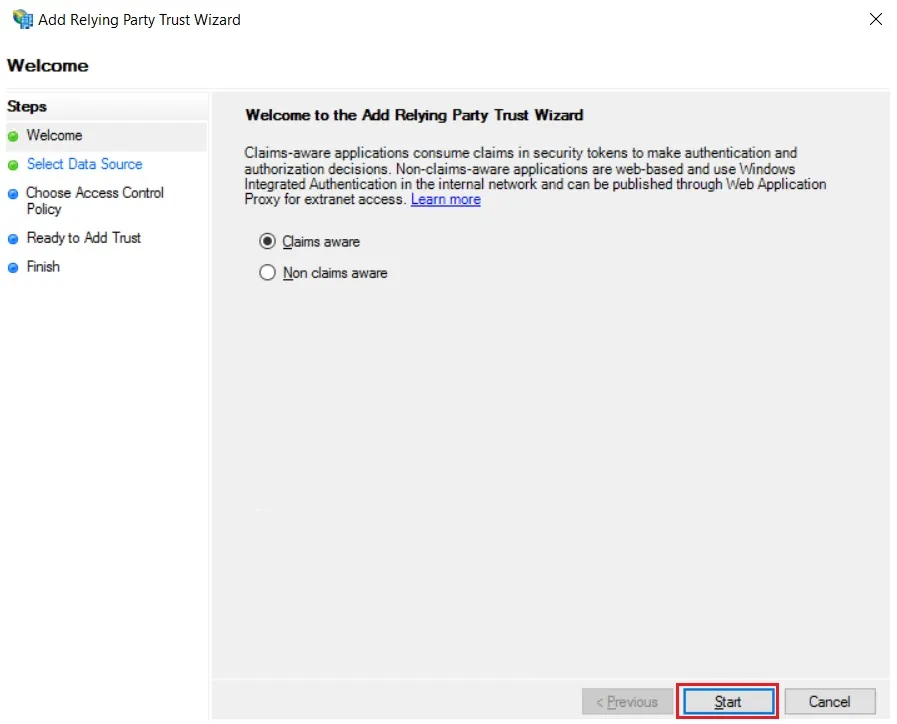
- Click the Start button from the Relying Party Trust Wizard pop up. But before that please make sure Claims Aware is selected.
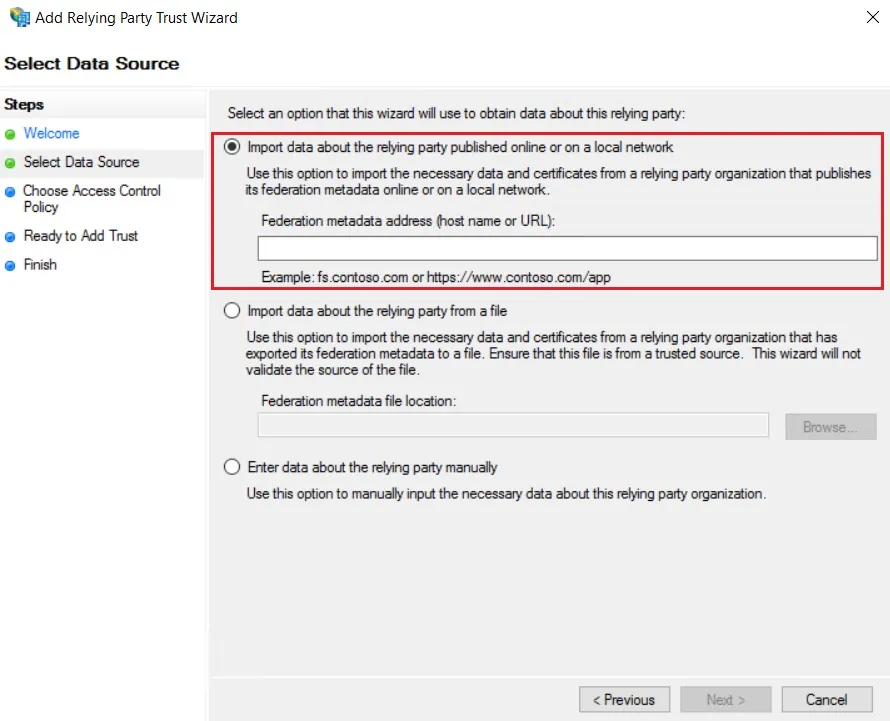
- Select the options for adding a relying party trust.
- In Select Data Source: Import data about the relying party published online or on the local network option & then add URL in Federation metadata address.
- Skip step-5 to step-8 & start configuring from step-9. Navigate to Service Provider Info tab from the plugin for getting SP Meatadata URL.
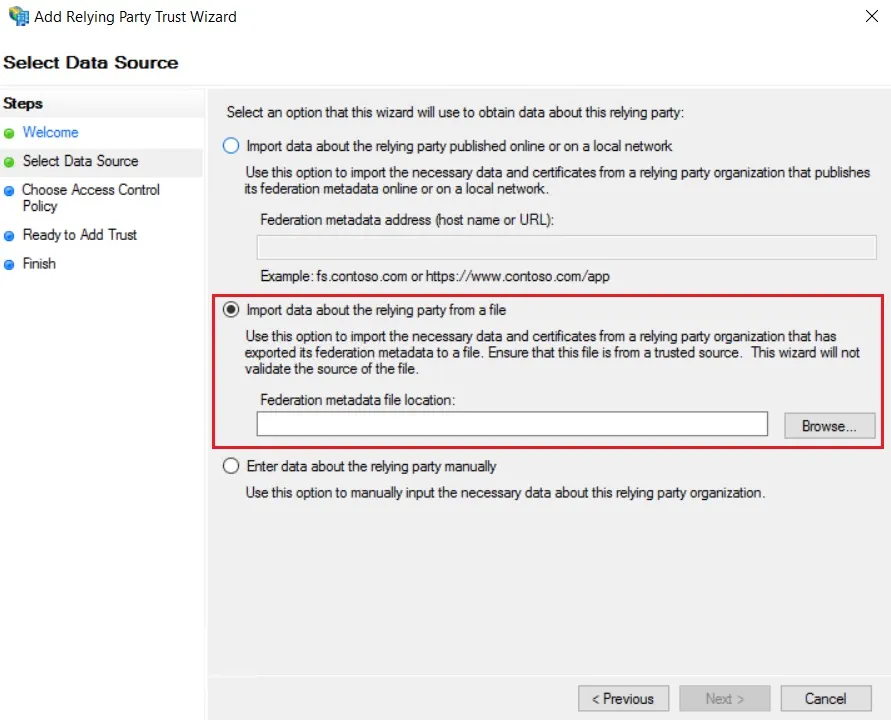
- In Select Data Source: Import data about the relying party from a file option & then browse the metadata file.
- Skip step-5 to step-8 & start configuring from step-9.
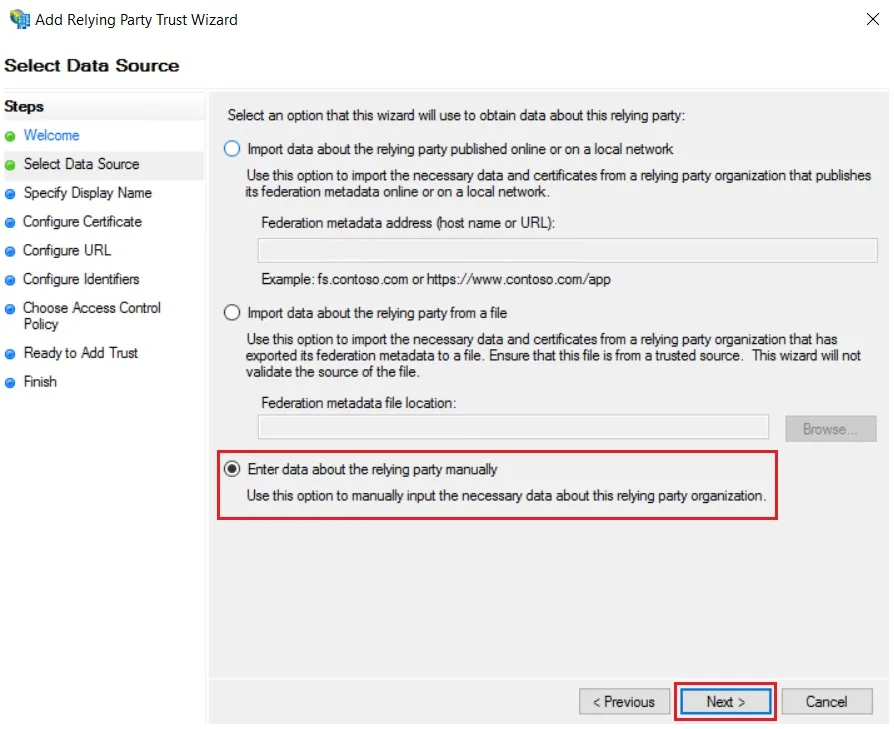
- In Select Data Source: Enter Data about the relying party manually & Click on Next.
- Enter Display Name & Click Next.
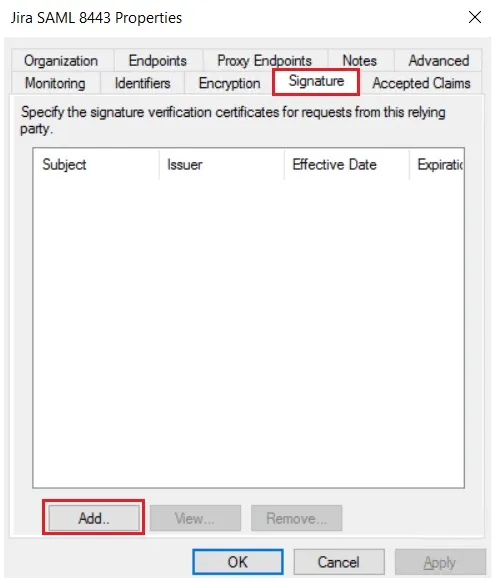
- Upload the certificate & click next. Download the certificate from plugin & use the same certificate to upload on ADFS.
- Select Enable support for the SAML 2.0 WebSSO protocol & Enter ACS URL from the plugins Service Provider Info Tab. Click Next.
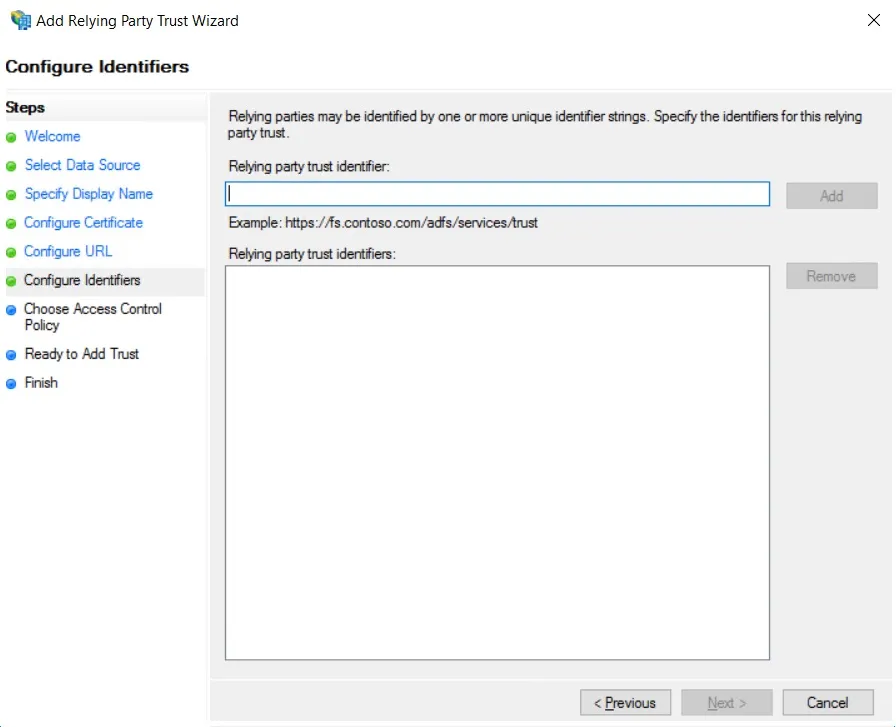
- Add Entity ID from plugins Service Provider Info Tab as Relying party trust identifier then click Add button & then click Next.
- Also download the Signing certificate from Service Provider Info Tab from the plugin.
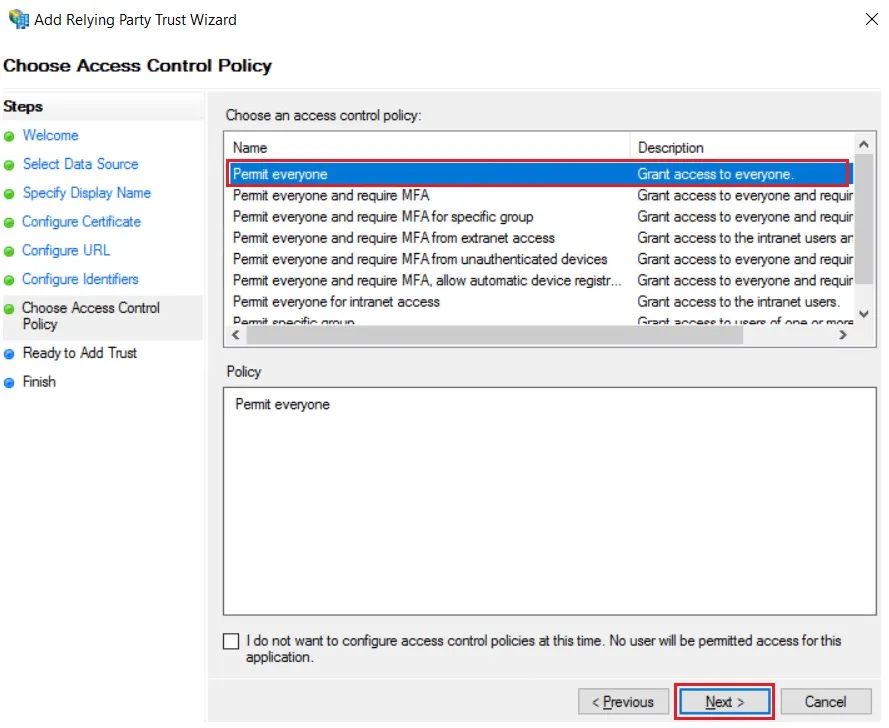
- Select Permit everyone as an Access Control Policy & click on Next.
- Click the Next button from Ready to Add Trust & click Close.
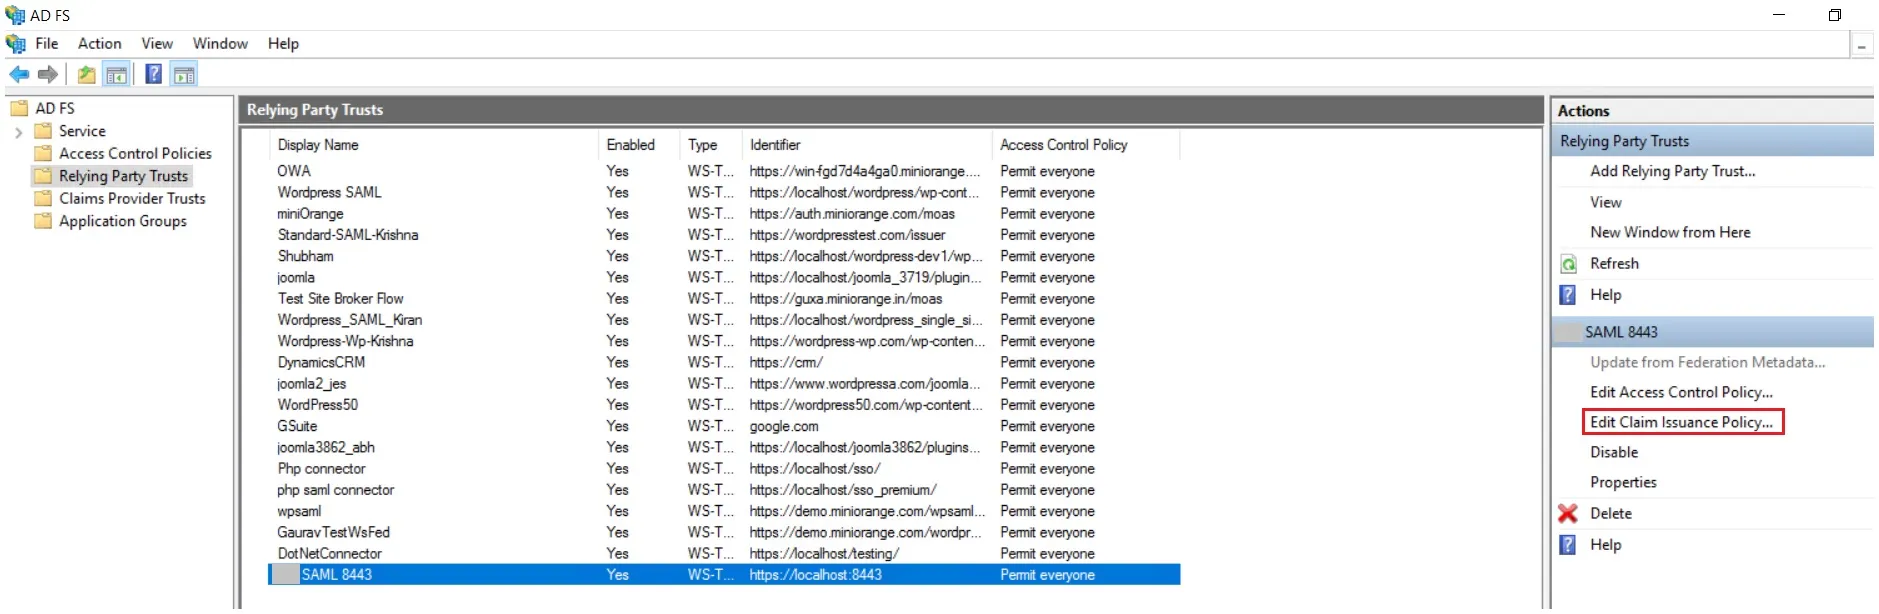
- It will show you the list of Relying Party Trusts. Select the respective application & click on Edit Claim Issuance Policy.
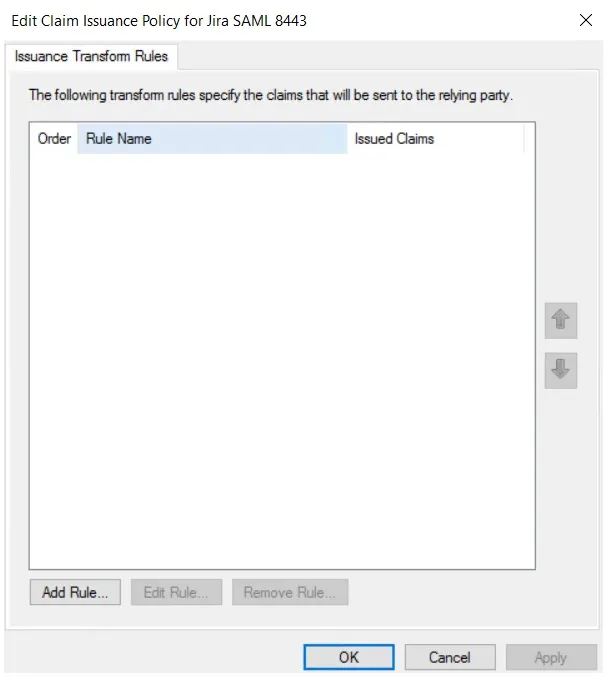
- Click on Add Rule button.
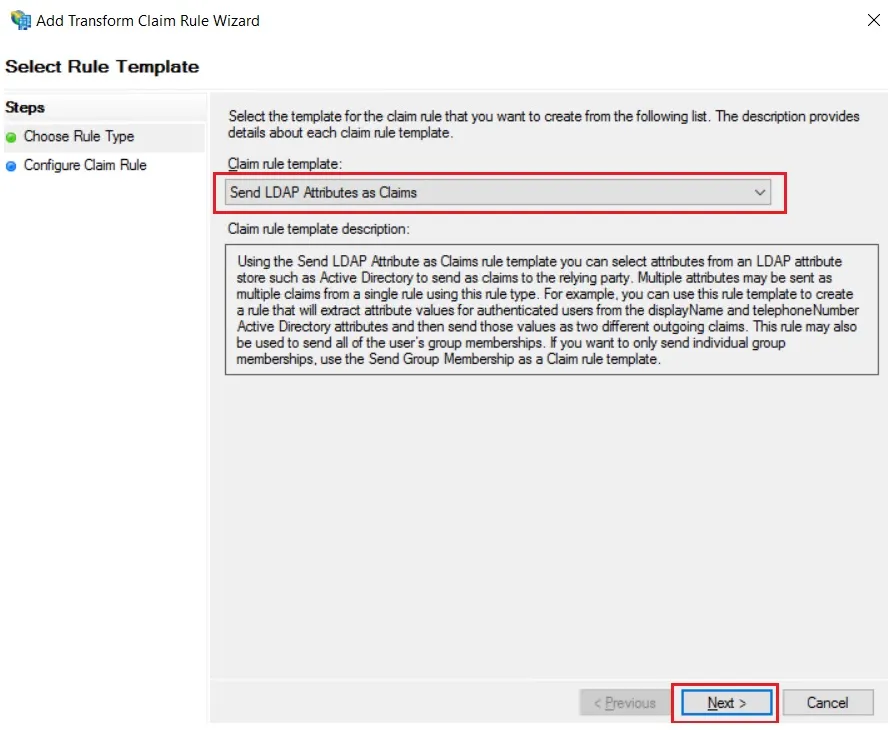
- Select Send LDAP Attributes as Claims & click on Next.
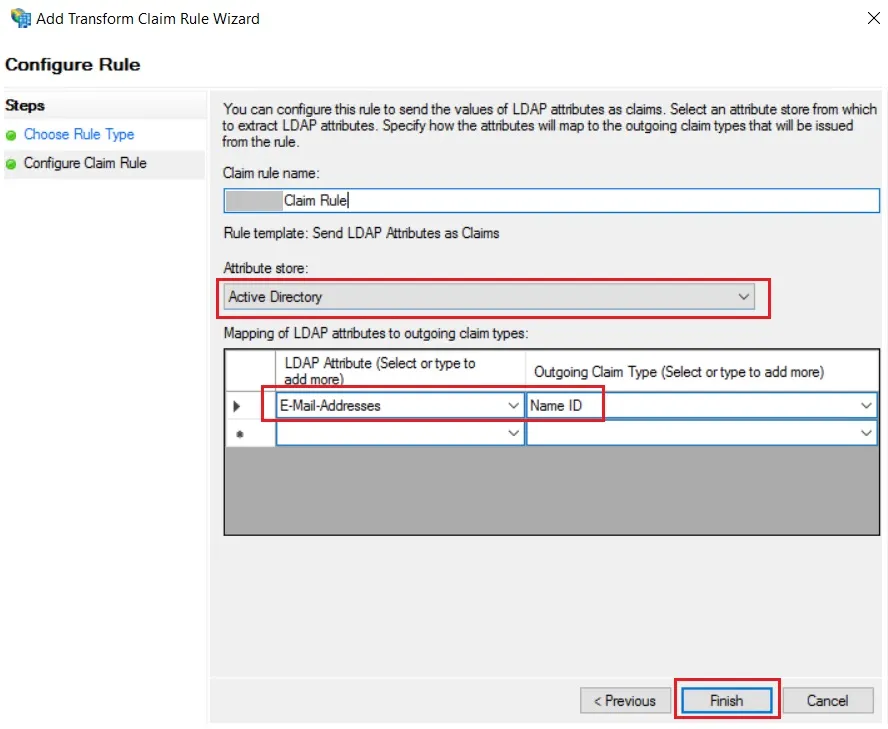
- Enter the following details & click on Finish.
- Click Apply Ok.
- Select property of the application & add the certificate downloaded from the add-on.
 Using Metadata URL
Using Metadata XML file
Using Manual configuration

| Claim rule name: | Attributes |
| Attribute Store: | Active Directory |
| LDAP Attribute: | E-Mail-Addresses |
| Outgoing Claim Type: | Name ID |
×
![]()
Trending searches:
Hello there!
Need Help? We are right here!
