Bitbucket OAuth Client
Step 3: User Profile
-
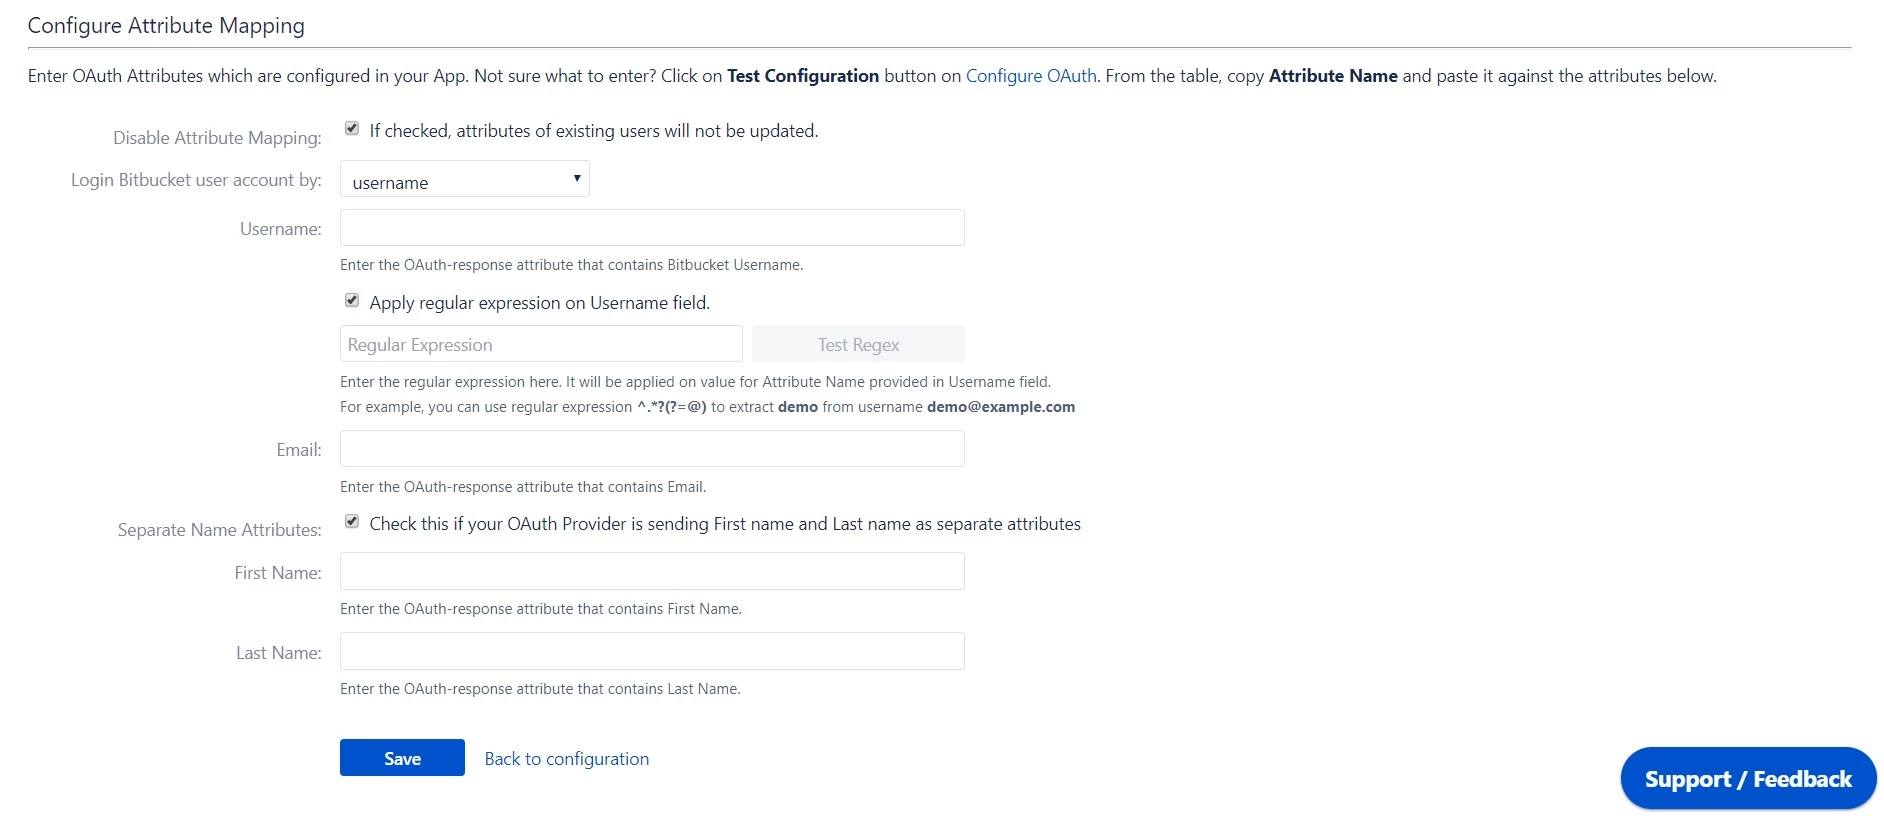
We will be setting up user profile attributes for Bitbucket. If your users are stored in a directory that is Read Only, please check Disable Attribute Mapping in User Profile tab and follow steps given in Matching a User.
- Go to Configure OAuth tab. Scroll down and click on Test Configuration.
- You will see all the values returned by your Provider to Bitbucket in a table. If you don't see value for First Name, Last Name, Email or Username, make the required settings in your Provider to return this information.
- Once you see all the values in Test Configuration, keep the window open and go to User Profile tab.
- In this tab, fill the values by matching the name of the attribute. For instance, if the Attribute Name in the Test Configuration window is email, enter email against Username.
- You can configure Email and Username here, otherwise it will create a new user with email address returned in Test Configuration window. If you want existing users to the only login, configure the attribute using which you will match the user in Bitbucket.
- Go to User Profile tab.
- Select Username or Email for Login/Search Bitbucket user account by.
- Enter the attribute name from Provider which corresponds to Username or Email using Finding Correct Attributes .
a. Finding correct attributes
b. Setting profile attributes
c. Matching a User
When the user logs into Bitbucket, one of the user's data/attribute coming in from the Provider is used to search the user in Bitbucket. This is used to detect the user in Bitbucket and log in the user to the same account.Step 4: User Groups
-
We will be setting up user group attributes for Bitbucket. If your users are stored in a directory that is Read Only, please check Disable Group Mapping in User Groups tab and skip to Setting default group.
- Select the users' Default Group in the tab User Groups. If no group is mapped, users are added by default to this group.
- You can enable default groups for All Users or New Users using the option.Select None if you don't want to assign any default group to SSO users. Using the option Enable Default Groups for.
- Just like we found Attribute Name for User Profile attributes, we find group attribute.
- Go to Configure OAuth tab. Scroll down and click on Test Configuration.
- You will see all the values returned by your OAuth/OpenID Provider to Bitbucket in a table. If you don't see value with groups, make the required settings in your OAuth/OpenID Providerto return group names.
- Once you see all the values in Test Configuration, keep the window open and go to User Groups tab.
- Enter the Attribute Name of group against Group Attribute.
- Check Disable Group Mapping option if you don't want to update groups of existing users.
- Manual group mapping: If the names of groups in Bitbucket are different than the corresponding groups in OAuth/OpenID Provider, then you should use Manual group mapping.
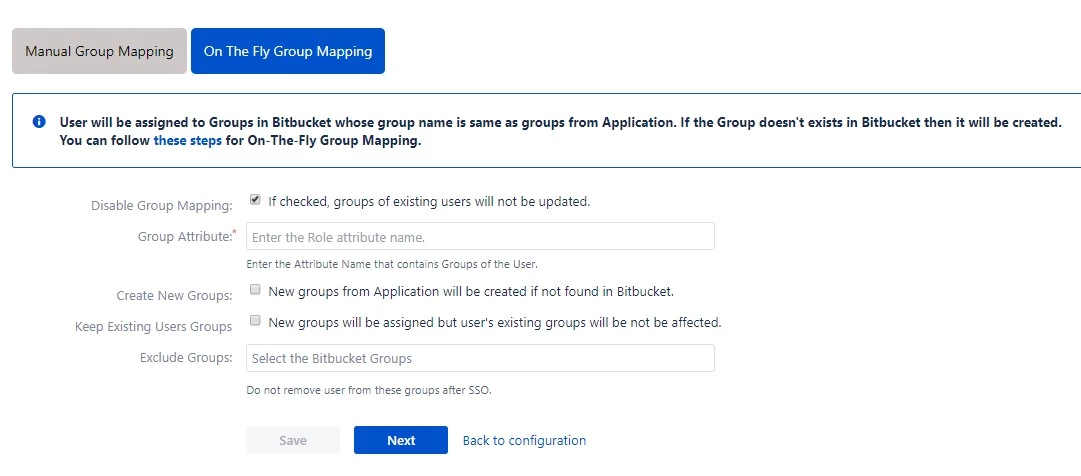
- On-The-Fly group mapping: If the names of groups in Bitbucket and OAuth/OpenID Provider are same, you should use On-The-Fly group mapping.
a. Setting default group

b. Finding Group Attribute
c. Group Mapping
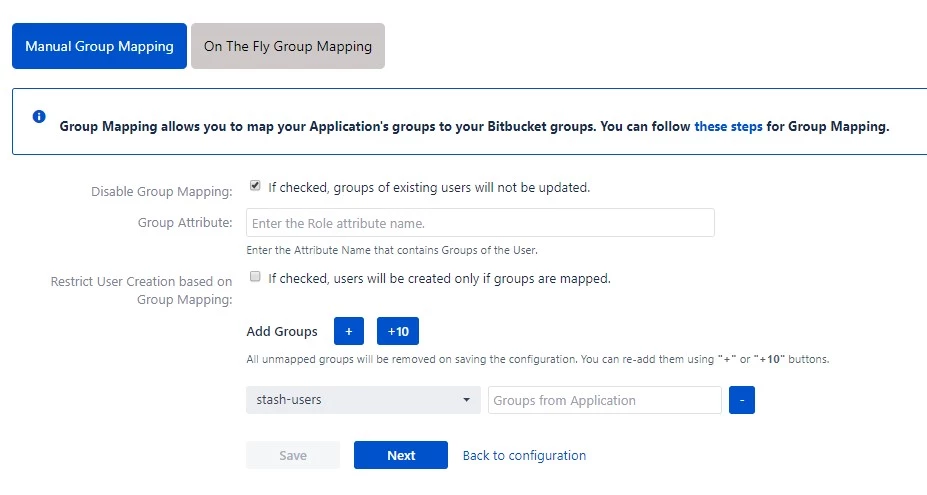
Group Mapping can be done in two ways:I. Manual Group Mapping
- Check Restrict User Creation Based on Group Mapping option if you want new users to be created only if at least one of the user's OAuth/OpenID Provider groups is mapped to a group in the application.
- For mapping, first select a Bitbucket group from the dropdown which lists all groups present in Bitbucket and then enter the name of the OAuth/OpenID Provider group to be mapped in the textbox beside
- For example, if you want all users in 'dev' group in OAuth/OpenID Provider to be added to stash-users, you will need to select stash-users from the dropdown and enter 'dev' against stash-users.
- Use '+1' and '+10' buttons to add extra mapping fields.
- Use '-' button next to each mapping to delete that mapping.
II. On-The Fly Group Mapping
- Check Create New Groups option if you want new groups from OAuth/OpenID Provider to be created if not found in Bitbucket.
- If the user is part of some group in Bitbucket and that group is not present in the OAuth/OpenID response returned by OAuth/OpenID Provider, then the user will be removed from that group in Bitbucket.
- If you don't want On-The-Fly group mapping to affect Bitbucket groups which are managed locally then add those groups in Exclude Groups field.
Step 5: Sign In Settings
-
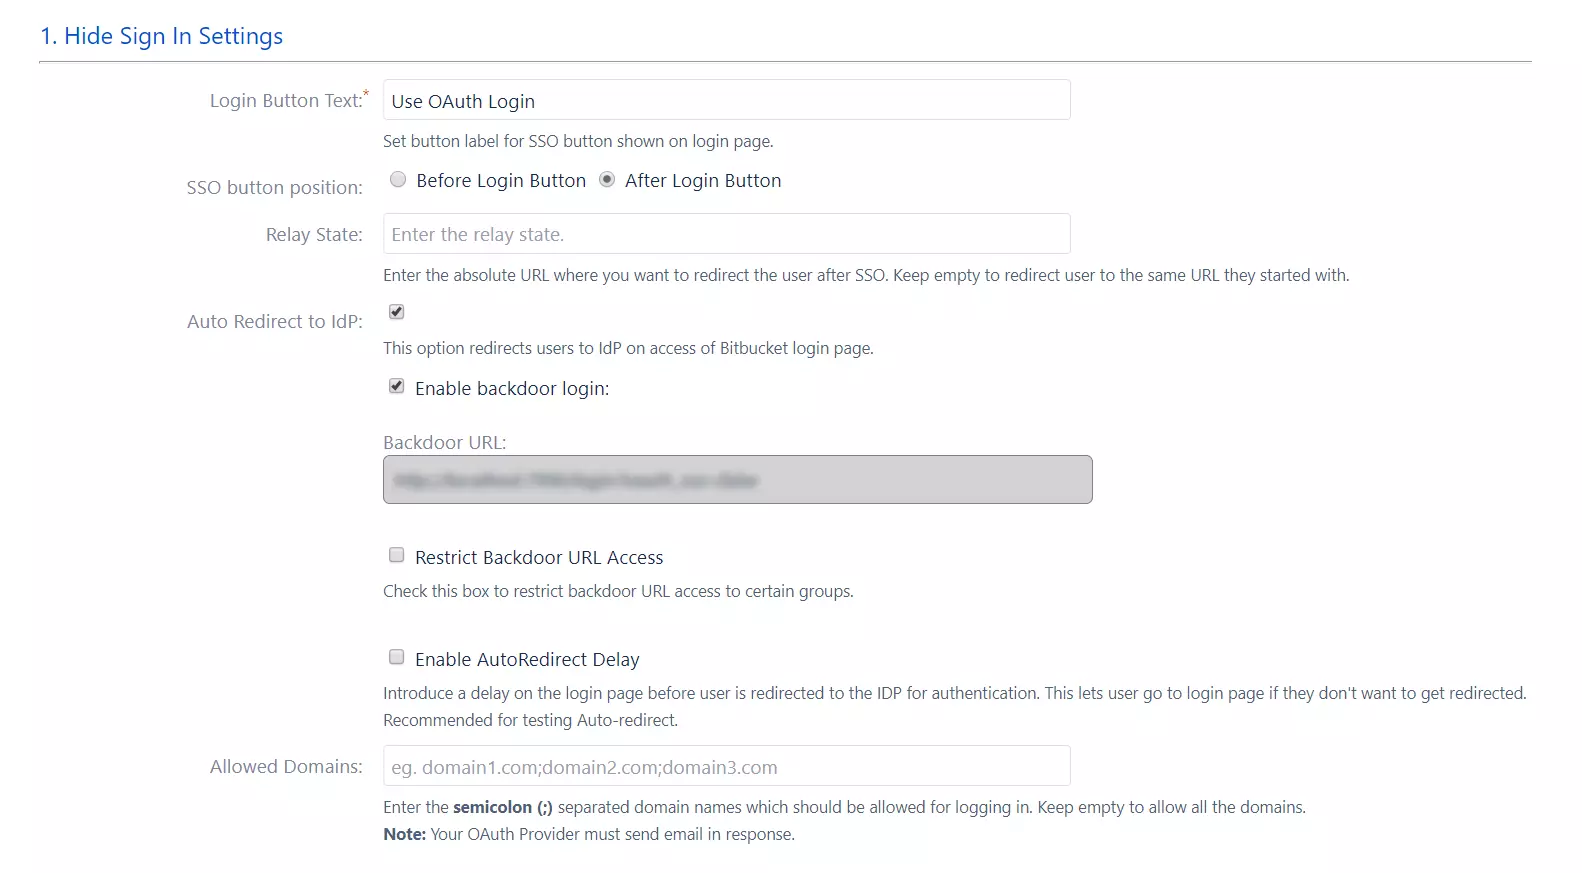
The settings in Sign In Settings tab define the user experience for Single Sign On.
- Set Enable SSO for Bitbucket Server to allow SSO for Bitbucket users.
- Change the text on the SSO button on the login page using the Login Button Text option.
- Set the Relay State to the URL to which the users would be redirected after login. Keep this empty to redirect users to the same page they started with.
- Enable Auto-redirect to OAuth/OpenID Provider if you want to allow users to login only using OAuth/OpenID Provider. Enable backdoor for emergency.
- Restrict the access of backdoor URL to limited users by using the Restrict backdoor URL access based on user groups feature.
- Use Domain Restriction to allow login to only a specific set of users. You can configure multiple domains (semicolon-separated).
- For example, if only 'miniorange.com' and 'gmail.com' domains are allowed then, the user test@miniorange.com and test@gmail.com will be able to log in and user test@yahoo.com will not be able to login.
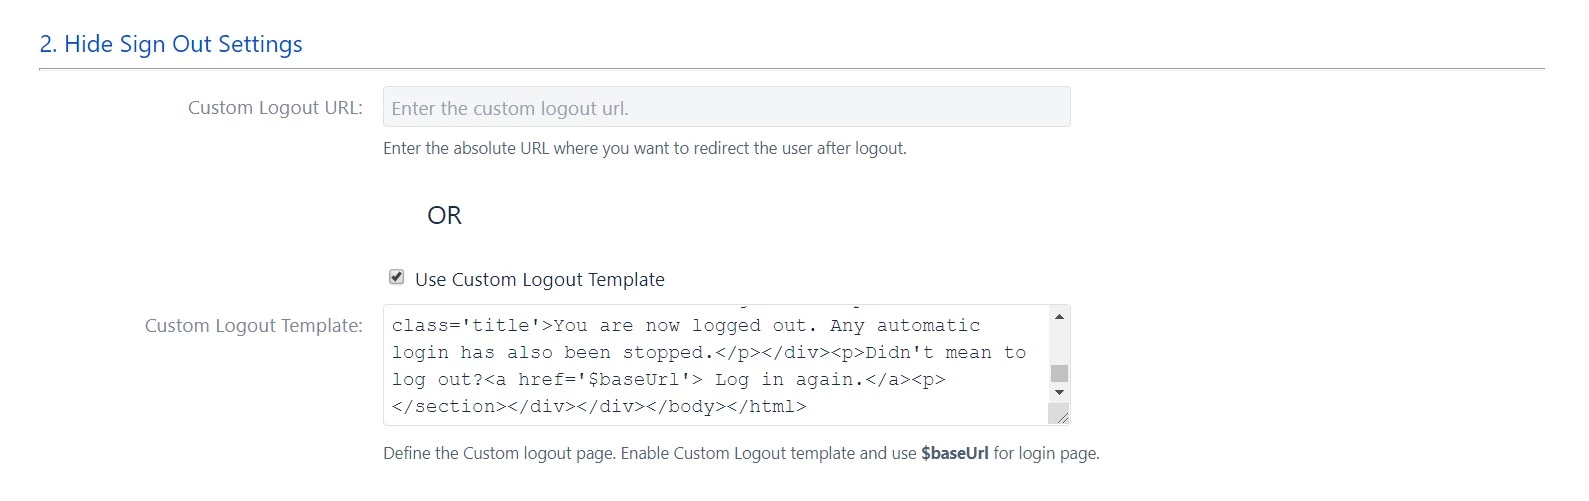
- Set Logout URL or Logout Template to redirect users after logout action.
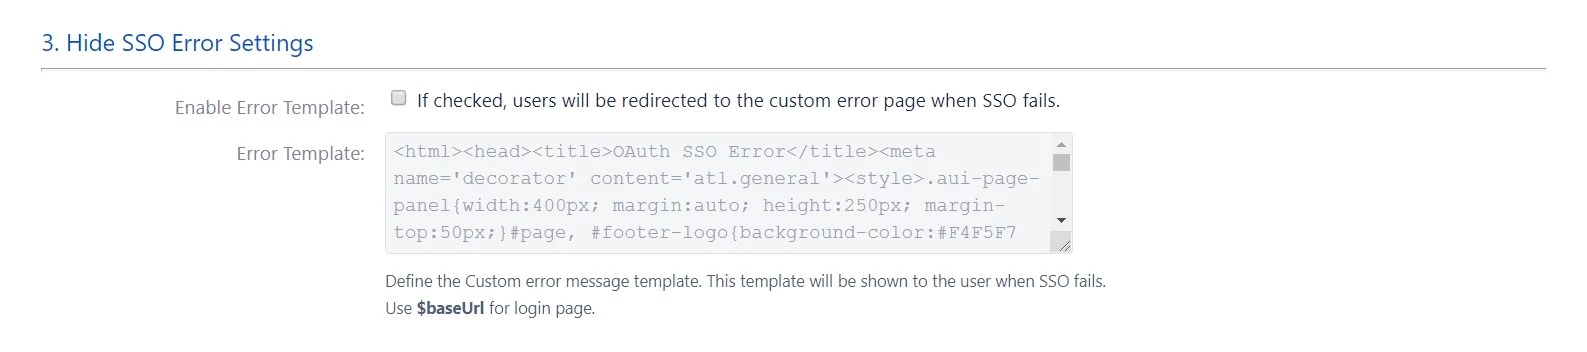
- Set error template to redirect users to a custom error page instead of login page. Use this if you have Auto-redirect to Provider enabled.
- Remember Me Cookie feature allows you to stay logged in Bitbucket unless you explicitly log out from browser.
a. Sign In Settings
b. Sign Out Settings
c. SSO Error Settings
d. Advanced Sign In Settings.

×
![]()
Trending searches:
Hello there!
Need Help? We are right here!
