Custom IdP For WordPress
WordPress SAML SP Single Sign-On (SSO) plugin gives you the ability to use your WordPress (WP) site as Service Provider. Here we will go through a step-by-step guide to configure Single Sign-On (SSO) between WordPress (WP) sites as Service Provider (SP) and custom Identity Provider.
 Pre-requisites: Download And Installation
- To integrate the WordPress (WP) site as SAML Service Provider, you will need to install the miniOrange WP SAML SP SSO plugin:
Step-by-step Video to Setup SSO between WordPress and custom Identity Provider
Follow the steps below to configure the Single Sign-On (SSO) between WordPress (WP) sites and custom Identity Provider.
Step 1: Setup Custom IDP as Identity Provider
- In the miniOrange SAML SP SSO plugin, navigate to Service Provider Metadata tab. Here, you can find the SP metadata such as SP Entity ID and ACS (AssertionConsumerService) URL which are required to configure the Identity Provider.
A. Using Metadata URL
- Copy the metadata URL from the plugin and provide it to the IDP.
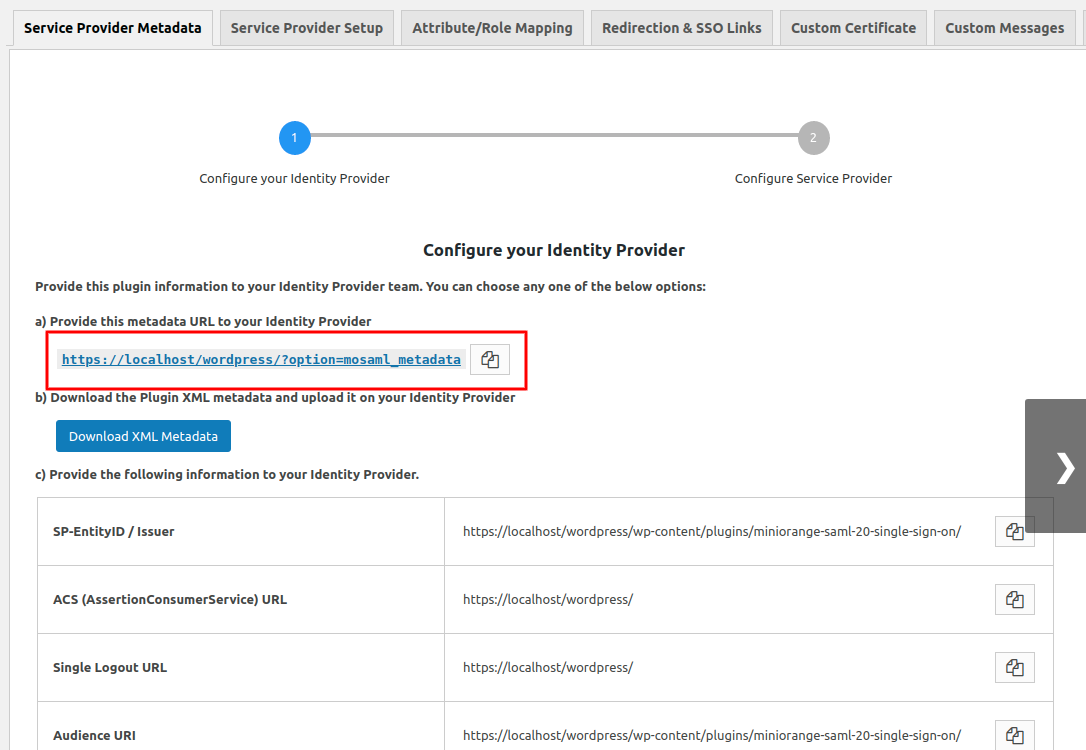
B.Using Metadata XML file
- Download the metadata XML file from the plugin under Service Provider Metadata tab and upload it to the IDP.

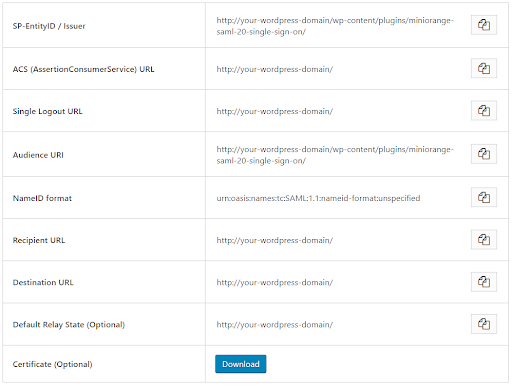
C. Using Manual configuration
- You can also enter the information manually into your IDP as provided under the Service Provider metadata tab.
×
![]()
Trending searches:
Hello there!
Need Help? We are right here!
