Okta as IdP Atlassian
Step 1: Setup Okta as Identity Provider
Follow the steps below to configure Okta as an Identity Provider
 Configuring Okta as IdP
- Log into Okta Admin Console. For developer account, switch to Classic UI to configure app.
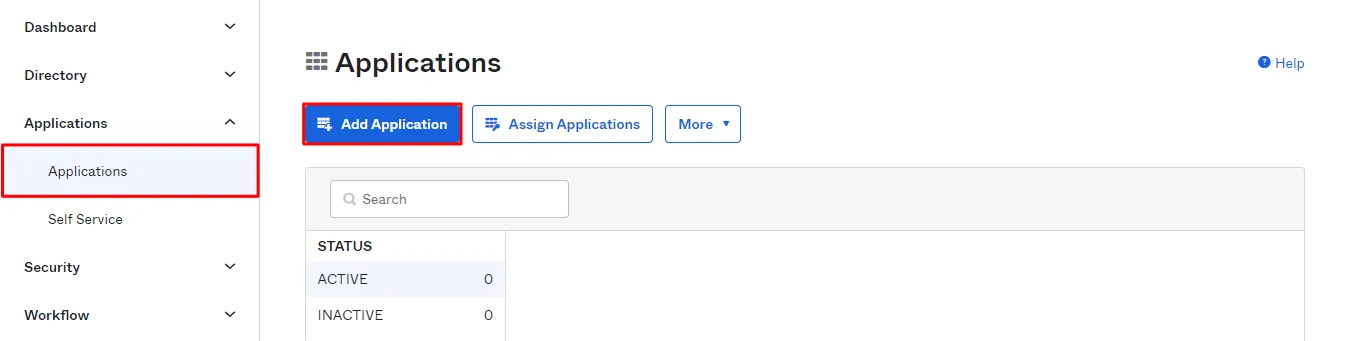
- Go to the Application from the left menu and then click on Add Application.
- Click on Create New App.
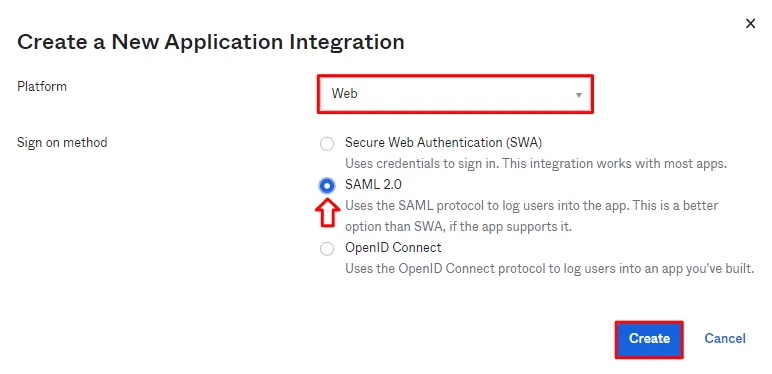
- Select SAML 2.0 as Sign on method.
- Click on Create.
- In General Settings, enter App Name and click on Next.
- In SAML Settings, enter the following:
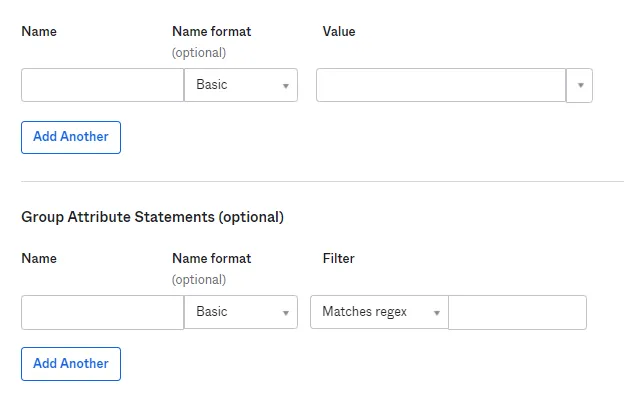
- Configure Attribute Statements and Group Attribute Statement (Optional).
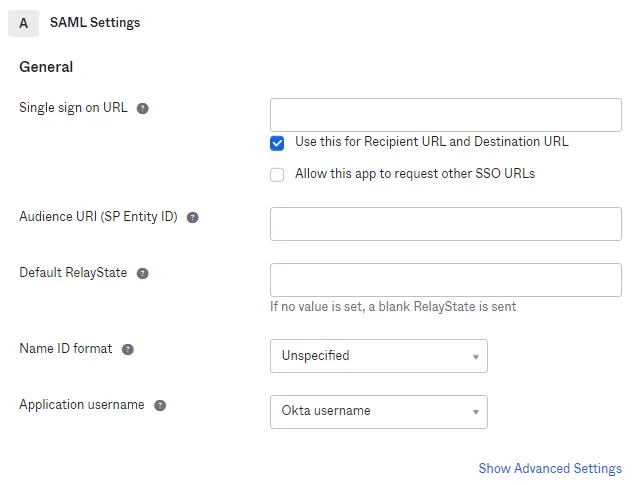
| Single Sign On URL | Enter ACS (AssertionConsumerService) URL from the Service Provider info tab of the module. |
| Audience URI (SP Entity ID) | Enter SP Entity ID / Issuer from the Service Provider info tab of the module. |
| Default Relay State | Enter Relay State from the Service Provider info tab of the module. |
| Name ID Format | Select E-Mail Address as a Name Id from dropdown list. |
| Application Username | Okta username. |
- For Name, enter "firstName" and select user.firstName from the value dropdown.
- For Name, enter "lastName" and select user.lastName from the value dropdown.
- For Name, enter "Email" and select user.email from the value dropdown.
- For Name, enter "groups" and select Matches regex from the Filter dropdown and enter ".*"
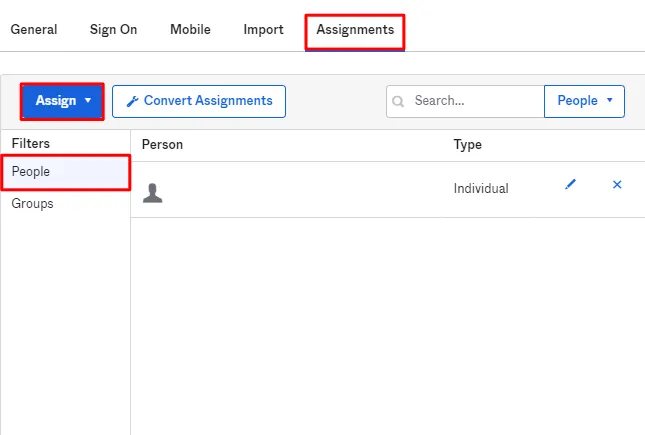
Assigning Groups/People
- After creating and configuring the app go to the Assignment Tab in Okta.
- Here we select the peoples and groups you want to give access to log in through this app. Assign this to the people/group you would to give access to.
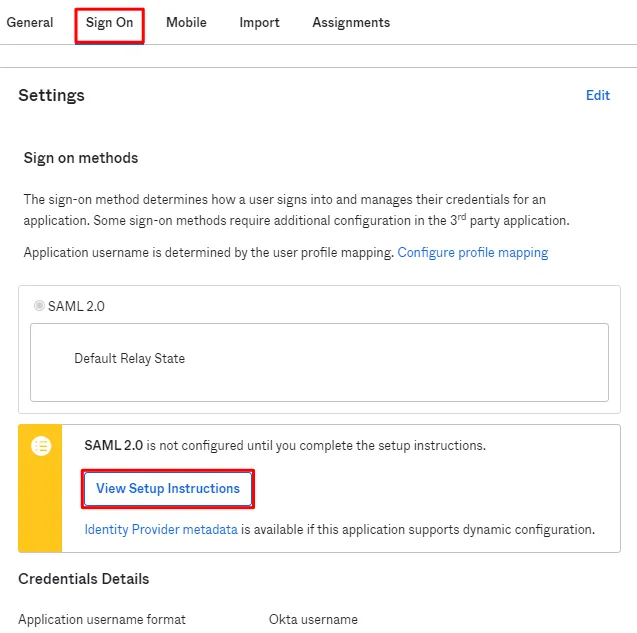
- After assigning the people/groups to your app, go to Sign On tab.
- Click on View Setup Instructions to get the SAML Login URL (Single Sign on URL), Single Logout URL, IDP Entity ID and X.509 Certificate. You will need this to configure the Service Provider.
×
![]()
Trending searches:
Hello there!
Need Help? We are right here!
