Ping Federate as IDP
Step 1:Setup PingFederate as Identity Provider
All the information required to configure the Ping Federate as SAML IDP i.e. plugin’s metadata is given in the Service Provider Info tab of the miniOrange plugin.
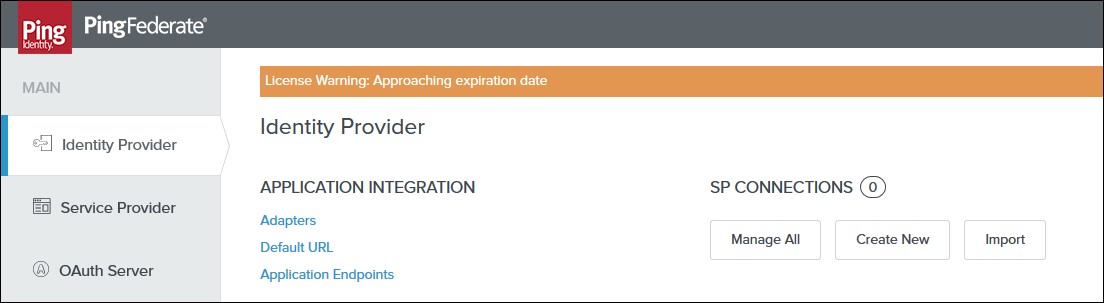
- Login to your Ping Federate user admin dashboard.
- Click on the Identity Provider in the left navigation menu.
- Under SP CONNECTION, click on Create New button.
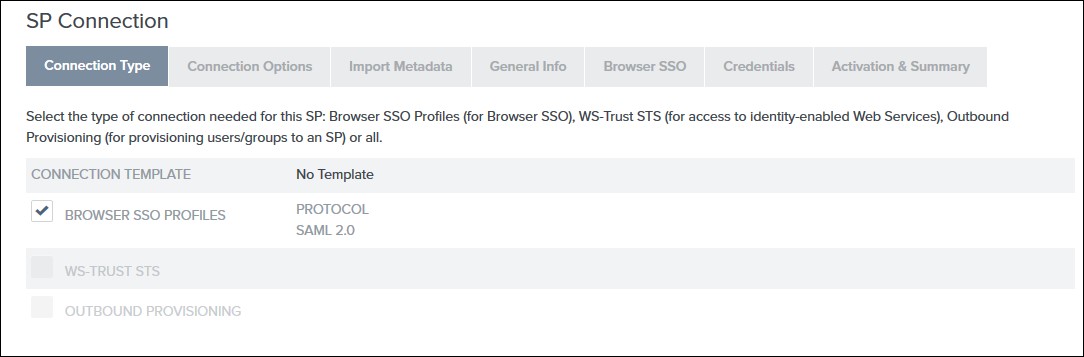
- Select the Browser SSO Profiles connection template on the Connection Type tab and click Next.
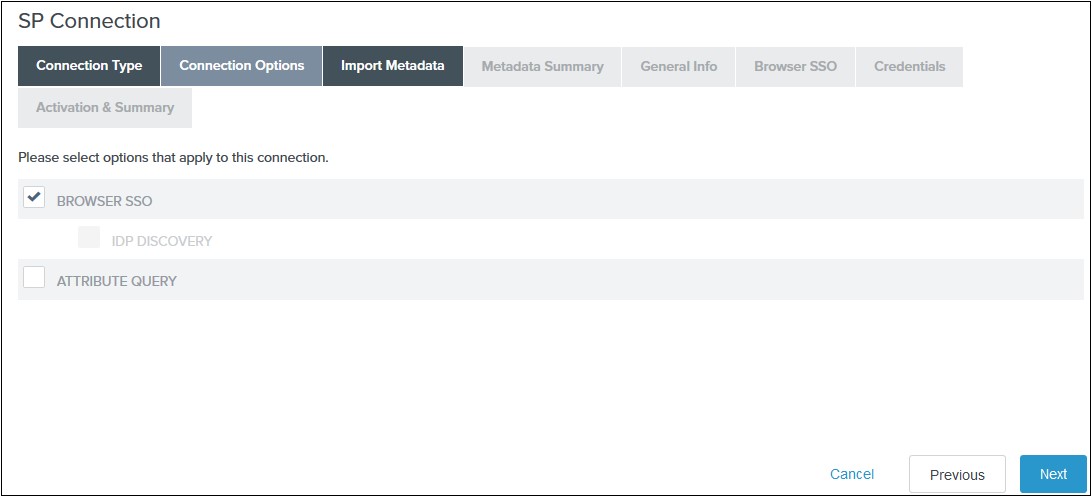
- Select Browser SSO on the Connection Options tab and click Next.
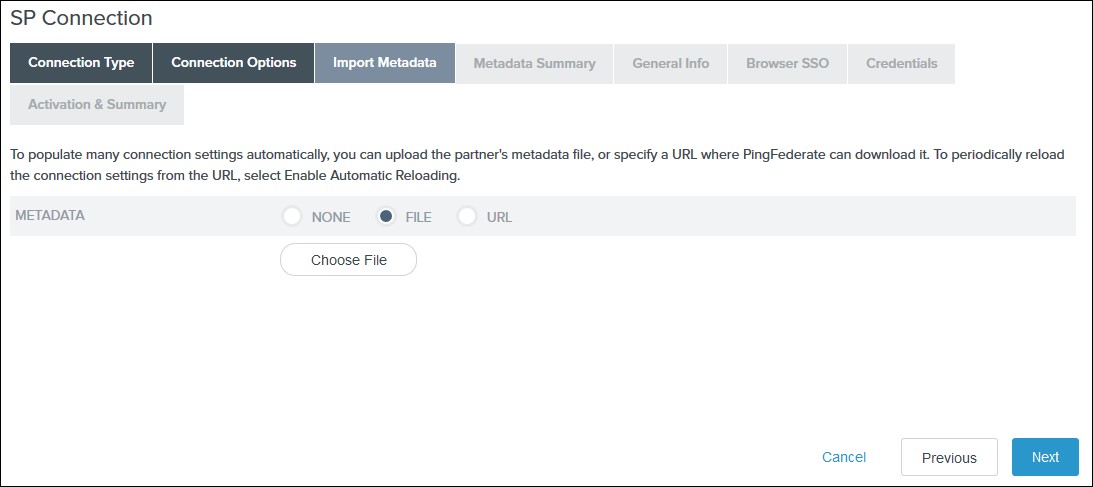
- Select File as the method for importing metadata and click Choose file to choose the miniOrange SSO plugin’s metadata on the Import Metadata tab. Click Next.
- Review the information on the Metadata Summary tab and click Next.
- In the General Info tab ensure that the Service Provider’s Entity ID, Connection Name, and Base URL fields pre-populate based on the metadata. Click Next.
- Navigate to the Browser SSO tab and click on the Configure Browser SSO. You will be redirected to Browser SSO Setup wizard.
-
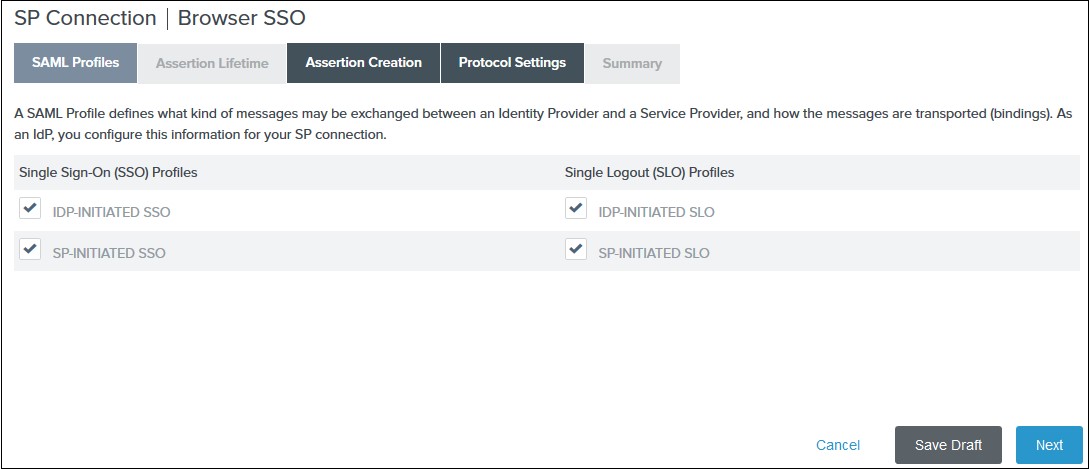
1) Select the IdP-Initiated SSO and SP-Initiated SSO options on the SAML Profiles tab and click Next.
 2) Enter your desired assertion validity time from on the Assertion Lifetime tab and click Next. By default, it is configured 5 minutes for both.
3) Navigate to the Assertion Creation and click on the Configure Assertion Creation. You will be redirected to the assertion creation setup wizard.
2) Enter your desired assertion validity time from on the Assertion Lifetime tab and click Next. By default, it is configured 5 minutes for both.
3) Navigate to the Assertion Creation and click on the Configure Assertion Creation. You will be redirected to the assertion creation setup wizard.
-
I. In the Identity Mapping tab select STANDARD and click Next.
II. Select a Subject Name Format for the SAML_SUBJECT on the Attribute Contract tab and click Next.
III. Click Map New Adapter Instance on the Authentication Source Mapping.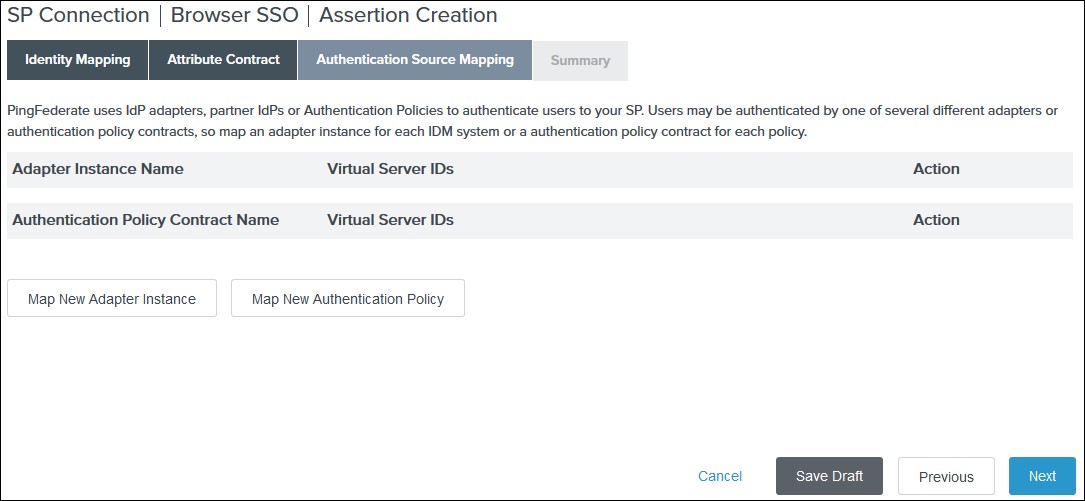 IV. Select an Adapter Instance and click Next. The adapter must include the user’s email address.
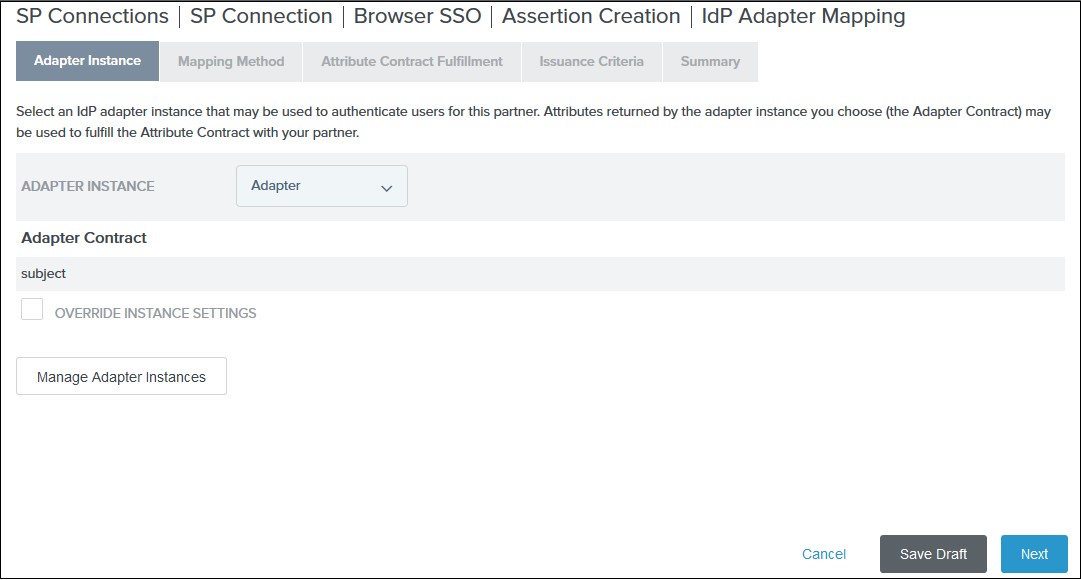 V. Select the Use only the adapter contract values in the SAML assertion option on the Mapping Method tab and click Next.
VI. Select your adapter instance as the Source and the email as the Value on the Attribute Contract Fulfilment tab and click Next.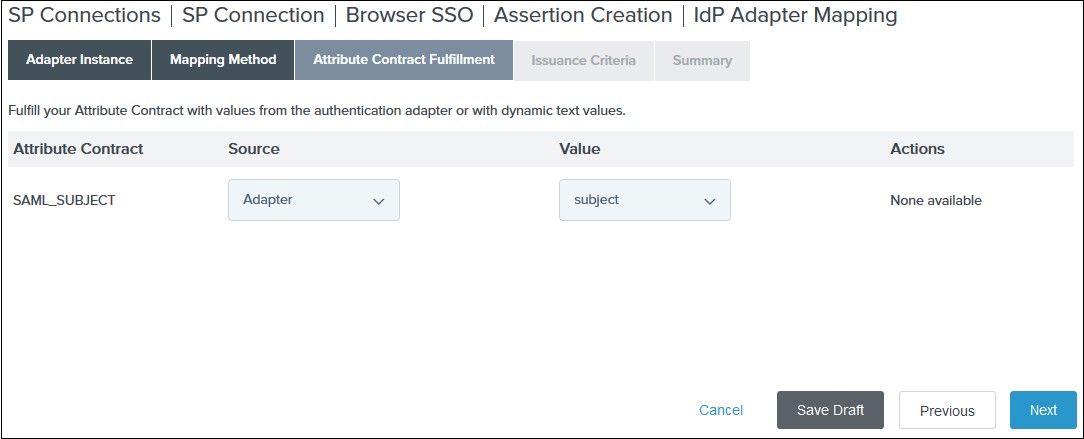 VII. (Optional) Select any authorization conditions you would like on the Issuance Criteria tab and click Next.
VIII. Click Done on the Summary. IX. Click Next on the Authentication Source Mapping tab. X. Click Done on the Summary tab. XI. Click Next on the Assertion Creation - Navigate to the Protocol Settings tab of the Browser SSO wizard and click on the Configure Protocol settings.
-
1) Select POST for Binding and specify the single sign-on endpoint URL in the Endpoint URL field on the Assertion Consumer Service URL. Click Next.
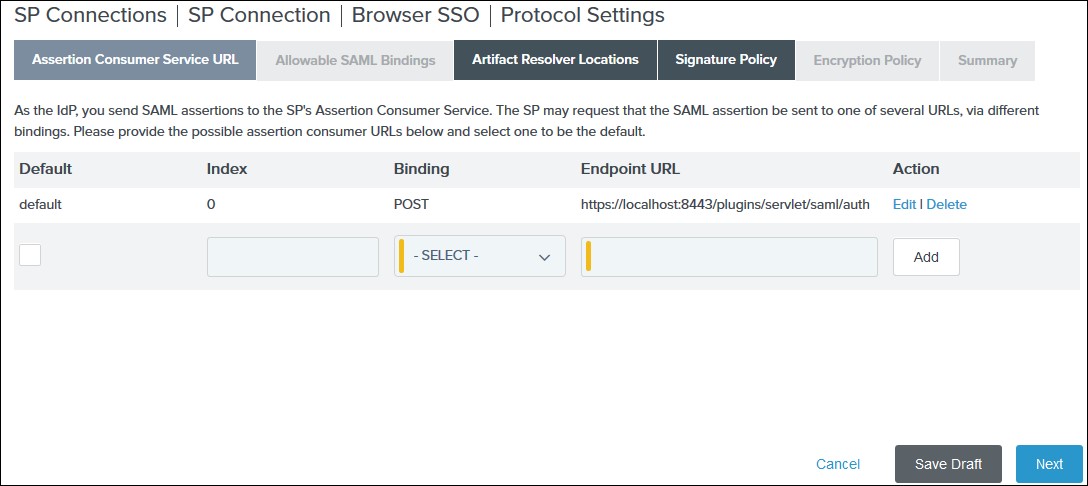 2) Select POST on the Allowable SAML Bindings tab and click Next.
3) Select your desired signature policies for assertions on the Signature Policy tab and click Next.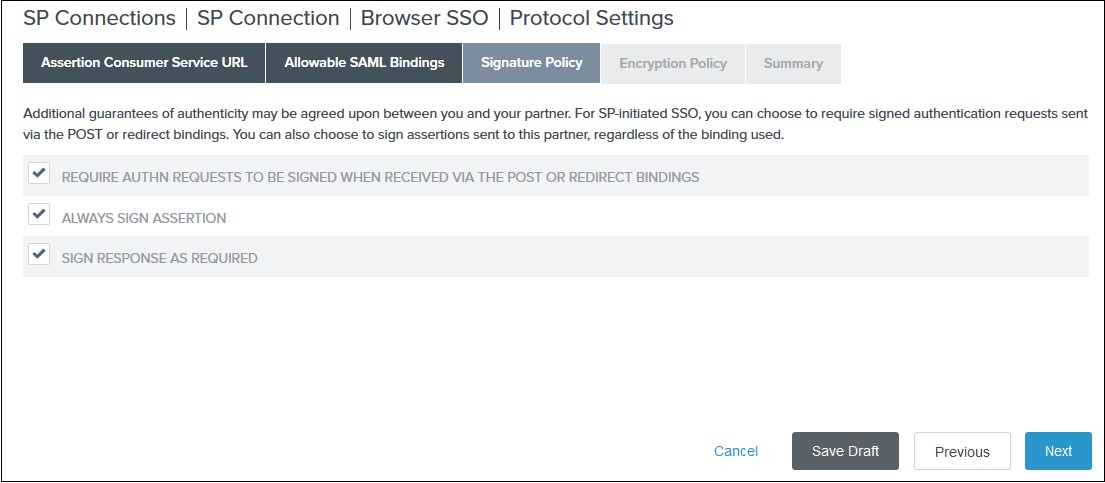 4) Select your desired encryption policy for assertions on the Encryption Policy tab and click Next.
5) Click Done on the Protocol Settings Summary tab.
6) Click Done on the Browser SSO Summary.
- Navigate to the Credentials and click on the Configure Credentials. You will be redirected to the Credentials setup wizard.
-
1) Select the Signing Certificate to use with the Single Sign-On service and select Include the certificate in the signature element in the Digital Signature Settings tab. Click Done.
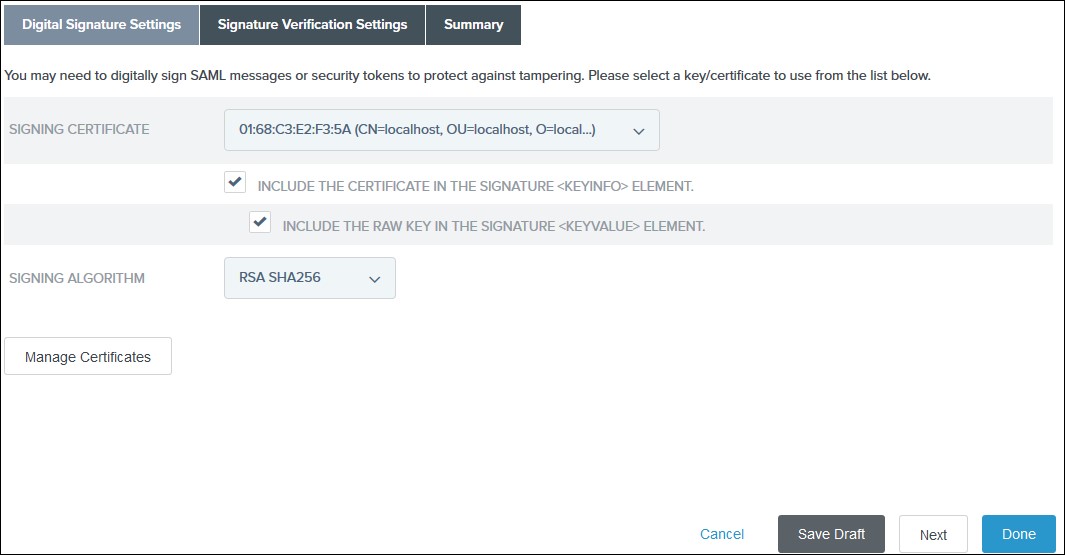 2) Click Done on the Summary.
3) Click Next on the Credentials.
- Select Active for the Connection Status on the Activation & Summary tab and click Save.
- Now, navigate to the Ping Federate User Admin dashboard Identity Provider.
- Click Manage All under SP Connections.
- Click Export Metadata for the desired service provider connection.
- Click Export on the Export & Summary tab and click Done.
×
![]()
Trending searches:
Hello there!
Need Help? We are right here!
