RSA SecurID as IDP
Step 1:Setup RSA SecurID as Identity Provider
All the information required to configure RSA as Identity Provider i.e. plugin’s metadata is given in the Service Provider Info tab of the miniOrange SAML plugin.
- Login to the RSA Secure ID as Super Admin.
- In the Administration Console, click Applications → Application Catalog.
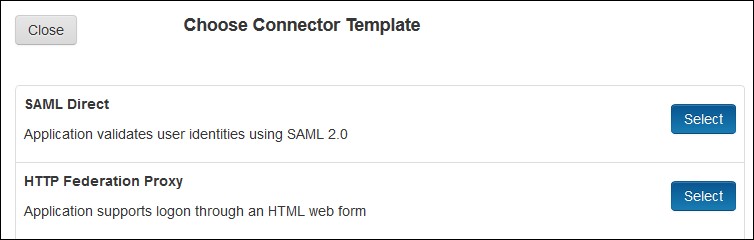
- Click Create From Template button on the top right corner.

- Next to the SAML Direct, click the Choose Connector Template page. The Add Connector wizard appears.
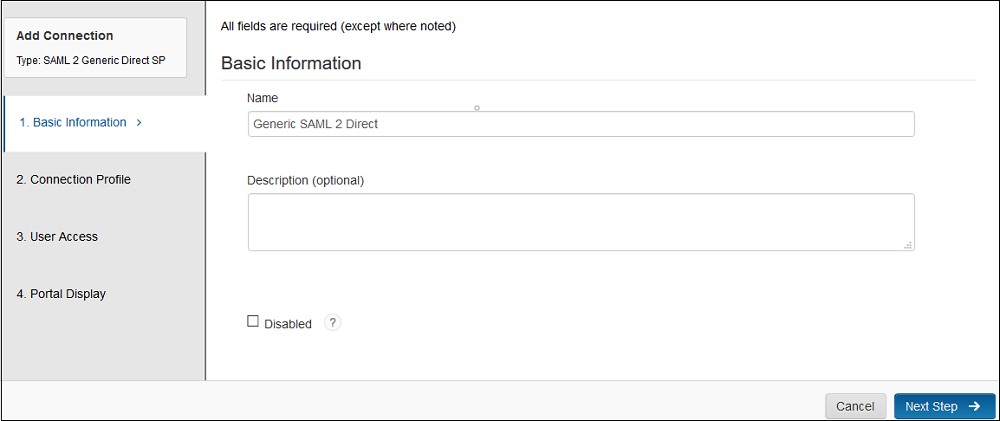
- Fill the required information in the Basic Information page on the Add Connector wizard.
- Name:- Name of the application for eg. miniOrange Plugin.
- Description (Optional):- Description for your application.
- Disabled [a checkbox] (optional): Select this only if you want to make this application unavailable to users. When disabled, the application appears in My Application but does not appear in the RSA application portal.
- Click Next Step button.
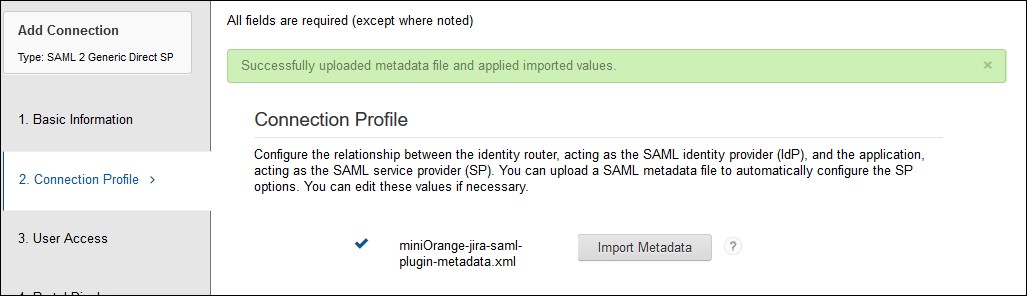
- Fill the required information in the Connection Profile page.
- Upload the miniOrange plugin’s metadata file and click on the Import Metadata button. You can obtain plugin metadata from the Service Provider info tab of the plugin.
- Verify the configured URLs and clicks on the Save button on the top right corner of the pop-up window.
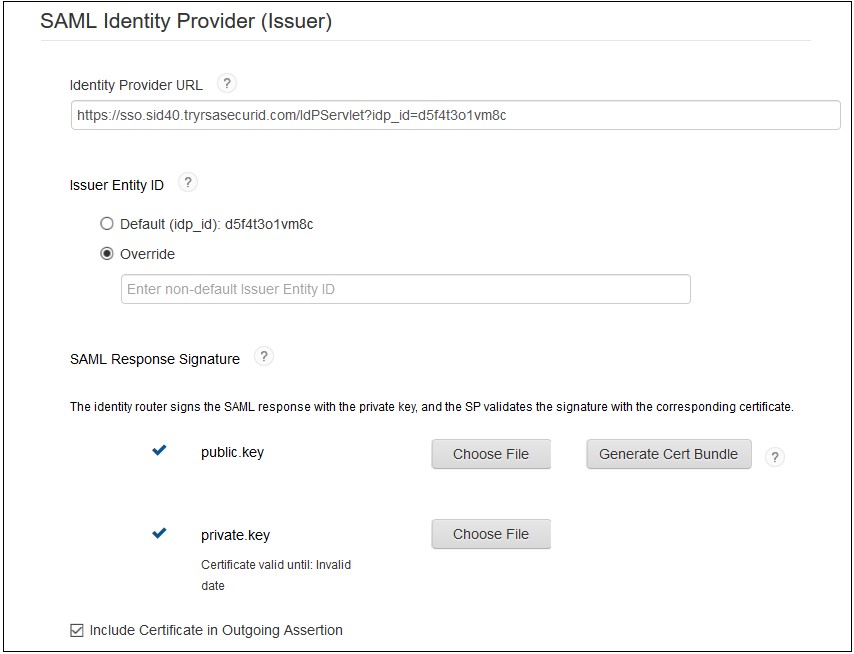
- Select SP-Initiated, if you want the SSO should be invoked from application or select IDP-initiated, if you want the user should log in into RSA first and then access application from his RSA Dashboard.
- Configure base URL of your application as Connection URL or you can leave it blank if IDP-initiated is selected.
- Select Binding type: POST and Signed option as Checked.
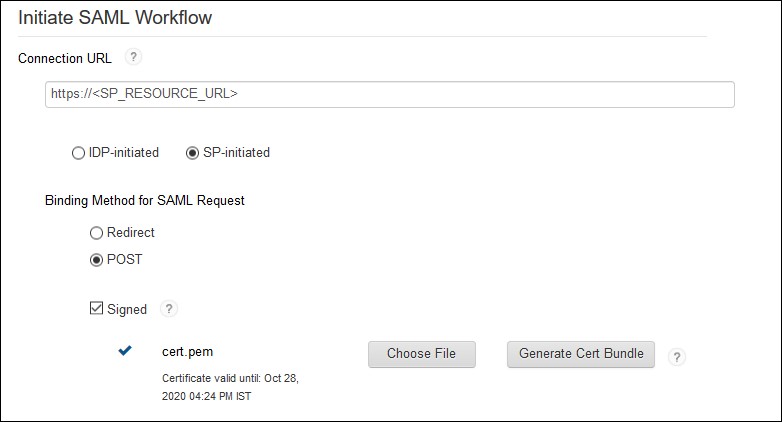
- Upload the public and private key which will be used to signed SAML response or you can generate new key pair by clicking on the Generate Cert Bundle button.
- (Optional) Enable checkbox for Include Certificate in Outgoing Assertion.
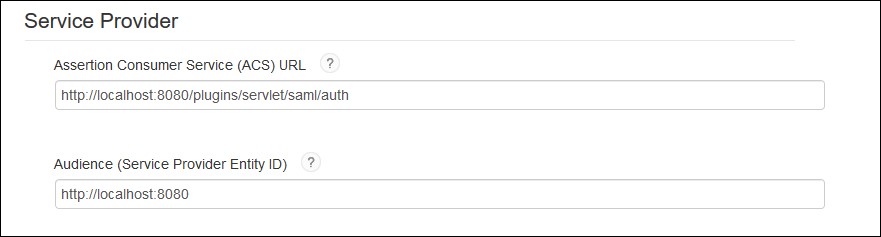
- Assertion Consumer Service URL and Audience URL should be preconfigured if you have uploaded plugin’s metadata in the Connection Profile section. If not, you can find the required URLs from Service Provider Info tab of the miniOrange SAML plugin and update the URL here.
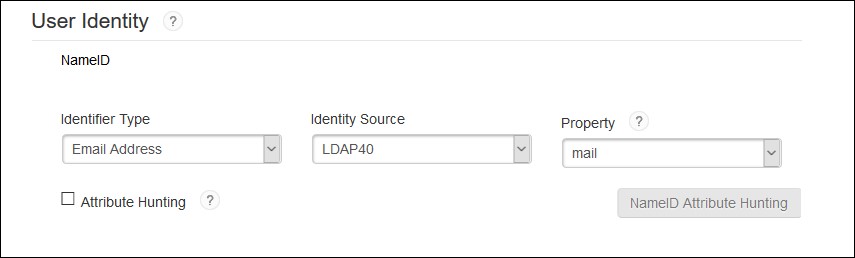
- Configure NameID information that identifies the user on whose behalf the SAML assertion is generated.
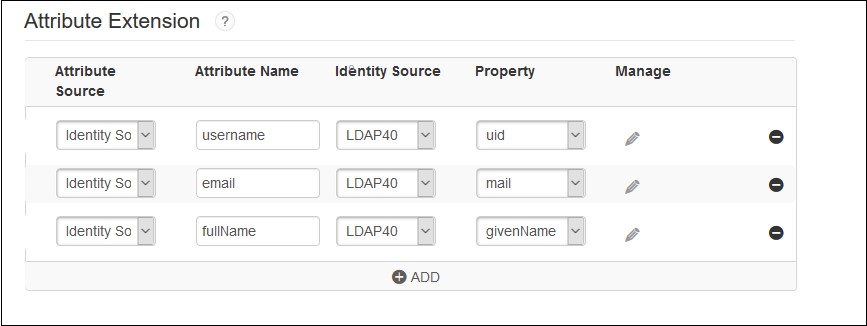
- Configure additional user information to be sent to the application in the SAML response, for example, username, email, display name, groups etc.
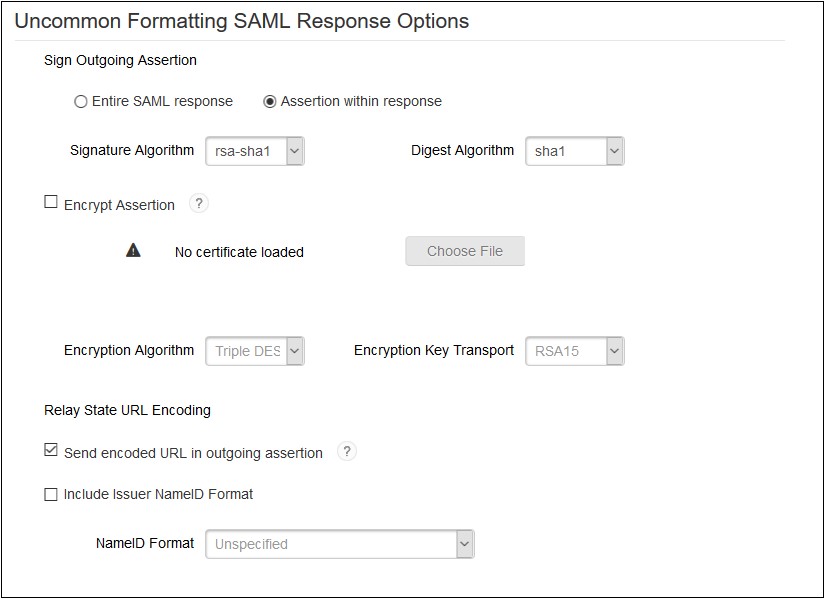
- Sign outgoing Assertion:- Assertion within Response.
- Encrypt Assertion (Optional): If checked, you need to load miniOrange plugin’s public certificate and you can download it from the Service Provider Info tab of the plugin.
- Unchecked Send encoded URL outgoing in assertion .
- Checked include issuer NameID format and select NameID Format as Unspecified.
- Save the configuration and move to the next page i.e. User Access page.
- Define application access in the User Access page.
- Configure application display settings for RSA end users like app icon etc and save the settings.
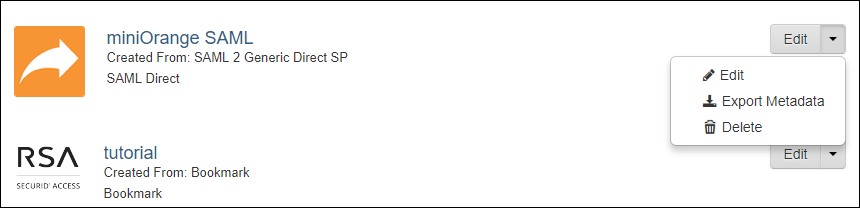
- Now, In the Administration Console, click Application My Application.
- Find the app that you have configured and click on Edit Export Metadata. Keep the metadata handy, it will require to configure miniOrange plugin.
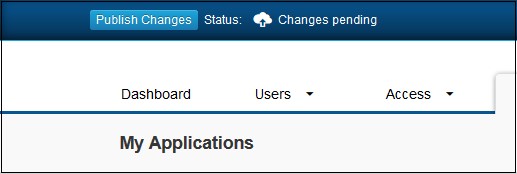
- Click on Publish Changes in the top left corner of the RSA Admin Console to publish this configuration and immediately activate it.
 Connection Profile
Initiate SAML Workflow
SAML Identity Provider(Issuer)
Service Provider
User Identity
Advanced Configuration: Attribute Extention
Advanced Configuration: Uncommon Formatting SAML Response
×
![]()
Trending searches:
Hello there!
Need Help? We are right here!
