Meet us at WordCamp Europe | ShopTalk | DrupalCon Conferences to explore our solutions. Know More
Step by Step Guide to enable miniOrange OAuth Server for WordPress
miniOrange WordPress OAuth Server plugin supports Rocket.chat, Invision Community and other custom OAuth and OpenID Connect client applications. OAuth Server plugin works with any OAuth client that conforms to the OAuth 2.0 and OpenID Connect 1.0 standard. This plugin allows user to Login with WordPress.
Supported OAuth/OpenID Connect Clients


How to configure WordPress as OAuth Provider (OAuth Server )
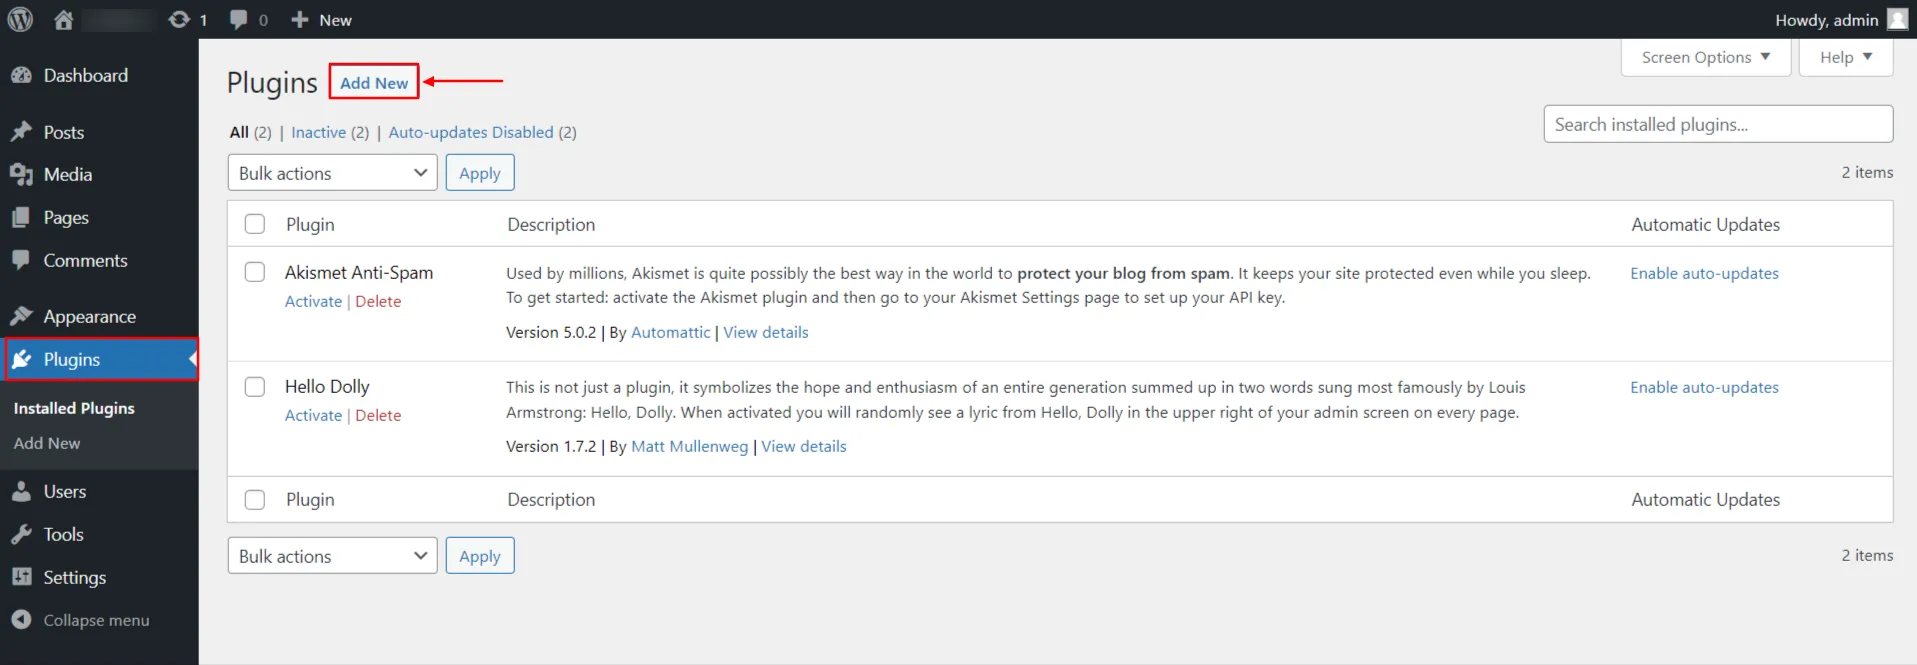
1. Download and install miniOrange OAuth Server
 From your WordPress dashboard
- Click on PluginsAdd New tab.
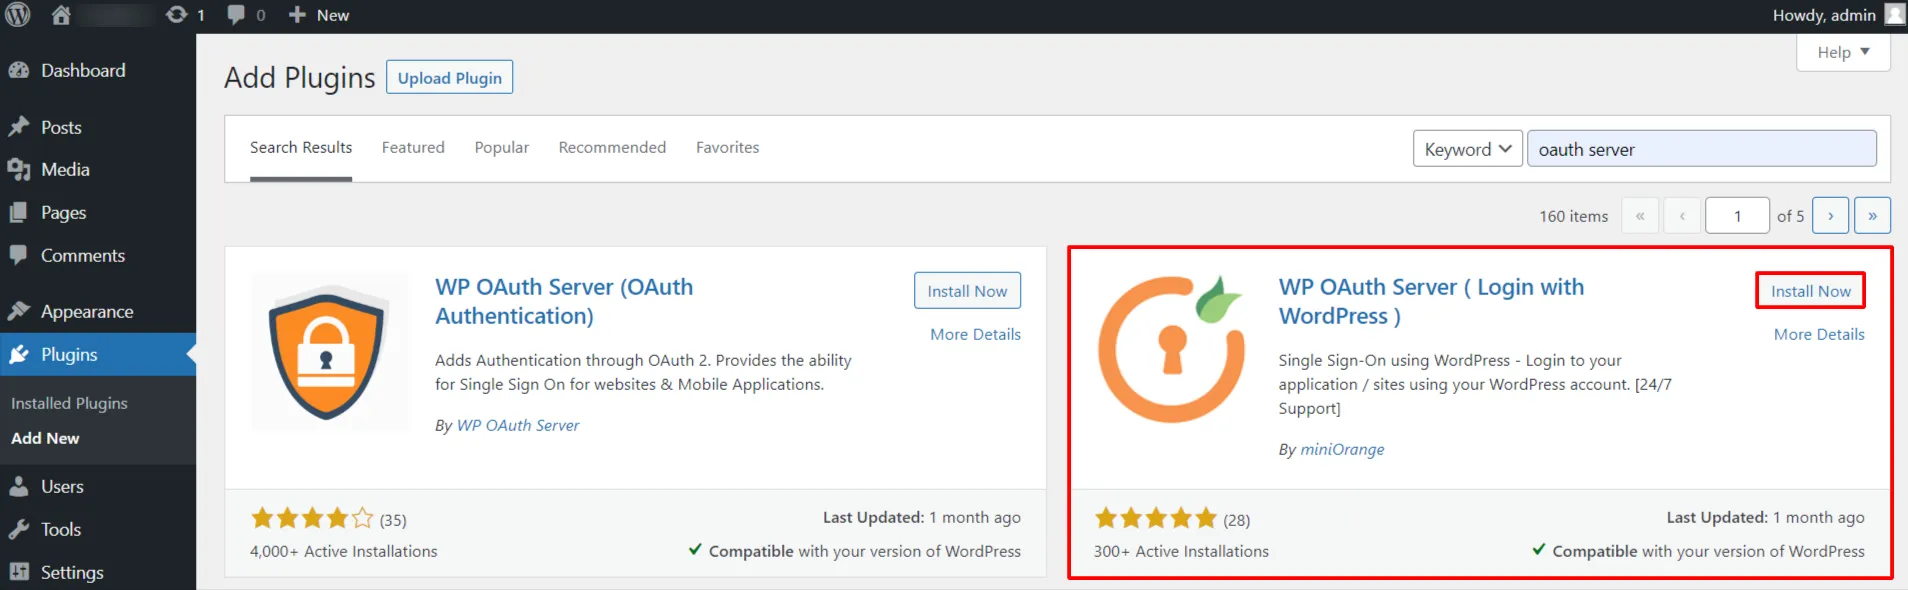
- Search for OAuth Server (OAuth Provider) plugin. Install the plugin.
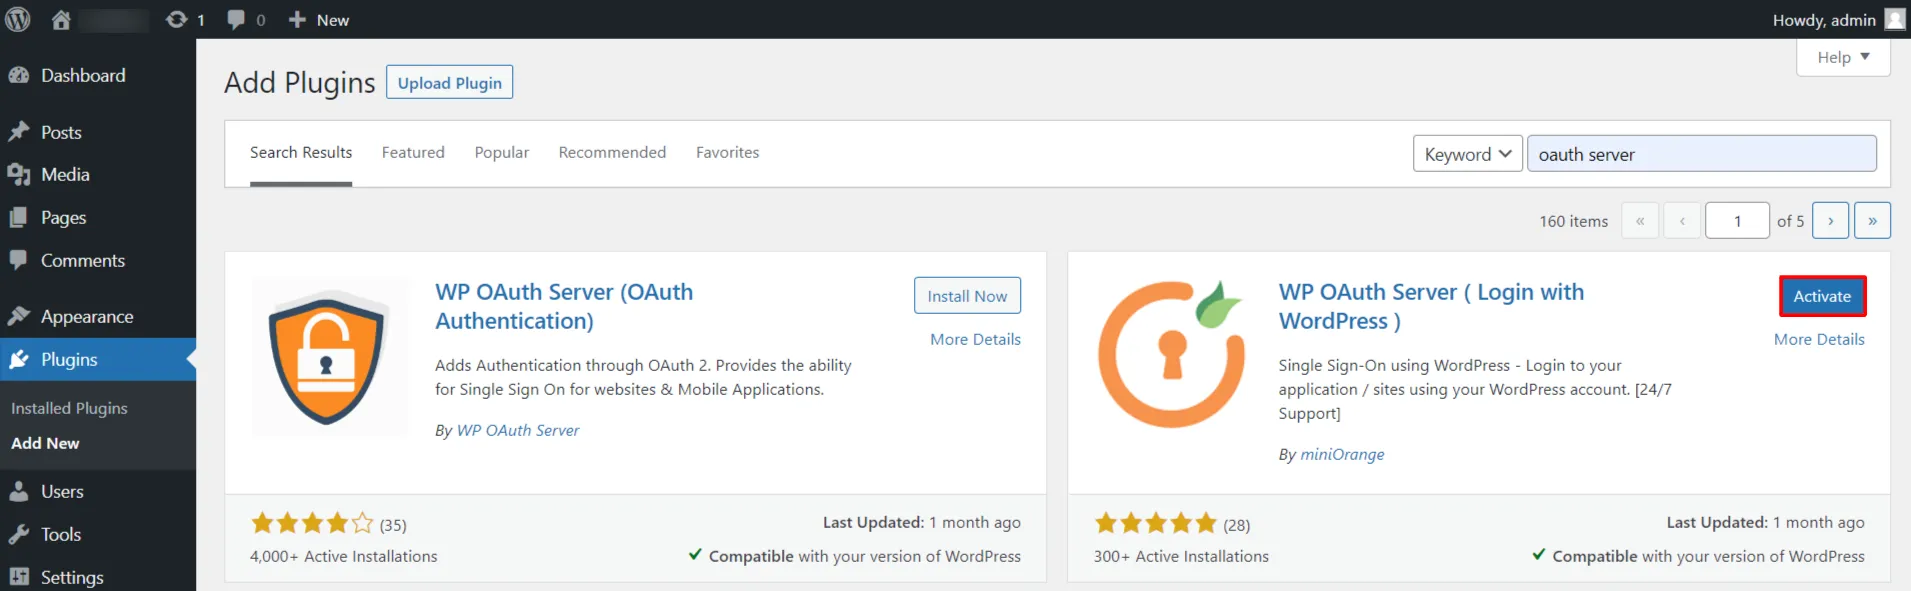
- Activate OAuth Server by miniOrange from your Plugins page.
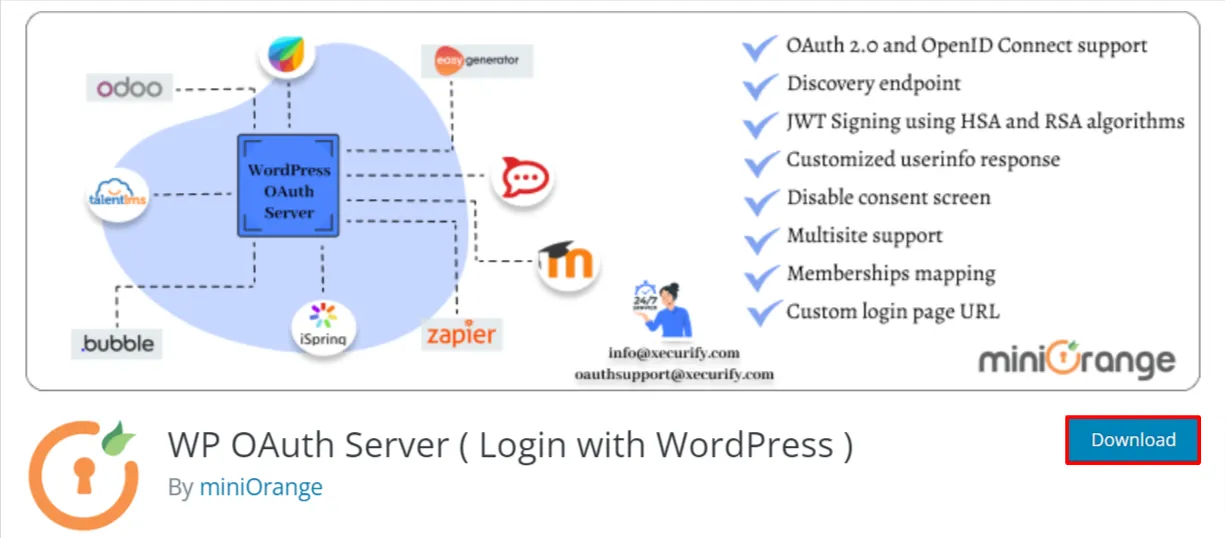
From WordPress.org
- Download OAuth Server by miniOrange.
- Unzip and upload the plugin directory to your /wp-content/plugins/ directory.
- Activate OAuth Server by miniOrange from your Plugins page.
2. Configure OAuth Server
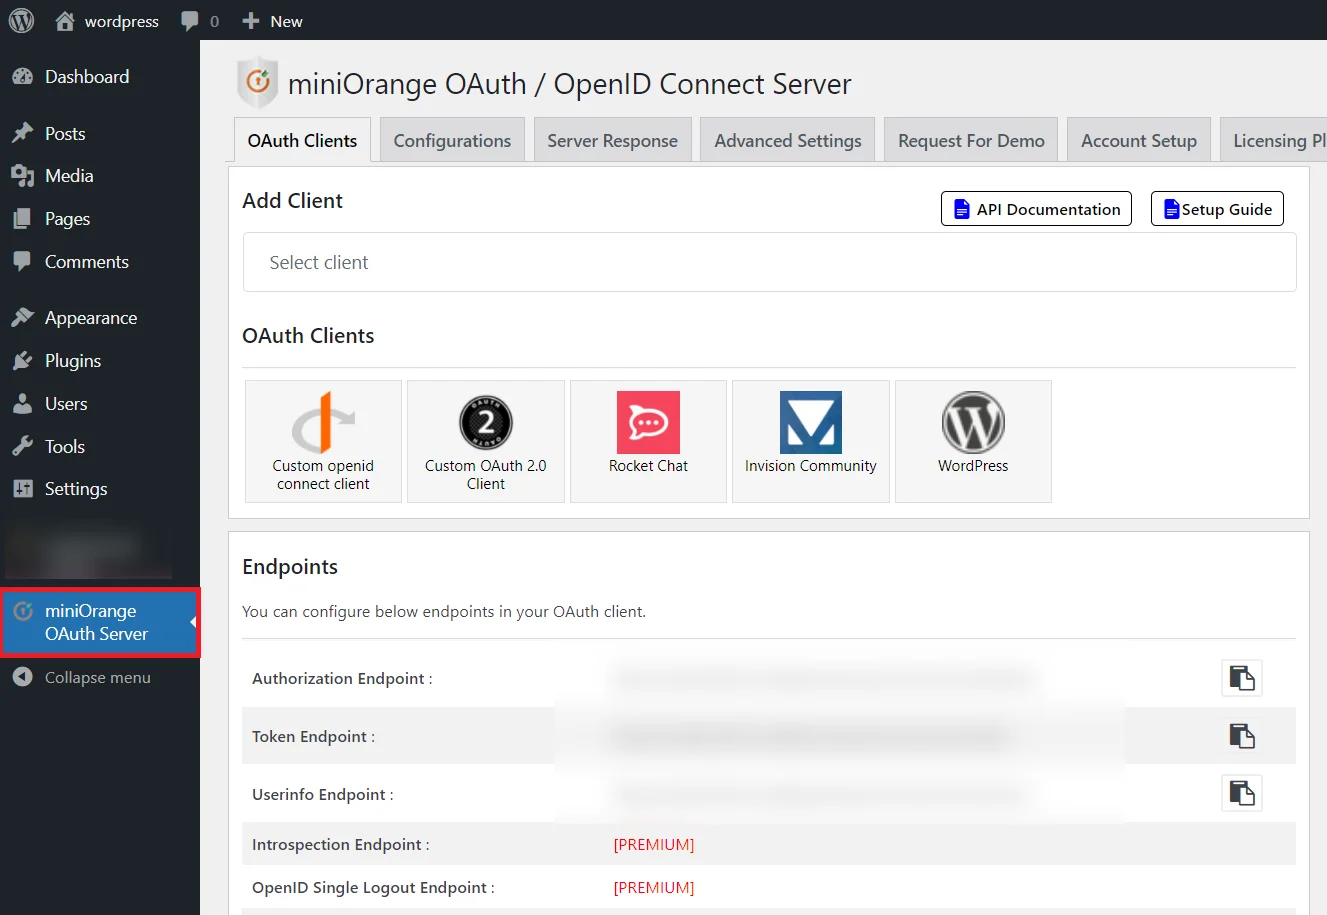
- Click on miniOrange OAuth Server on the left side menu and choose your OAuth client from the list.
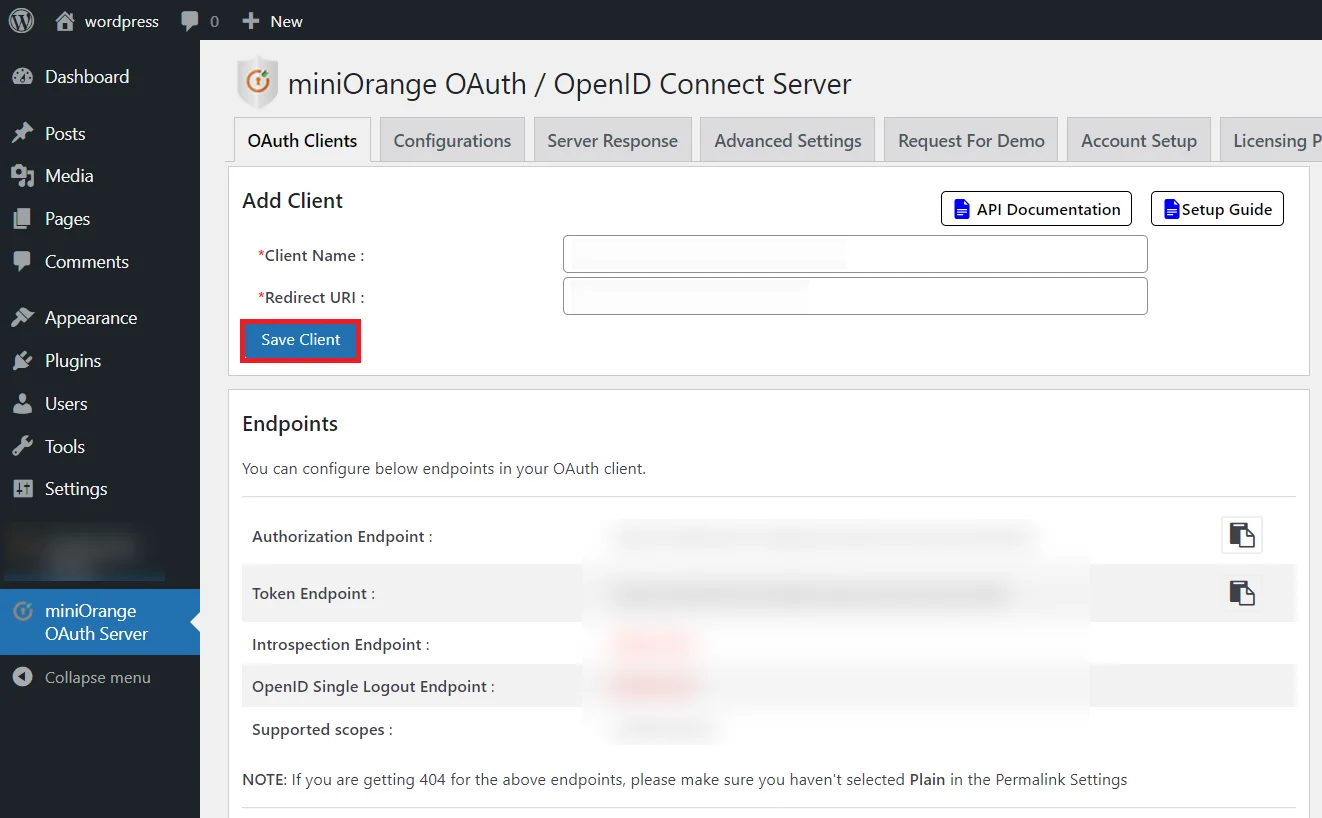
- Enter Client name as you want. Copy Redirect / Callback URL from OAuth Client and enter under Authorized Redirect URI field. Click on Save client button.
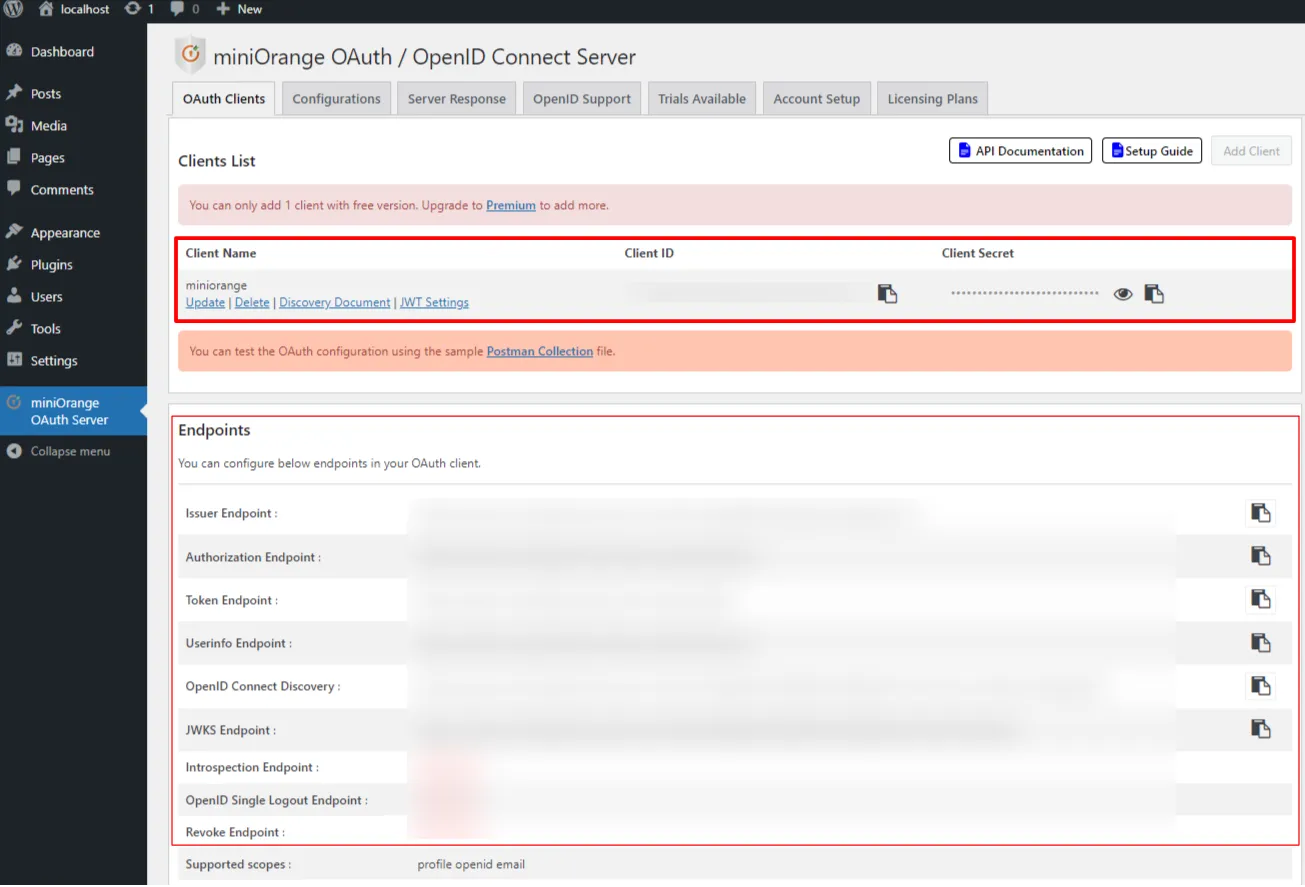
- Note down Client Id, Client Secret and the Endpoints to configure in your OAuth Client.
If you don't find what you are looking for, please contact us at info@xecurify.com or call us at +1 978 658 9387 to find an answer to your question about Wordpress OAuth Server.
×
![ADFS_sso]()
Trending searches:
Hello there!
Need Help? We are right here!
